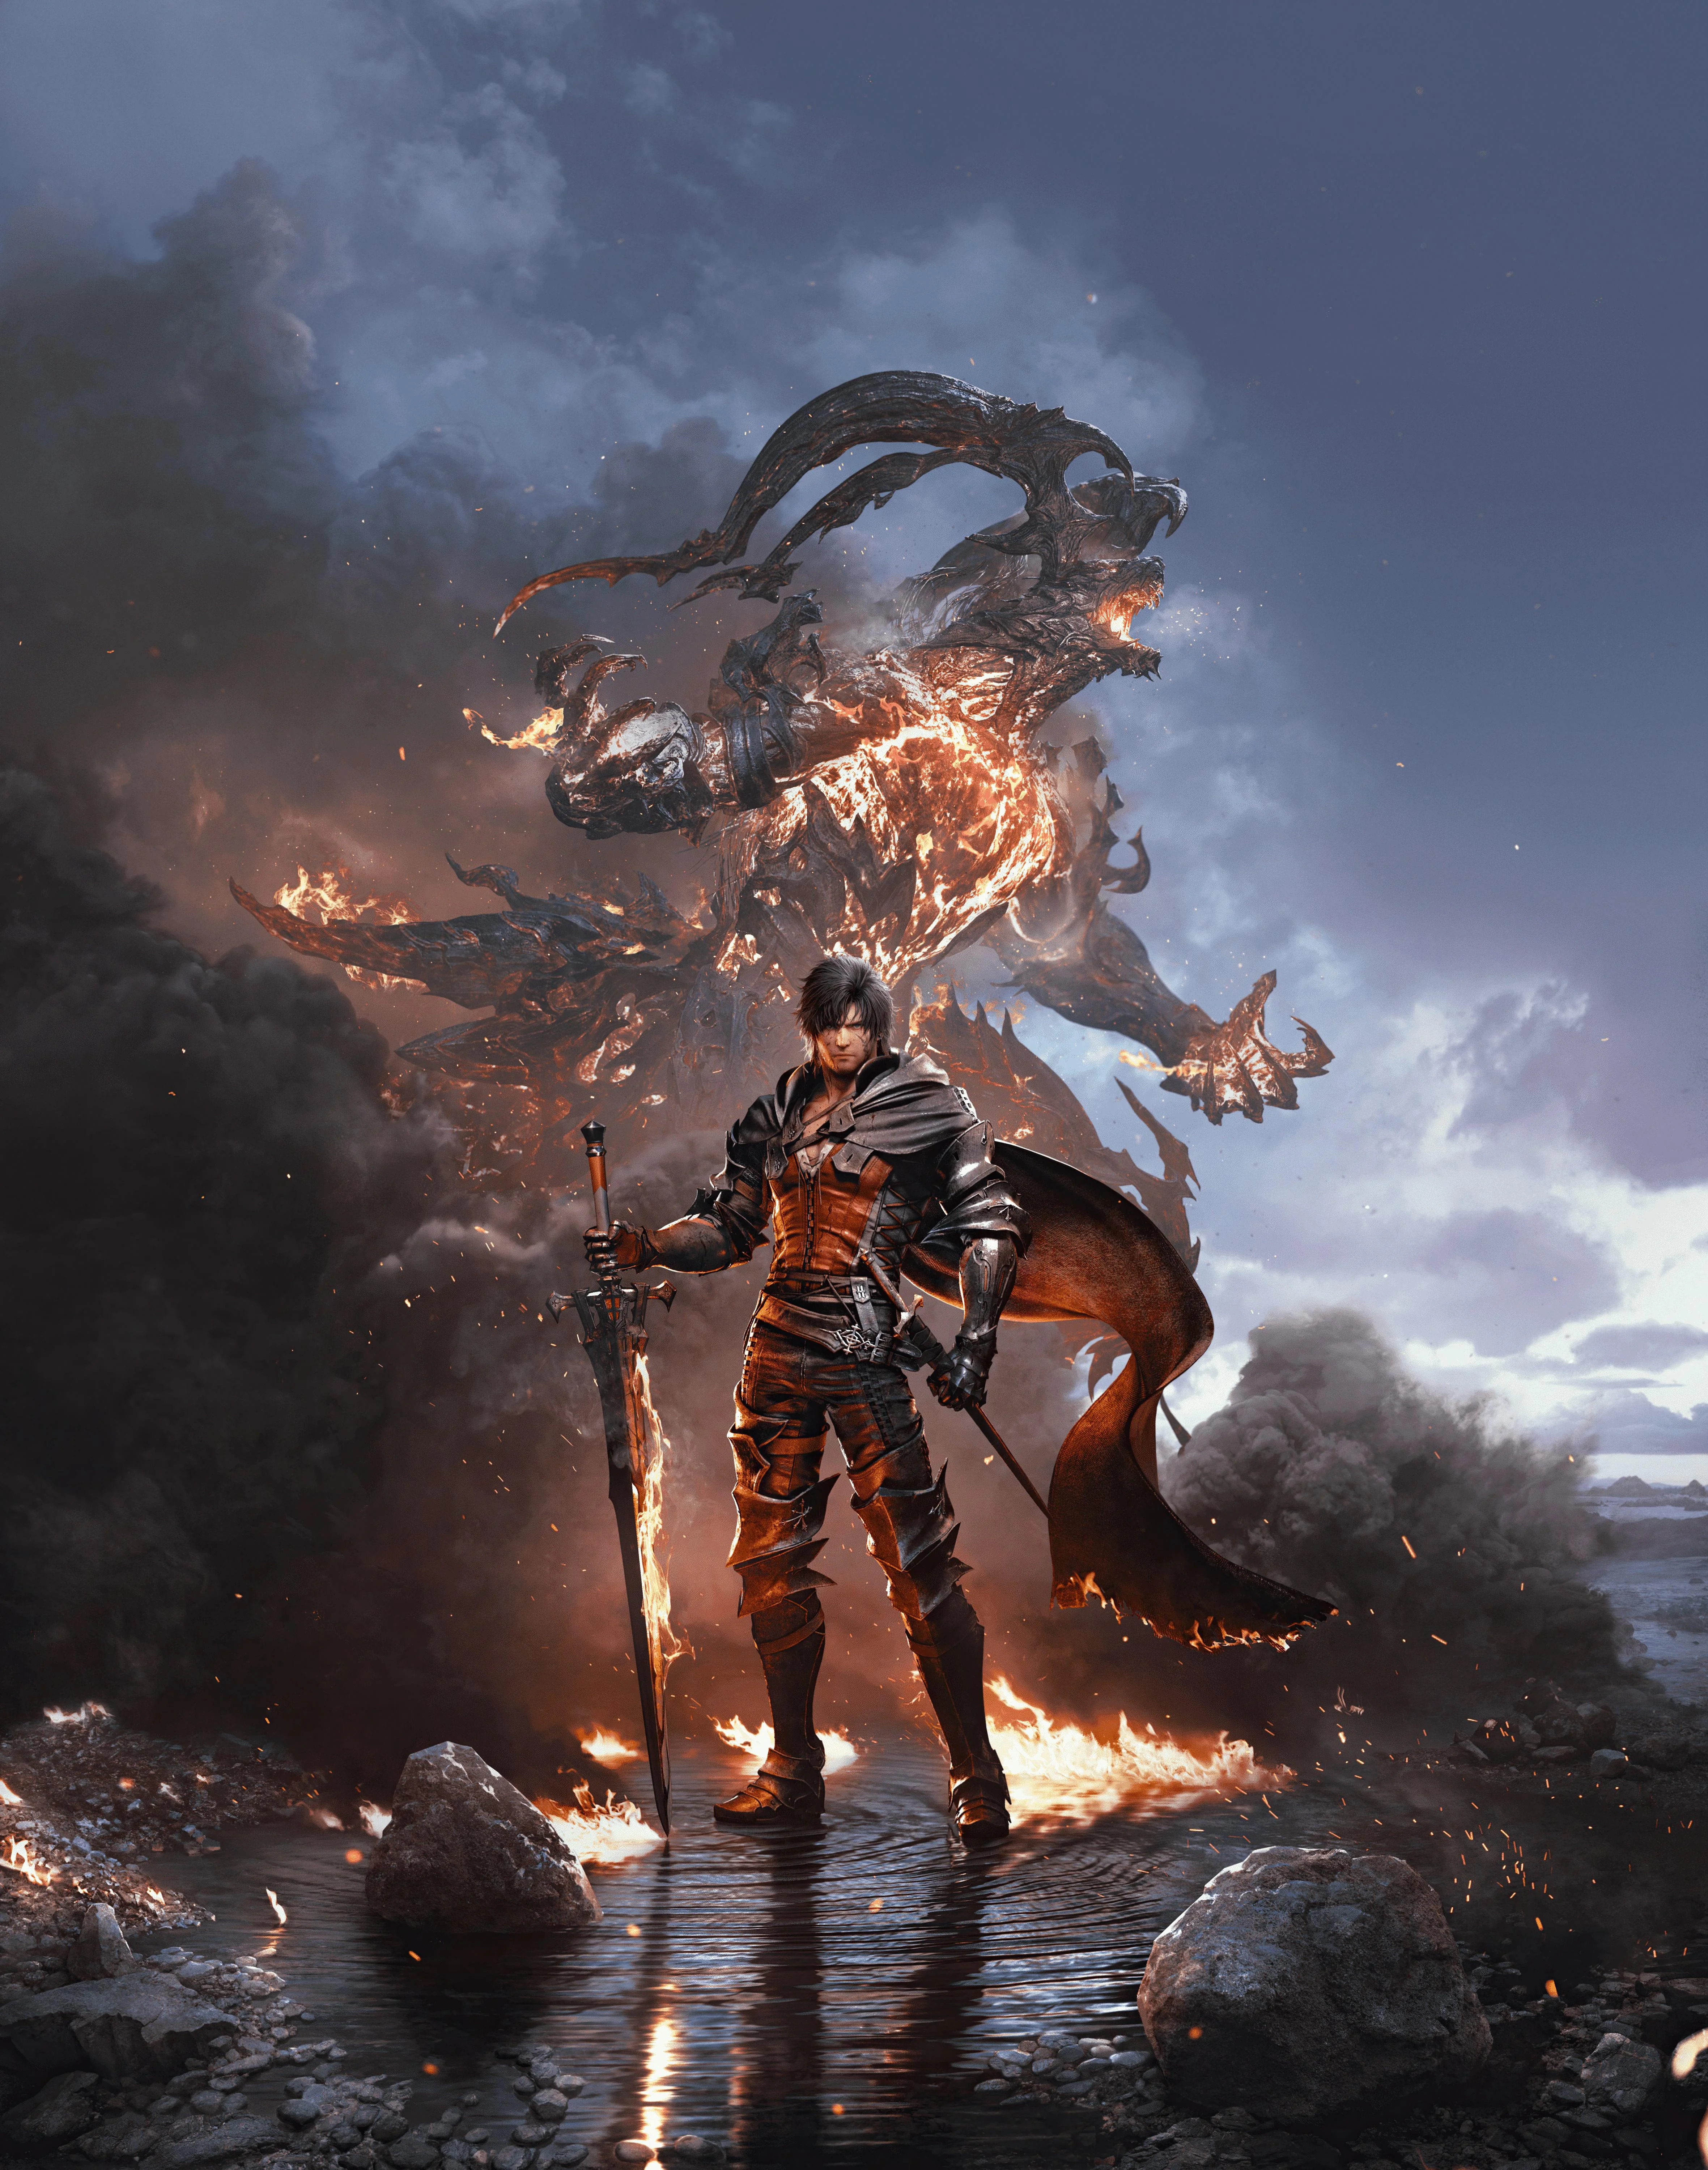
Final Fantasy XVI Ifrit vs Garuda Boss Fight Guide
How to beat the Ifrit vs Garuda Eikon fight in Final Fantasy XVI, covering attack patterns, dodge timings, ability picks, and recovery.
The Eye of the Tempest is basically one long boss arena. No trash mobs, no loot stops, just Clive walking in alone to finish what started back in Wings of Change. Benedikta has lost her grip and fully primed into Garuda, and the only way out is straight through her.
This is the first real Eikon showdown, and it splits into two very different halves. The opening chunk plays out as Clive on foot, dodging talons and wind blades on a floating rock. Knock her health low enough and a cutscene fires, Clive snaps, and you take the wheel as Ifrit for the giant Eikon-versus-Eikon finale. Both halves want different things from you, so treating them as one fight is a quick way to eat dirt.
Phase One Attack Patterns to Watch For
The on-foot half is where most of your healing goes, so learning Garuda's tells pays off fast. She opens with four physical talon moves, then layers wind magic on top once she's bruised up. Here's the early moveset to keep in your head.
| Move | The tell | How to handle it | |------|----------|------------------| | Overhead Smash | Talons go high, then slam forward | Dodge either straight in or straight out, right as the claws come down. Tight timing. | | Sideways Swipe | Both talons hit the ground, then drag across toward you | Dodge INTO it as it reaches you. Dodging away often drops you into the trailing hitbox. | | Spinning Attack | She winds up and spins with her foot talons out | Slow startup, easy to lose in the chaos. Dodge away from the spin. | | Pounding Talons | She hammers the ground in front of her repeatedly | Tracking is weak, so it may whiff on its own. Stay loose and dodge only if a swing locks on. |
None of these chunk huge damage on their own. The trouble is she strings them, and the camera plus the swirly wind effects make the spin easy to miss. Sneak your hits in between swings rather than trying to land a full combo every time. Half a combo and then back off is safer than greed.
The Aerial Blast turning point
Bruise her health down far enough and a cutscene triggers where she casts Aerial Blast. From that moment the arena gets meaner. She keeps every talon move and starts throwing wind magic on top.
- Aerial Blast: She wraps herself in crackling energy and pops wind bursts plus small tornadoes all over the arena. Light patches on the ground show where the bursts land, so don't stand in those. Don't walk up and hug her during it either, you take damage and get flung back. This is a ranged window, so poke with magic and Heatwave from a distance.
- Tornado: A standalone, full-size funnel with a long, obvious wind-up and a nameplate warning on screen. The second the name flashes, clear your current spot.
- Windburst: Even after Aerial Blast itself ends, the little wind bursts keep sprinkling the ground. Treat every glowing patch as a no-go zone.
- Air Slash: Her spinning kick now throws out a flat blade of wind. More on this one in the next section, because it earns its own write-up.
Reading the tells
The nameplate warnings are your friend. Anything big enough to get a name on screen, Tornado, Skyfall, Aerial Blast, comes with a wind-up you can react to. The quick talon pokes don't get nameplates, so those are all about reading her body. Talons up means smash, talons dragging means swipe, foot out means spin. Watch the body, not just the effects.
Dodging Garuda's Wind Slash Combos
The Air Slash is the move that catches people. Once Garuda escalates past the Aerial Blast cutscene, her spinning kick starts throwing a horizontal blade of wind straight out in front of her. It comes out quick and it reaches across a good chunk of the arena, so ignoring it costs real health.
Jump it, don't dodge it
The cleanest answer is to jump. A jump clears the blade cleanly and you recover faster than you would from a dodge roll, which gets you straight back to hitting her. Dodging works too, but the timing is touchier and you often slide right into a follow-up. Jump as her foot comes around and you sail right over the top.
If she's far away when she does it, you barely have to think about it. The blade only travels so far, so once she backs off to cast, the slash is mostly a keep-away tool. Close the gap again when it's done and go back to work.
Dance around the wind bursts
The ground bursts are the other half of her wind game. Little light patches flash where a burst is about to pop, and they keep sprinkling the arena even after Aerial Blast winds down. Two rules here. Don't plant your feet, and don't get so locked onto Garuda that you forget the floor. Glance down between combos. If your feet are glowing, move.
This is also why standing still to dump a long ability is risky during the escalated phase. Anything with a long animation can get interrupted by a burst you didn't see coming. Save the big stuff for right after she whiffs an attack, when the arena's briefly quieter.
Her spinning strings
The spin isn't a one-and-done. Garuda likes to chain the spinning kick into more wind pressure, sometimes firing the Air Slash and then immediately following with a talon smash while you're still landing. Treat the spin as the start of a combo, not the whole thing. Jump the slash, then be ready for whatever comes next, usually a dodge away or another jump. Staying airborne a beat longer than feels necessary is often the right call, because it carries you over both the slash and any low follow-up.
Countering Ifrit's Fire Breath Cone Attacks
Quick framing note. In this half of the fight, you ARE Ifrit. So "countering Ifrit's fire breath" really means putting your fire to work against Garuda, because every flame you throw is hers to deal with. The game trims your kit down to four tools, and fire shows up in two of them.
The fireball cancel trick
This is the best tip in the whole fight. Ifrit's fireball, fired with Triangle, and Garuda's ranged orb can cancel each other out in midair. The second you see her wind up a projectile, answer with a fireball of your own. Both shots collide and pop, and you take zero damage.
It's a lifesaver when you're already mid-evade and can't sidestep a second time, or when she fires from across the arena. Read the tell, tap Triangle, and you've turned her ranged pressure into a free exchange. Then, because she's stuck in her cast animation, lunge straight in and punish.
Lunge in, then burn her
Ifrit is a slow, heavy tank, so the dash, Circle, is how you actually get anywhere. The bread-and-butter loop is simple. Lunge in, then mash melee on Square. Ifrit grabs Garuda, drags her across the ground, and hurls her away for a fat chunk of damage. Dash back in before she recovers and do it again.
If you connect the lunge itself into her body, there's bonus damage on top of the grab. So aim the dash AT her, not just toward her, and you stack a little extra hurt onto every exchange. The fire on Ifrit's hands during these strings is doing real work. Every hit in the combo is flame-charged, which is why even his basic strings melt her health bar faster than you'd expect.
When to hang back and pepper her
Sometimes you don't want to be in her face. When she charges Aerial Blast, that big vortex has a nasty radius, so backstep repeatedly to clear it. From range, fireballs keep up the pressure without putting you in the blender. Treat your fire as a zoning tool in those windows and a combo finisher the rest of the time.
The three-funnel version of her Tornado also gives you a clean lane. She sends three funnels out in straight lines, and the gap between two of them is wide enough to stand in. Park there, lob fireballs until she's done, and you bank free damage from a safe spot.
Best Eikon Abilities to Bring Into the Fight
This is a Clive-phase question. Once you're Ifrit the kit is locked, so all your planning happens on foot. At this point in the story you've got two Eikons: Phoenix, your starter, and Garuda, which you just peeled off Benedikta. That's your whole sandbox, and it's plenty.
Your core three
Three slots, and here's the loadout that does the most work.
- Wicked Wheel (Garuda): The obvious star against a target this size. A boss this big eats every hit of the rising claw spin, and you can drag her upward into a follow-up. It's widely flagged as the move to have equipped and upgraded coming in. Pop it when she's staggered or mid-whiff and watch the will gauge crumble.
- Gouge (Garuda): Your stagger damage. A rapid claw flurry that chews through her will bar and sets up the takedown. Layer it right after Wicked Wheel while she's still lifted, and you'll dump a ton of will in one go.
- Deadly Embrace (Garuda, Eikonic Feat): The grab. Once her will hits about half, she partially staggers, and Deadly Embrace yanks her into a Takedown that drops her flat for free hits. This is your single biggest damage window in the on-foot phase, so don't blow it on a full bar.
Heatwave for the dangerous windows
Heatwave, from Phoenix, earns its slot for one reason, and that's Aerial Blast. While she's wrapped in that vortex, walking up to her is a bad idea, so you need ranged damage. Heatwave sends a wall of fire across the arena that still clips her from a safe distance, and it doubles as a counter if she flings a projectile your way.
If you've got AP to spare and a slot open, Rook's Gambit is a nice counter-based pick and the player version of Aerial Blast is a strong stagger nuke. Neither is required, though. The three above plus Heatwave will carry you through.
What to skip and why
Don't fire abilities into a combo you're about to get knocked out of. Garuda interrupts freely in phase one, so a half-second too late on Gouge means it whiffs and you've burned the cooldown for nothing. Only fire when she's committed to an animation you can punish, like right after a missed smash or during a stagger. Patience beats spam here, and it keeps your big tools ready for the windows that actually matter.
Recovering From a Near Death Situation
This fight can spiral fast. One bad dodge into a spin, then an Air Slash catches you on the way down, and suddenly the screen's pulsing red. Here's how to claw it back.
Stock up before you walk in
The Eye of the Tempest has no shops and no loot, so whatever you're carrying is what you've got. Top off your potions before the stage, and bring high potions if you've unlocked them. You'll chew through heals in the on-foot phase, and running dry there means you limp into the Ifrit half already behind. Check gear too. This is a fine time to make sure your belt and vambrace are your best available.
Use Recovery Swift
When Garuda knocks you down, don't just lie there. Tap the recovery input to pop back to your feet fast, the move the game calls Recovery Swift. The reason matters. She loves to follow a knockdown with a second swing, and if you're still on the ground you eat the whole thing. Quick-rise resets your guard and dodge options so you can get out of the next hit instead of eating a full combo.
Buy space with a Takedown
Low on health and panicking? Force a Takedown. Chip her will bar to half with Gouge and Wicked Wheel, then Deadly Embrace her into the flat-on-her-back animation. That's several seconds where she can't touch you, perfect for popping a potion or two in peace. Treat the stagger as a heal window, not just a damage window, when you're hurting.
Don't panic in the Ifrit half
Good news here. The Ifrit phase is way more forgiving. Garuda's hits there don't chunk as hard, and your own damage is so high that the fight ends fast once you get the lunge loop rolling. If you're scraped thin going in, play it patient. Dash in for one combo, back off, dodge the telegraphed projectiles, dash in again. You don't need to be greedy, Ifrit's melee already deletes her health bar. Keep your fireball ready to cancel her orb, win the cinematic clash prompts when they pop, and the Hellfire finisher takes it from there.
Clearing the fight banks roughly 200 Ability Points and 2,500 gil, along with a Wind Shard, some Wyrrite, and a couple of Meteorites. More usefully, it closes out Awakening and rolls you straight into The Wages of Guilt, so you walk away with fresh toys to spend that AP on.