Subnautica Beginner Guide: Surviving Your First Days Underwater
Covers your first days in Subnautica: the lifepod fix, the scanner, food and water, oxygen limits, and which biomes to visit first.
Your escape pod hits the water, catches fire, and drops you into an ocean with no map and no instructions. That's Subnautica. The first few days are mostly a loop of swimming out, grabbing rocks and fish, and running back to the pod before your air runs out. Get that loop clean and everything else in the game opens up. Get it wrong and you'll spend hours dying thirsty two meters from the surface.
The good news is that the opening area is forgiving. The biome around your pod has almost nothing that wants to hurt you, the materials for your first tools sit within a short swim, and the pod itself handles a lot of the early work for you. Here's what to do, in the order the game throws it at you.
Crash Landing and Immediate Priorities
You wake up inside Lifepod 5 with alarms going off and a fire burning next to you. Deal with that first. There's a fire extinguisher mounted in the pod, and one grab-and-spray puts the flames out. The fire ticks damage onto the pod while it burns, so this genuinely comes before anything else, including looking around.
Loot the pod before you leave
The pod has more in it than most people notice on day one. Check the storage compartment behind the ladder. You'll find two Filtered Waters in there plus some rations, which buys you maybe half an hour of not worrying about thirst. Eat and drink now while it's free, because the ocean makes you work for both later.
There's also a wall-mounted Medical Kit Fabricator. It builds you a fresh First Aid Kit every ten minutes of real time and beeps when one's ready. Make a habit of grabbing it every time you pass through. The fabricator on the wall is your crafting bench, and it runs off the pod's own self-charging power cells, so you never need to feed it fuel this early.
Your first swim has three jobs
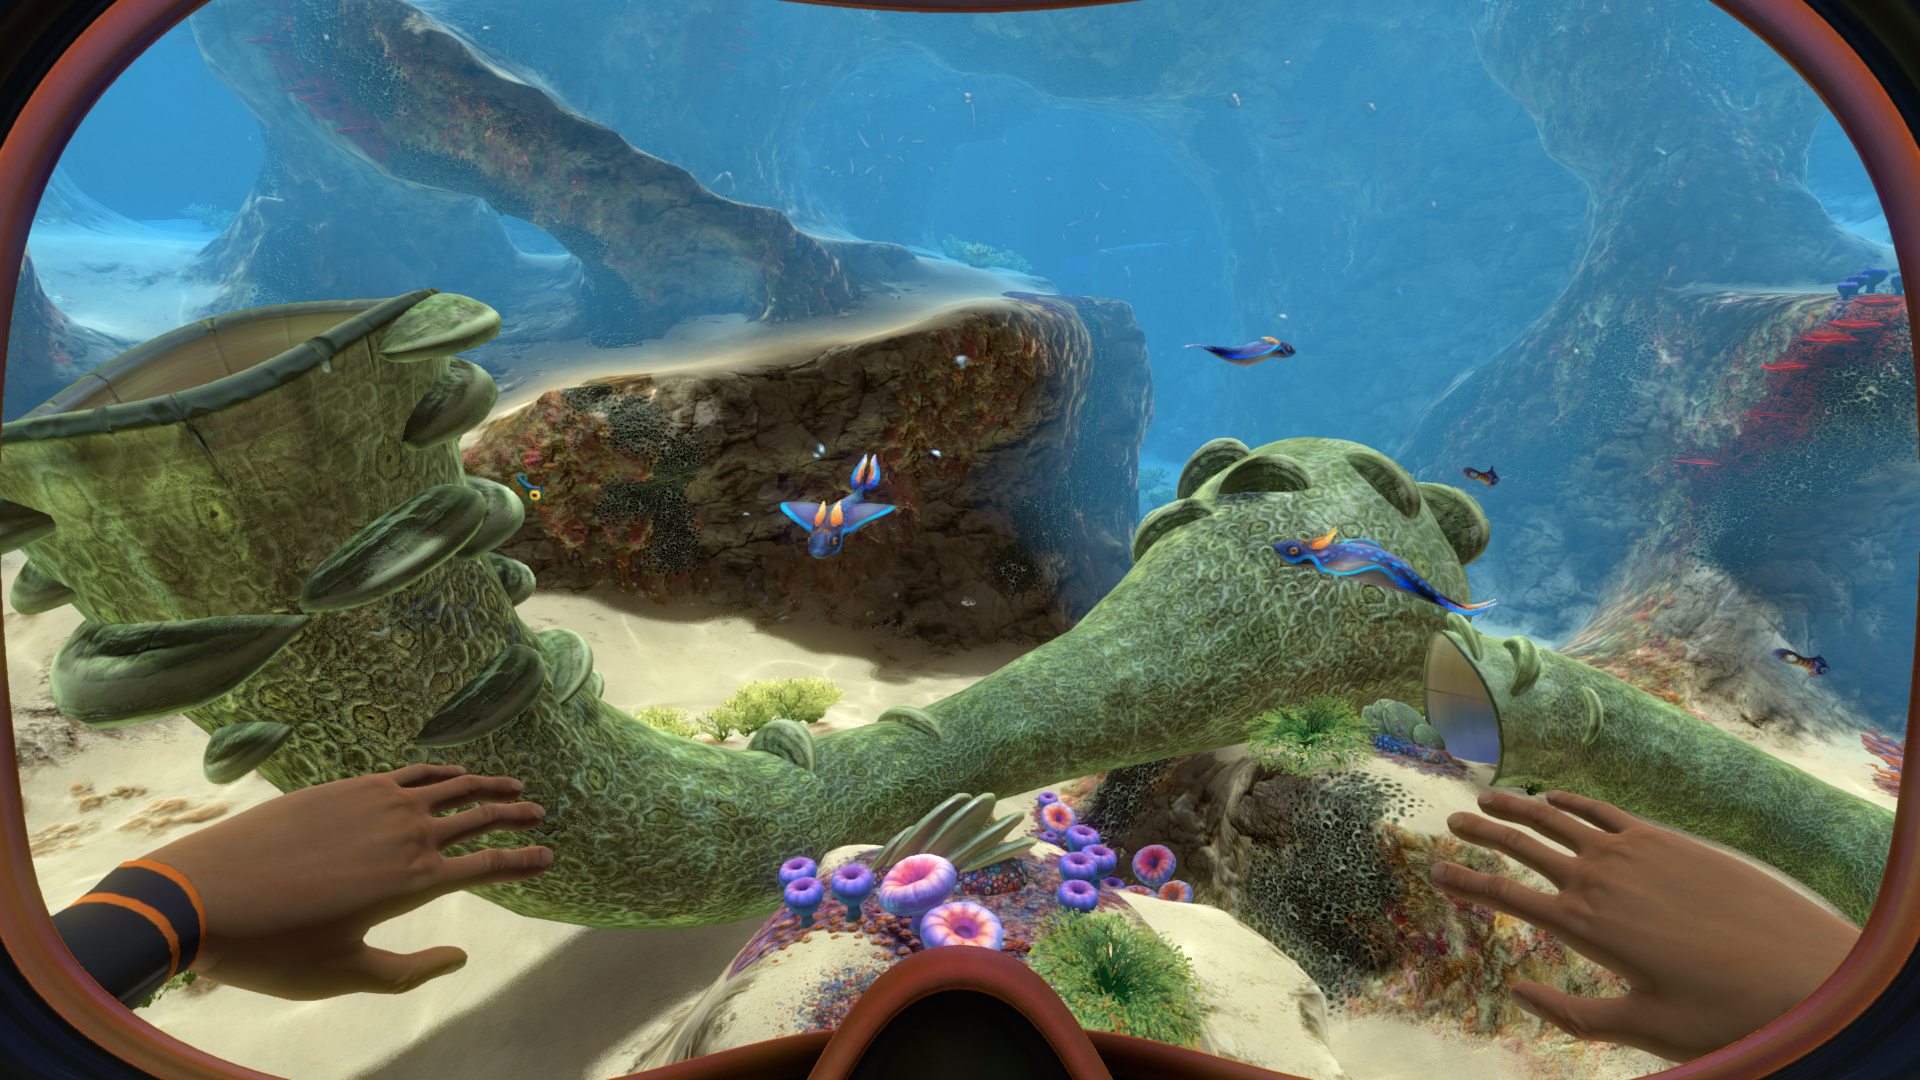
Once the fire's out, pop the hatch and look around. The pod always lands in the Safe Shallows, a shallow coral area near the middle of the map. Don't go far on trip one. You want:
- Metal Salvage, the bent gray panels littering the seafloor. Each one fabricates into Titanium, your base building material.
- Limestone Outcrops, the small knobbly rocks on the seabed and inside coral tubes. They crack open into Copper Ore or Titanium, roughly a 50/50 split.
- A mental note of where the pod is. The HUD shows a lifepod icon and your distance to it, which is the only navigation aid you get until you craft beacons.
Aim for about six Titanium on the first couple of runs. That covers a Standard O2 Tank at three Titanium with change left for other tools. The pod is also your respawn point until you build a base or a Cyclops, so losing a fight out here just costs you your carried items, not your save.
Fix the radio when you can
Two things in the pod are broken: the damaged panel next to the fabricator and the radio. Both get fixed with the Repair Tool, which you'll craft pretty early (more on that below). Fix the panel first since it's quick, then the radio.
The radio matters more than it looks. Once it works, it starts picking up broadcasts from other lifepods and ships, and those messages are how the game points you toward new places worth looting. Without it you're wandering blind. With it you get a steady drip of destinations, most of them stocked with supplies and blueprints. It's the closest thing Subnautica has to a quest log.
Building Your First Scanner and Fabricator
Quick clarification that trips up new players: you don't build the Fabricator. It's already installed in the pod when you crash. What you actually build is the Scanner, and it's the single most important tool in the game, because most blueprints don't exist for you until you scan fragments of them. Skip the Scanner and your recipe list stays tiny forever.
The battery comes first
The Scanner needs a Battery, and the Battery recipe is 2 Acid Mushrooms plus 1 Copper Ore. Acid Mushrooms are the purple puffballs growing in clusters all over the Safe Shallows, and you can pick them by hand safely. The copper comes out of those limestone outcrops you're already cracking.
One warning from experience: if you knife an Acid Mushroom for its spores, it bursts and sprays acid, and chained mushrooms can set each other off. For battery purposes just pick them by hand and everyone stays unhurt.
Scanner recipe and how to use it
The Scanner itself is 1 Battery plus 1 Titanium. Cheap for what it does. It has a five meter range, a scan takes around ten seconds depending on the size of the target, and if you get interrupted the progress saves, so you can finish a scan later. Scan everything unfamiliar. Every fish, plant, coral, and chunk of wreck technology adds a databank entry, and entries often come with useful tips.
The best part is the recycling. Scan a fragment you've already learned and it converts into 2 Titanium on the spot. Wreck areas stop being clutter and start being a titanium supply.
Knife, fins, and the creepvine run
Your next tools all want Silicone Rubber, and Silicone Rubber comes from Creepvine Seed Clusters, the glowing yellow seed pods hanging on the tall kelp in the Kelp Forest. One cluster crafts into two Silicone. You need about four Silicone total early on, so plan on two clusters.
With that rubber you build:
- Survival Knife: 1 Silicone + 1 Titanium. Cuts coral samples, kelp, and anything that bites you.
- Fins: 2 Silicone. Adds about 1.4 m/s to your swim speed. The item description claims 15% but the real gain is closer to 25%, and you feel it immediately, especially chasing fish.
- Repair Tool: 1 Silicone + 1 Cave Sulfur + 1 Titanium. This is the radio fixer from earlier.
Cutting the kelp stalks themselves gets you Creepvine Samples instead of the seed clusters, and you'll want a stack of those later for the Radiation Suit. Grab a few while you're out there.
Cave sulfur and the crashfish game
Cave Sulfur comes from the Sulfur Plants in the little caves under the Safe Shallows, and each plant has a Crashfish living in it. Get close and the Crashfish launches at you and explodes.
The trick is to trigger it, swim away, and come back. The fish leaves its nest to chase you, blows up somewhere that isn't your face, and the plant sits there empty with sulfur powder inside. You lose nothing but a few seconds. Do this a couple times and you have your Repair Tool.
Bonus tip: the Repair Tool spawns with a full battery inside even though its recipe doesn't list one. Same for the Scanner. So a cheap way to get a fresh battery is to craft a cheap tool and swap batteries with R. Handy when you're out of mushrooms.
Finding Food and Water Near the Lifepod
This is the part that kills new players, so let's be blunt about the clock. You lose 1 point of water every 20 seconds and food slightly slower, alternating between one point per 20 seconds and one per 30. That works out to roughly 33 minutes to drain a full water bar from 100. Two Filtered Waters buy you about 40 minutes combined. Thirst is always the first real deadline in this game, not hunger.
Water options, worst to best
Bladderfish are your day-one answer. They're the slow, translucent, balloon-looking fish drifting around the shallows, slow enough to catch bare-handed. Put one in the fabricator and you get Filtered Water worth +20 H2O. It's not great per fish, but it's available instantly with zero other ingredients, and the fish are everywhere.
The better play is Bleach. Craft it from 1 Coral Tube Sample plus 1 Salt Deposit, then turn 1 Bleach into 2 Disinfected Waters at +30 H2O each. Coral Tube Samples come from knifing the Giant Coral Tubes you can swim through, and salt is those blocky white crystals on the seabed, common in the Kelp Forest. One bleach run waters you for over an hour. Move to this as soon as you have a knife.
Odd fact worth knowing: eat a raw Bladderfish and you get a tiny slug of oxygen back. It has saved people mid-dive. Not a plan, just a freebie.
Fish worth catching
The shallows are stocked with edible fish and almost none of it can hurt you. Bladderfish, Boomerang, Peeper, Garryfish, and Holefish are all food. Avoid the Gasopod (it farts gas clouds) and the Crashfish (it explodes), neither is edible.
The Peeper is the prize. It's the one with the big yellow eye, fast and annoying to catch before you have fins, but a Cooked Peeper gives +32 food and +5 water, which is the best all-around number this early. Garryfish are much easier to grab but only cook up to +18 food. Mix them: chase Peepers when you have fins, settle for Garryfish when you don't.
Cook or cure, don't hoard
Cooked fish rot. The longer a Cooked Peeper sits in your locker the less it feeds you, and eventually it goes rotten and actively hurts you to eat. So cook what you'll eat soon.
If you want a stockpile, cure instead. Curing takes 1 fish plus 1 Salt Deposit and the result never decays. The tradeoff is a small dehydration penalty, -2 water on a Cured Peeper, same +32 food. A locker full of cured fish and a couple bottles of disinfected water means you can stop thinking about survival for a long stretch and go explore instead.
Oxygen Management and Safe Diving Depths
Everything above is manageable. Oxygen is the thing that actually kills you. You start with 45 units of air, which drains at 1 unit per second above 100 meters depth. That's 45 seconds of dive time, period, and the swim back up counts against it.
The tank math
| Tank | Total O2 | Notes | |---|---|---| | No tank | 45 units | About 45 seconds shallow | | Standard O2 Tank | 75 units | 3 Titanium, craft immediately | | High Capacity O2 Tank | 135 units | Standard + 2 Glass + 4 Titanium + 1 Silver | | Ultra High Capacity Tank | 225 units | Later upgrade, Modification Station |
Make the Standard O2 Tank your first craft, before the knife, before anything. Three Titanium is nothing and it's a 67% bump to your dive time. Two details people miss: the tank fills only when equipped inside the pod or another air source, so equip it before you dive, and it slows you down a hair when worn. Worth it.
The High Capacity Tank is the first real milestone. Silver Ore comes out of Sandstone Outcrops, and those live in the Kelp Forest and the Grassy Plateaus. That's your progression ladder: tank, then silver, then deeper water.
Depth triples your burn rate
Depth is the hidden multiplier. The rules:
| Depth | O2 drain per second | |---|---| | Under 100m | 1 unit | | 100m to 200m | 3 units | | Over 200m | 5 units |
That 75-unit tank lasts 75 seconds at 80 meters and 25 seconds at 150 meters. Huge difference, and it's why experienced players treat 100 meters as the real ceiling until they have better gear. The Rebreather item cancels the depth penalty entirely, but it's a mid-game find, so plan around the multiplier for now.
The PDA warns you at 30 units and again at 10. Don't budget to the warning. Turn around at half a tank, always, because panic-swimming burns time and the surface is always further than it looks. If your screen starts going black you have roughly four seconds of consciousness left, which is enough to reach air if it's close and not enough if it isn't.
Free air underwater
You don't always have to surface. Brain Coral, the big round coral with the fissured top, releases bubbles that refill your oxygen if you touch them. They're all over the shallows, and they effectively double your working time in an area. There are also the pod itself, any powered vehicle or seabase, and later the pipe systems. Learn the brain coral spots near your dive targets and shallow work becomes nearly free.
One more tool that changes the oxygen math: the Seaglide. Two fragments (Safe Shallows and Kelp Forest wrecks) plus a recipe of 1 Battery, 1 Lubricant, 1 Copper Wire, 1 Titanium. It pulls you along at 11 m/s, gets about 3800 meters per charge, and has a built-in flashlight and 3D terrain map. It doesn't add air, but it shortens every round trip, which amounts to the same thing.
Early Biomes Worth Exploring First
The map around the pod is fixed, not procedural, so the biome layout is the same in every save. Three areas ring your starting point, in increasing order of depth and danger. Work them in order and the difficulty curve stays gentle.
Safe Shallows (0-80 meters)
Home. Coral reefs, bright water, almost nothing hostile. The wiki's resource list for this biome includes Titanium, Copper Ore, Quartz, Silver Ore, Lead, Gold, Metal Salvage, Acid Mushrooms, and Table Coral Samples, which covers nearly every early recipe. Seaglide fragments spawn here too, sometimes literally on the sand outside your pod.
Two things to respect. The small caves under the shallows hold Crashfish guarding their sulfur plants, so don't blunder in at low health. And Gasopods occasionally wander through: big gentle creatures whose gas pods hurt if you hug them. Give them room and they're scenery.
Kelp Forest (0-160 meters)
The tall green kelp forest bordering the shallows. This is where Creepvine Seed Clusters live, so your knife, fins, and everything made of Silicone start here. Salt Deposits are common on the seabed, Sandstone Outcrops show up at the medium depths, and both Seaglide and Mobile Vehicle Bay fragments spawn in the wrecks.
The locals are Stalkers, long eel-shaped predators that are more nuisance than threat. They bite for real damage but they're easily distracted: they love carrying Metal Salvage around, and throwing them a piece of salvage or a Peeper pacifies them temporarily. Better yet, when a Stalker bites metal it sometimes sheds a tooth, and Stalker Teeth are an ingredient you'll need later. Free stuff for letting them play.
Watch your depth here. The forest floor slopes past 100 meters in places, and that's where your oxygen starts draining three times faster. Stay on the upper slopes until you have the bigger tank.
Grassy Plateaus (40-200 meters)
Past the kelp, the terrain drops into wide red-grass plains with big stone pillars. This is the next step up: Sandstone Outcrops are everywhere, breaking into Lead and Silver Ore most of the time and Gold about a quarter of the time, and silver is exactly what your High Capacity Tank wants. Several wrecks here carry Modification Station and Battery Charger fragments, both worth grabbing early, and there are destroyed lifepods in this biome with loot inside.
It's also the first biome with real predators. Sand Sharks patrol the sediment, and you'll see them coming as dust clouds on the seafloor before you see the animal. They're slow and easily outswum with fins. Biters are worse in packs, and Tiger Plants on the wrecks shoot you if you drift too close. None of it is lethal if you're at decent health. All of it is if you're at 20 HP and out of air.
The one place to avoid early
The Crash Zone, the debris field around the crashed Aurora on the horizon. It looks like the obvious loot run. It is not, for two reasons.
First, the Aurora's drive core detonates a few days into the game, and the explosion spreads radiation over the surrounding water. The zone starts at 675 meters radius from the wreck and grows to 950 meters over time. The eastern edges of the shallows and kelp forest can catch the edge of it, though it never reaches Lifepod 5, so your home stays safe. You'll hear the Geiger click and see the screen go green when you've wandered in. If you ever do need to approach, the Radiation Suit takes 2 Fiber Mesh (from 4 Creepvine Samples) plus 2 Lead, and you need the suit, helmet, and gloves all equipped.
Second, nine Reaper Leviathans live in the Crash Zone. You'll hear them before you see them. Nothing in your early toolkit survives that encounter, and nothing about it is worth risking this early.
Save the Aurora for later, when you have a Seamoth (200 meter stock crush depth, 300 with the MK1 depth module you can find in the Aurora itself, a nice bit of circular design) and a reason to go. Until then the shallows, the kelp, and the plateaus have every resource your first week needs. Fix the radio early, follow its first broadcast, and you'll find the other lifepods already stocked with supplies and surrounded by fragments to scan.