Slay the Spire Act 4 Guide: Unlocking and Beating the Heart
How to unlock Slay the Spire's Act 4, collect the three keys, and beat the Spire Shield, Spire Spear, and Corrupt Heart.
Most Slay the Spire runs end with an Act 3 boss and a victory screen. There's a whole extra act hiding past that, and it doesn't mess around. Act 4 is exactly four rooms: a campfire, a shop, one elite fight, then the Corrupt Heart. No events, no hallway fights, and no healing between the elite and the boss.
The nice part is that the Heart fights fair, in its own mean way. Everything it does runs on a fixed schedule you can learn, so the fight is more of a planning problem than a luck check. The keys come first, though.
Collecting the Three Keys
Before any key shows up, you need to win one full run each with the Ironclad, the Silent, and the Defect. Any difficulty works and Ascension isn't required. The Watcher came out after Act 4 was already built, so there's no fourth key and no Watcher clear needed. Once you've got those three wins, empty key icons appear next to your character at the start of every run.
One rule trips people up: all three keys have to come from the same run, and you need all three in hand before the Act 3 boss dies. Keys never carry over between runs. Beat that boss with a key missing and the run just ends in a normal victory.
The Ruby Key: Recall at a Campfire
Rest sites grow a new option called Recall. Click it, get the key, and give up whatever else you'd have done at that fire, whether that's resting, smithing, digging, or lifting. Any campfire in the run works, starting in Act 1.
Grab this one early. An Act 1 campfire usually costs you an upgrade on a Strike; an Act 3 campfire might cost you the heal that carries the boss gauntlet.
The Emerald Key: Beat a Flaming Elite
Every act, one elite on the map spawns with an animated burning flame behind its icon. It's a buffed-up version of a normal elite from that act, and it hits noticeably harder than the regular thing. Kill it and the Emerald Key drops.
Only one flame elite appears per act until you take the key. The cost is HP and maybe potions, so take that fight while you're healthy and your deck is rolling.
The Sapphire Key: Skip a Chest
Chests (including chests inside question mark rooms) offer the Sapphire Key instead of the relic inside. Take the key, lose the relic. Turn the key down and it moves on to a later chest, so you're delaying, not dodging.
This is usually the cheapest trade of the three. Chest relics range from run-carrier to hot garbage, so the key looks great whenever a chest holds something forgettable. One wrinkle: with the Matryoshka relic, the bonus relic isn't tied to the key, so you can take both.
Same Run, Before the Boss Dies
Spread the three costs across the run instead of stacking them at the end. A comfortable pattern looks like Recall somewhere in Act 1, the flame elite in whichever act your deck eats elites for breakfast, and the Sapphire out of whatever chest holds the least exciting relic. Walk into the Act 3 boss holding three keys and the Ending opens up.
Preparing for the Shield and Spear
Act 4 always plays out the same way: Rest Site, then Merchant, then the elite, then the boss. Knowing that layout changes how you should finish Act 3.
On Ascension 0 through 4 you heal to full after the Act 3 boss, so you enter the Ending at max HP. From Ascension 5 on you only heal 75% of your missing health, so a bloody Act 3 finale follows you in. Either way, the only other recovery before the Heart is that one campfire. Budget HP like the whole run is still ahead of you, because kind of, it is.
Spending the Fire and the Shop
At the fire: if you're healthy, upgrade. Pick the card that does the most work in a long boss fight, which is usually your best block card or a scaling power. If you're hurting, rest and don't feel bad about it. The Heart fight leaks HP even when it's going well.
The shop is the last one in the run, so spend every coin. Card removal is at its best right here, since every Strike or junk card you delete is one fewer dead draw when the Heart charges you per card played. Potions are the other big buy: a block potion carries a turn this fight would otherwise steal. Check the relic slot too: Orange Pellets and Clockwork Souvenir only show up in shops, and both happen to be tailor-made for the Heart.
The Surrounded Mechanic
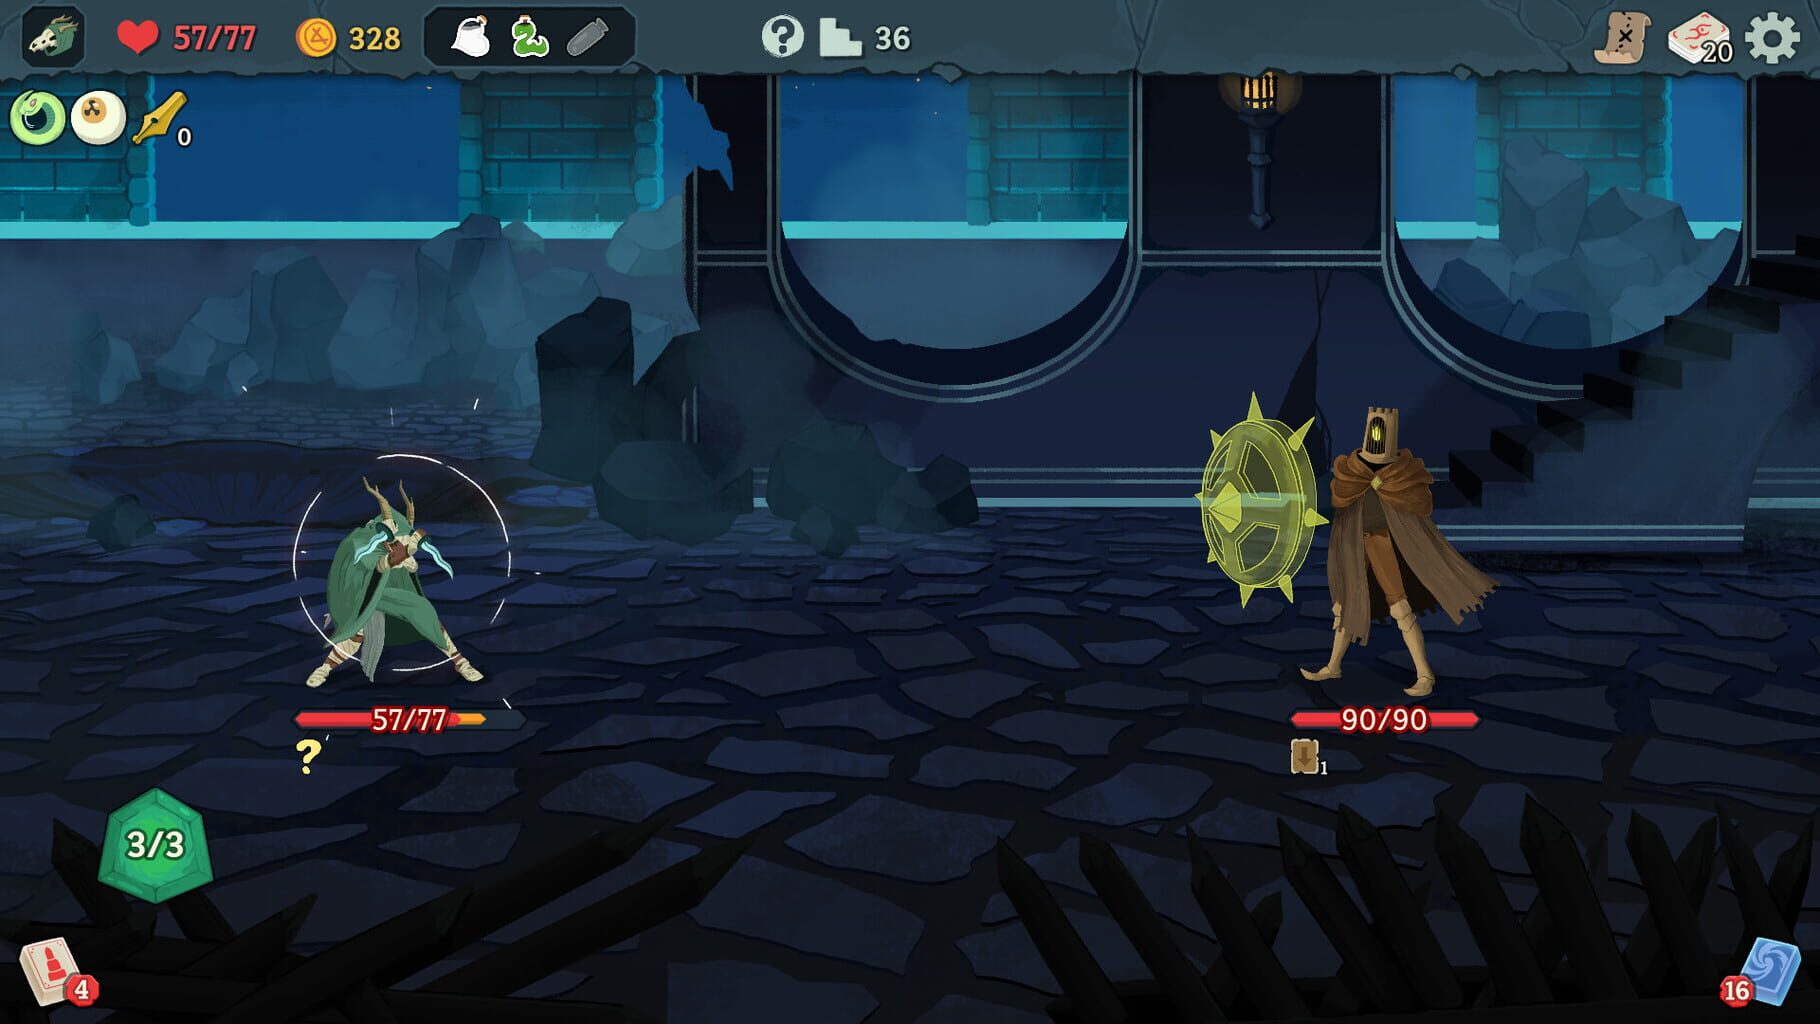
You spawn in the middle, facing the Spear on your right, with the Shield at your back. Whoever you're facing catches your single-target attacks and potions. The one behind you deals 50% more damage, and attacking the other just turns you around, swapping the bonus. Somebody always swings harder; you just pick who.
Two small things worth knowing. Both enemies open with 1 Artifact (2 on Ascension 18+), so your first debuff aimed at each one gets swallowed. And Smoke Bomb won't work in this fight at all until one of them is dead.
What Each One Does
| | Spire Spear (right) | Spire Shield (left) | |---|---|---| | HP | 160 (180 on A8+) | 110 (125 on A8+) | | Opener | Burn Strike: two hits of 5, adds 2 Burns to your discard | Bash: 12 damage and -1 Strength | | Every 3rd turn | Skewer from turn 2: three hits of 10 (four hits on A3+) | Smash from turn 3: 34 damage, and it gains that much Block | | Support move | Piercer: both enemies gain 2 Strength | Fortify: both enemies gain 30 Block |
The Spear is the clock and the Shield is the wall. Piercer pumps both of them up every cycle, and multi-hits like Skewer scale hardest with Strength, so the longer the fight runs the worse it gets. The Shield makes everything awkward: Fortify means punching through 30 extra block, and Smash is one of the bigger single hits in the game. If the Shield is the one behind you, its Bash lands for 18 and its Smash for 51.
Defect players get a special headache: if you have any orb slots, Bash has a 50% chance to take 1 Focus instead of 1 Strength. For a Frost build, losing Focus hurts way more than the 12 damage.
Who Dies First
Nine times out of ten, kill the Spear. It's the escalator. Removing it stops both enemies from gaining Strength every cycle, and what's left is a slow, block-happy turtle you can take apart at your own pace.
The other line: a fast deck can delete the Shield's 110 HP by turn 3, skipping the first Smash and turning off the Fortify support. That's usually better if your deck kills things fast. If it doesn't, don't force it.
Either way, treat this fight as the warm-up, not the main event. You want to walk out with potions still in the belt and HP to spare, because the boss node is the very next step and nothing heals you in between.
Reading the Hearts Attack Cycle
The Heart has 750 HP, or 800 on Ascension 9 and up. It starts with two passives already running, and both shape everything about the fight.
Beat of Death: every card you play costs you 1 HP, or 2 on Ascension 19+. Not just attacks. Powers, skills, everything.
Invincible: the Heart can only lose 300 HP per turn (200 on A19+), no matter where the damage comes from. Overshoot the cap and the extra just vanishes. That one power rules out the "dump my whole combo in one turn" plan. The damage has to be spread out.
Turn One Is Always Debilitate
It doesn't attack on turn 1. It hits you with 2 Vulnerable, 2 Weak, and 2 Frail, in that order, and shuffles five junk cards into your draw pile: a Dazed, a Slimed, a Wound, a Burn, and a Void. The Void is the meanest of the bunch, since it steals 1 energy when you draw it.
The debuffs are the real damage here. Weak cuts your attack damage by 25% and Frail cuts your block gains by 25%, so the first two attack turns happen while you're softened up. Artifact beats the whole package: one stack eats the Vulnerable, three stacks eat everything. That's why Clockwork Souvenir (1 Artifact at the start of every combat) and Orange Pellets (play a Power, an Attack, and a Skill in one turn to clear debuffs) are such good shop finds. Even a saved Artifact potion does real work here.
The Loop and the Two Attacks
After the opener it settles into a three-turn loop: two attacks, then a Buff. Turns 2 and 3 are attacks, turn 4 is the first Buff, turns 5 and 6 attack, turn 7 Buffs again, and on it goes.
The attacks themselves never change, only the order:
- Blood Shots: two hits of 12 (two hits of 15 on A4+)
- Echo: one hit of 40 (45 on A4+)
Which one leads each cycle is a coin flip, but the intent icon shows you exactly what's coming, so you always know whether to block for a flurry or one big thump.
The Buff Ladder
Every third turn, the Heart buffs. Each Buff gives 2 Strength plus a bonus, and the bonuses escalate hard:
| Buff | Turn | What it gains | |---|---|---| | First | 4 | 2 Strength and 2 Artifact | | Second | 7 | 2 Strength and +1 Beat of Death | | Third | 10 | 2 Strength and Painful Stabs | | Fourth | 13 | 18 Strength total (2 plus 10 more) | | Fifth | 16 | 70 Strength total (2 plus 50 more) |
The 2 Artifact on the first Buff eats your next single debuff. Stacked Weak or repeated applications punch through. One lonely cast gets swallowed.
Painful Stabs on the third Buff drops a Wound into your discard pile every time you take unblocked attack damage. Blocked hits don't trigger it. From turn 10 on, blocking protects your deck from clogging, not just your HP bar.
The Strength jumps are the actual clock. After the fourth Buff it's sitting at 18 Strength, which makes Echo a 58 hit and Blood Shots 60 across two swings. After the fifth Buff it's at 70, and Echo lands for 110. Nobody blocks 110. Plan to have the fight won by turn 10 or so, and treat anything past turn 13 as borrowed time.
One timing note: the Buff move clears all its Strength Down before stacking fresh Strength. Disarm it the turn before a Buff and you basically donated a card. Apply Strength loss right after a Buff lands and it sticks.
Building Enough Block and Damage
So How Much Block Is Enough?
Early targets that work: roughly 30 block by turn 2 or 3 while Frail is still sitting on you, then a steady 20-plus every turn after that, growing as the Heart's Strength grows. By the late cycles you're covering 60 a turn or losing the race.
Weak is the cheapest damage cut in the fight, trimming 25% off both attacks, so keep it on whenever you can manage. Intangible is the premium answer, since it flattens any hit to 1 damage and turns an Echo turn into a poke. Incense Burner grants 1 Intangible every 6 turns and the counter carries over between fights, so glance at it when the elite ends. If it's lined up to pop on an Echo turn, the Heart fight just got a lot easier. And if you're heavy into Strength removal, Torii is sneaky good, because Blood Shots hits of 5 or less become 1.
Paying the Beat of Death Tax
Ten cards a turn across an eight turn fight is 80 HP. That's a whole boss fight, paid in installments.
Tungsten Rod deletes the tax entirely, taking 1 off all HP loss. Silent's After Image blocks it back with 1 block per card played, and it's Innate when upgraded. On Ascension 19, or after the Heart's second Buff adds a second Beat of Death stack, one After Image stops covering it. That's when you want a second copy or some Intangible.
Otherwise, play smaller turns. Tight hands beat card vomit when every card costs HP.
Damage Math
The cap and the HP pool set the shape of things. 750 HP behind a 300-per-turn cap means three turns minimum even with perfect damage. Real runs take five to eight turns, so treat 100-plus damage a turn from the midgame on as the bar, and remember anything past 300 in a single turn is wasted.
That's why scaling beats burst here. Something that's bigger on turn 8 than on turn 3, like Demon Form or Focus stacks or Wrath cycling, fits the fight. A deck that dumps its whole load in one turn hits the cap, throws away the overflow, and has nothing left afterward.
Keeping the Junk Out of Your Hand
Between Debilitate's five statuses, the Spear's Burns, and Painful Stabs Wounds, this fight stuffs your deck with trash. A thin deck feels it less, which is another point for shop removal. Scry (Watcher) and exhaust (Ironclad) turn the trash into fuel. And if the Void is still sitting in your draw pile, plan a cheap turn for when it shows up, because it's taking an energy with it.
Character-Specific Heart Tips
Ironclad
Ironclad's problem here is block, not damage. Strength scales his offense forever, but the class is thin on repeatable defense, and this fight wants defense every turn.
Strength is still the win condition. Demon Form (2 Strength per turn, 3 upgraded) is the classic engine, with Inflame, Spot Weakness, and Limit Break as faster ways up the same hill. Disarm is quietly one of the best cards in the fight: 2 Strength off the boss, 3 upgraded, and each cast sets its schedule back a full cycle. Time it for right after a Buff so it doesn't get wiped.
For staying alive, Feel No Pain (3 block per card exhausted, 4 upgraded) is tailor-made here, because the Heart hands you Burns and Wounds for free and that's exhaust fuel. Dark Embrace stacks on top with a card drawn per exhaust. Impervious is 30 block on demand, 40 upgraded, exactly for Echo turns, and Body Slam decks get to count all that block as damage too. If you see Paper Phrog in a shop, grab it: your Vulnerable becomes +75% damage instead of +50%.
Silent
After Image first, always. One block per card played exactly cancels Beat of Death, it's Innate when upgraded, and your big turns stop costing HP. Against the doubled Beat of Death (A19 or after the second Buff) you want two copies or Intangible.
Wraith Form covers the scary turns: 2 Intangible, 3 upgraded, which makes an Echo a 1 damage poke. The Dexterity loss barely matters in a fight you're trying to end by turn 10.
Poison works if you accept that it's slow. Noxious Fumes puts 2 poison on every turn (3 upgraded) forever, and lets you spend your actual turns and energy on defense. Bring Footwork (2 Dexterity, 3 upgraded) so your block keeps growing alongside it. Shiv decks can still win, but every shiv is a Beat of Death payment, so After Image comes first here too.
Defect
Defect might have the most natural tools for this fight. Frost orbs make block while you do anything else, and Focus makes that block grow every turn.
The boring package wins: Capacitor (+2 orb slots, +3 upgraded), Defragment (+1 Focus, +2 upgraded), and Glacier (7 block plus 2 Frost, 10 block upgraded). Biased Cognition's +4 Focus (5 upgraded) decays by 1 each turn, which hardly matters in a fight you plan to end by turn 10. Loop re-triggers your first orb's passive every turn, twice when upgraded.
Two fight-specific notes. In the elite, remember that Bash can take Focus instead of Strength if you have orb slots, so guard your Focus stacks. Against the Heart, Static Discharge (1 Lightning per unblocked hit taken, 2 upgraded) pays you back for every hit you fail to block, and multi-hits like Blood Shots mean it fires more than once.
Watcher
Watcher can end this fight faster than anyone. Wrath doubles your attack damage, so a decent hand in Wrath pushes right up toward the 300 Invincible cap, and then you leave before the counterattack. The rhythm is the whole character: in for damage, out for safety.
Mental Fortress is the engine piece, giving 4 block on every stance change (6 upgraded), and it triggers before Beat of Death, so the swap itself is already paid for. Talk to the Hand adds 2 block to every attack you throw at the Heart (3 upgraded), and multi-hit attacks stack it fast. Halt is 12 block for zero energy while you're in Wrath. Rushdown draws 2 every time you enter Wrath, and Foresight (Scry 3, 4 upgraded) quietly deletes Wounds and Dazed from your draws before they reach your hand.
The way Watcher loses this fight is greed. Echo is a 40 damage single hit, and it loves to land the turn you stayed in Wrath for one more attack. Leave Wrath on the Heart's attack turns unless you're closing it out.
However you get there, count the buffs: turn 4, turn 7, turn 10, turn 13, turn 16. That fifth one puts the Heart at 70 Strength and turns Echo into a 110 damage fact. Everything about Act 4, from the keys to the last shop, is about being strong enough that the fight never sees turn 16.