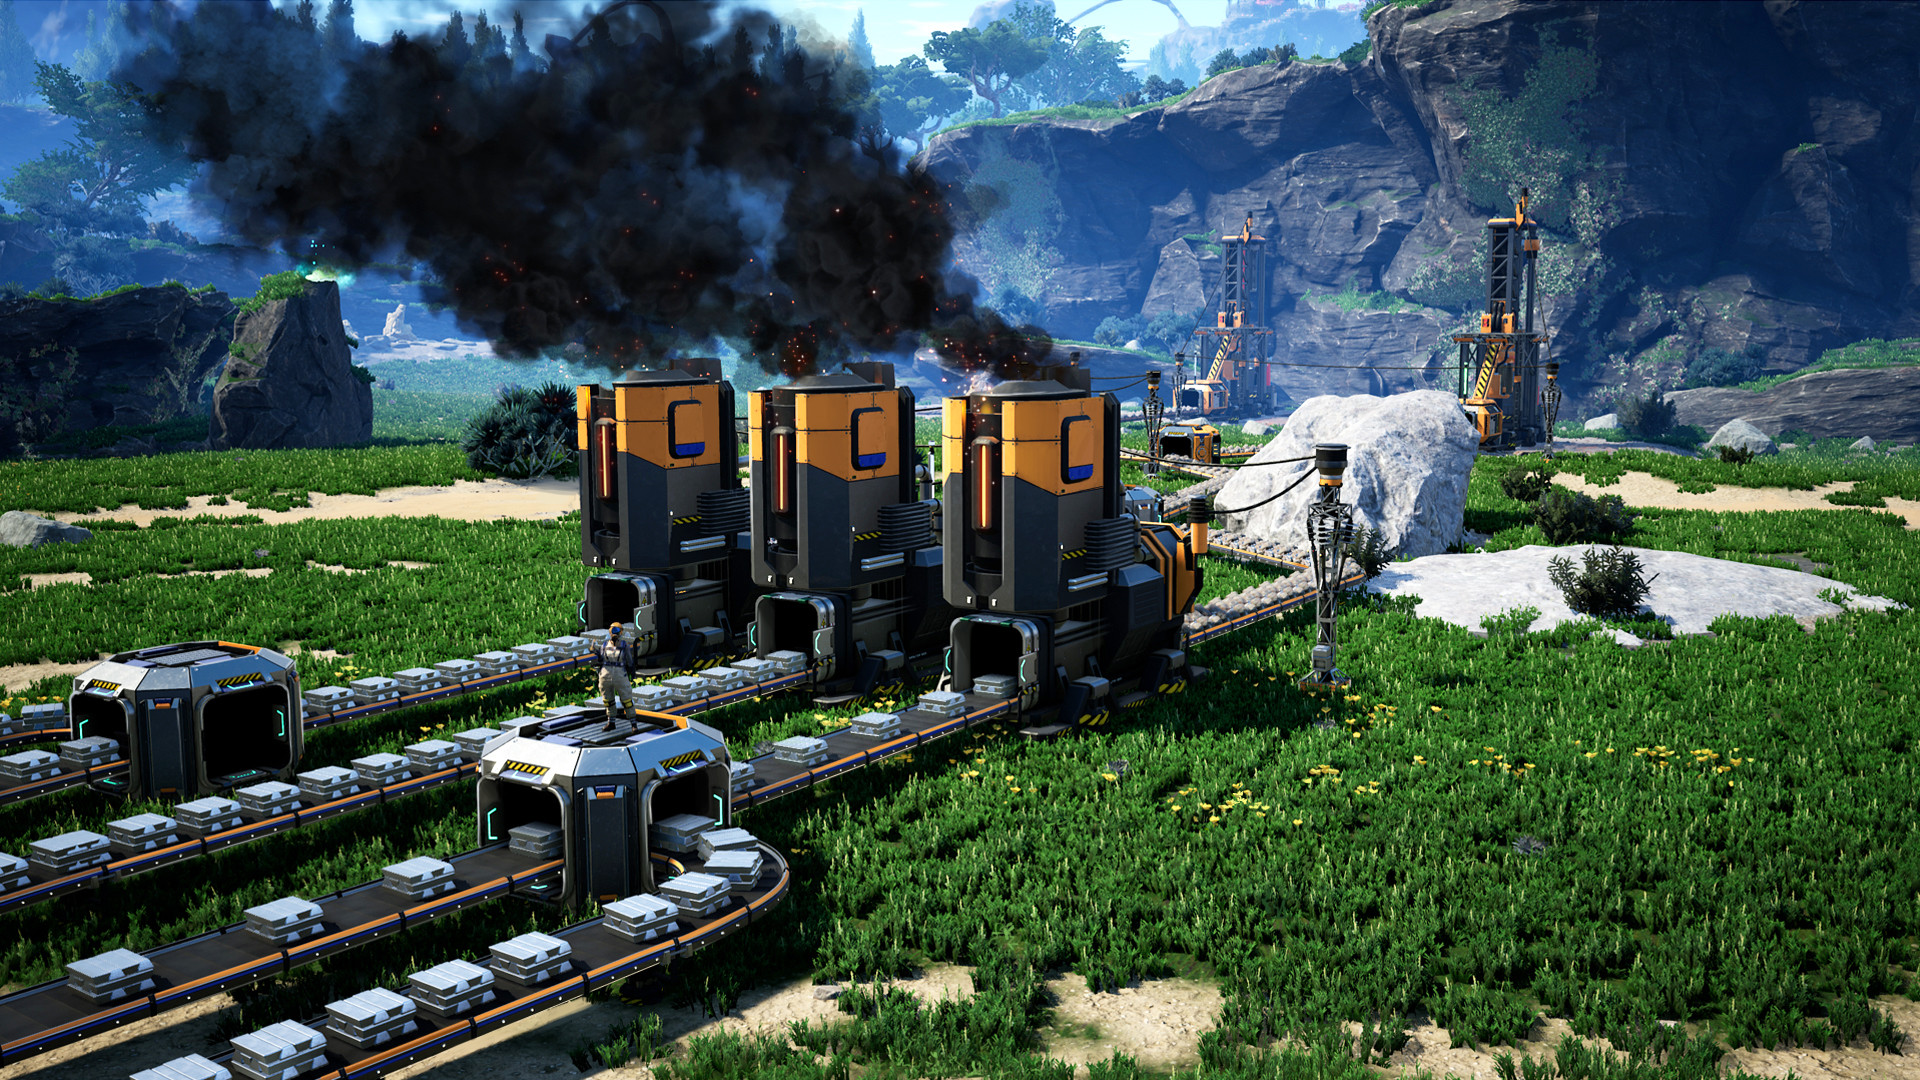
Satisfactory Power Guide: Coal, Fuel, and Nuclear Plants Explained
How to build coal, fuel, and nuclear power in Satisfactory, with the exact generator, water, and fuel ratios for each tier.
Power runs everything in Satisfactory, and the game isn't gentle about shortages. The second demand passes supply, the whole grid trips and every machine on it stops dead. Miners quit, refineries quit, and you're left running around in the dark looking for a lever to pull.
The way out is picking the right tier for where you are and building it with the right ratios. Coal carries the early mid-game, fuel takes over once you tap oil, and nuclear handles late-game builds at 2,500 MW per reactor. The numbers behind each tier are clean, and they're all laid out below, water pipes and waste storage included.
Biomass burners versus coal power tradeoffs
A standalone Biomass Burner makes 30 MW. The two small ones bolted onto the HUB make 20 MW each and burn fuel 1.5 times slower, so treat those as bonus power rather than a real plan.
Biomass burners have one trick no other generator gets: they scale to demand. If your factory only needs half their output, they burn half the fuel. Every other generator runs flat out no matter what, so biomass is actually pretty efficient early on, at least in terms of fuel spent.
The catch is the fuel itself. Leaves give 15 MJ, mycelia 20 MJ, wood 100 MJ, crafted Biomass 180 MJ, and Solid Biofuel 450 MJ. A burner at full draw chews through one unit of Solid Biofuel every 15 seconds. You can semi-automate the supply with a chainsaw and a couple of constructors turning leaves and wood into biofuel, but you're still refilling the burners by hand forever. They also can't charge Power Storages, since they only burn what the grid is asking for right now.
Coal changes the deal completely. Each Coal-Powered Generator makes 75 MW and runs on 15 Coal per minute plus 45 m³ of Water per minute, all fully automated. A single Mk.1 Miner on a normal node pulls 60 Coal per minute, which feeds four generators for 300 MW gross. Even an impure node gets you two generators, or 150 MW. That's several biomass burners' worth of output, minus the leaf-picking.
| Node purity (Mk.1 Miner at 100%) | Coal/min | Generators | Gross power | |---|---|---|---| | Impure | 30 | 2 | 150 MW | | Normal | 60 | 4 | 300 MW | | Pure | 120 | 8 | 600 MW |
The tradeoff is setup cost. Each coal generator takes 20 Reinforced Iron Plate, 10 Rotor, and 30 Cable, plus a water supply, plus belt runs out to a node. That's a real chunk of your early resources, and it all has to be built while your biomass bank is still limping along.
So when do you switch? Most players jump at Tier 3, right when Coal Power unlocks. If you're burning Solid Biofuel faster than you can chop it, that's your sign.
The usual move is to keep the biomass burners as a bridge while the coal plant goes up, then rip them out once the coal grid holds stable. Leaving one burner hooked up as a backup is fine too. Since it scales to demand, a full bank of them idles at nearly no fuel cost while coal is healthy.
Water extraction and coal generator ratios
Coal generators starve for water way more often than they starve for coal. Get the plumbing right first.
Each generator drinks 45 m³ of Water per minute, no matter which fuel it burns. A Water Extractor pushes 120 m³ per minute. So one extractor feeds 2.67 generators, and the clean ratio is three extractors per eight generators: 8 × 45 = 360 m³/min, and 3 × 120 = 360 m³/min. Perfectly balanced.
Then pipelines ruin it. A Mk.1 Pipeline moves 300 m³/min max, and eight generators want 360. Pipe all three extractors into one line feeding all eight generators and the last pair will run dry, especially the ones furthest from the water source.
Two fixes, both fine:
- Underclock each extractor to 75%. That's 90 m³/min per extractor, exactly what two generators need. Pair one extractor with two generators and call it done. You'll need four extractors for eight generators this way instead of three, but the plumbing stays dead simple.
- Split the water across two Mk.1 lines, four generators per line at 180 m³/min each. Well under the cap.
Mk.2 Pipelines move 600 m³/min, which handles up to 13 generators and five extractors on a single line. Once those unlock, most of this headache goes away on its own.
| Plant size | Water needed | Extractors at 100% | Notes | |---|---|---|---| | 4 generators | 180 m³/min | 2 (1.5 really) | Fits one Mk.1 line | | 8 generators | 360 m³/min | 3 | Over one Mk.1 line, split it | | 16 generators | 720 m³/min | 6 | Two Mk.2 lines is easiest |
Water extractors draw 20 MW each, so they eat roughly 10% of whatever the plant generates. Budget for it. Three extractors on an eight-generator plant cost 60 MW against 600 MW gross, leaving 540 MW before you even subtract the miner.
A few placement details that trip people up:
- Extractors need deep water. Rivers usually aren't deep enough, and the build hologram just refuses to appear on shallow spots. Lakes and coastlines are your friends.
- Each extractor provides a recommended head lift of 10 meters. Pushing water uphill past that needs Pipeline Pumps, and pumps add their own draw.
- The placement footprint is 25 m × 25 m even though the building itself is smaller. Drop the extractor first, then build foundations around it.
Worth knowing for later: coal generators also burn Compacted Coal (7.14 per minute, 630 MJ each) or Petroleum Coke (25 per minute, 180 MJ each) at the same 75 MW output. Coke is a decent home for leftover Heavy Oil Residue once refineries enter the picture, as long as you handle overflow so a coke backup doesn't stall your plastic line upstream.
Fuel generators and packaged fuel logistics
The Fuel-Powered Generator got a big buff in 1.0: 250 MW each, up from 150. It burns Fuel at 20 m³/min at that output.
The base refining recipe is 6 Crude Oil per minute into a Refinery for 4 Fuel per minute plus 3 Polymer Resin. So one refinery (40 m³/min of Fuel) feeds exactly two generators. The whole plant chains off node purity:
| Node purity | Crude Oil/min | Refineries | Fuel/min | Generators | Gross power | |---|---|---|---|---|---| | Impure | 60 m³ | 1 | 40 m³ | 2 | 500 MW | | Normal | 120 m³ | 2 | 80 m³ | 4 | 1000 MW | | Pure | 240 m³ | 4 | 160 m³ | 8 | 2000 MW |
Those are gross numbers. The Oil Extractor and the refineries take a real bite out of them, so don't promise the full figure to the rest of your factory.
The Polymer Resin byproduct matters more than people expect. If it backs up, the refinery stalls, and your power plant stalls with it. Belt the resin into storage, sink it, or feed it into plastic and rubber production. Just don't leave it nowhere to go.
Fuel options, all straight off the wiki:
| Fuel | Energy | Burn rate per generator | |---|---|---| | Fuel | 750 MJ | 20 m³/min | | Turbofuel | 2,000 MJ | 7.5 m³/min | | Rocket Fuel | 3,600 MJ | 4.17 m³/min | | Ionized Fuel | 5,000 MJ | 3 m³/min |
Every fuel type makes the same 250 MW per generator. Better fuel just means the generator sips slower, so a fixed oil supply supports more of them. Turbofuel is the usual upgrade: a Refinery turns 22.5 m³ of Fuel plus 15 Compacted Coal into 18.75 m³ of Turbofuel, and that squeezes way more power out of the same oil. Rocket Fuel and Ionized Fuel push further still, but they want sulfur and nitrogen and a lot more processing to get there.
Packaged fuel and what it's actually for
Packaged Fuel is a different animal from generator fuel. A Packager turns 2 Fuel plus 2 Empty Canisters into 2 Packaged Fuel, and unpackaging hands the canisters back. Packaged fuel rides belts instead of pipelines, which makes it the fuel for trucks, the Explorer, Drones, and the Jetpack.
The Jetpack angle alone justifies a small packaging loop. Packaged Fuel is one of six jetpack fuels, and the upgraded ones (Packaged Turbofuel, Packaged Rocket Fuel) keep you airborne a lot longer per tank. Once you've flown a map on Turbofuel, going back to regular fuel feels bad.
Two things to know before you build it:
- Canisters are not returned when a vehicle or jetpack burns packaged fuel. Only unpackaging refunds them. Keep a steady supply of Empty Canisters flowing into the loop, or it slowly bleeds out.
- A Packager draws 10 MW and a Refinery 30 MW. Small numbers individually, but they add up on a big fuel plant.
If you're swimming in Heavy Oil Residue, hunt down the Diluted Packaged Fuel alternate recipe. One Refinery turns 30 m³ of residue plus 60 Packaged Water into 60 Packaged Fuel per minute. Pair it with the Heavy Oil Residue alternate refining recipe and your fuel output roughly quadruples per node. The blender-based Diluted Fuel recipe does the same job about 10% more efficiently, but it waits on a Tier 7 unlock, so the packaged version usually arrives first.
Nuclear power plant setup and uranium waste handling
One Nuclear Power Plant makes 2,500 MW. That's the entire sales pitch: a single reactor replaces 10 fuel generators or 33 coal generators. The unlock is Tier 8, and the build cost is steep at 10 Supercomputers, 25 Heavy Modular Frames, 100 Alclad Aluminum Sheet, 200 Cable, and 250 Concrete apiece.
Each reactor needs 240 m³ of Water per minute, which is exactly two Water Extractors. Water demand holds steady across fuel types. Overclocking scales everything linearly, so a reactor pushed to 250% clock speed wants 600 m³/min instead.
| Rod | Burn time | Rods/min | Waste/min | Water/min | |---|---|---|---|---| | Uranium Fuel Rod | 300 sec | 0.2 | 10 Uranium Waste | 240 m³ | | Plutonium Fuel Rod | 600 sec | 0.1 | 1 Plutonium Waste | 240 m³ | | Ficsonium Fuel Rod | 60 sec | 1 | none | 240 m³ |
The Uranium Fuel Rod supply chain is the real project here. One rod takes 50 Encased Uranium Cells, 3 Encased Industrial Beams, and 5 Electromagnetic Control Rods, assembled over 150 seconds in a Manufacturer. That works out to 0.4 rods per minute per Manufacturer, and each reactor burns only 0.2 per minute, so one Manufacturer supplies two reactors. Behind that sits uranium ore processing into cells, along with the sulfur chain for control rods and the bauxite chain for beams. Build the rod plant before the reactors, not after. Restarting a finished reactor hall to shoehorn in a Manufacturer line is miserable.
Handling uranium waste
Uranium Waste stacks to 500 and cannot be destroyed. There's no trash button for it, the AWESOME Sink refuses it (it clogs the input), and it stays radioactive permanently. Every unit sitting on a belt or in a container puts out radiation, so route the waste line away from anywhere you walk regularly.
Storage is the short-term answer. Chain Industrial Storage Containers and let them fill. A single reactor makes 10 waste per minute, or 600 per hour, so a container bank fills slower than you'd fear. Ten hours of runtime produces 6,000 waste, which is 12 full stacks. Annoying, but manageable.
The long-term answer is reprocessing, unlocked with Tier 8 Particle Enrichment:
- Blender: 37.5 Uranium Waste per minute plus Silica, Nitric Acid, and Sulfuric Acid becomes 50 Non-Fissile Uranium per minute.
- Particle Accelerator: 100 Non-Fissile Uranium plus 25 more Uranium Waste becomes 30 Plutonium Pellets per minute. The accelerator draws 250 to 750 MW while running, a serious power cost stacked on top of the supply chain.
- Pellets become Encased Plutonium Cells, then Plutonium Fuel Rods.
From there you've got two moves. Burn the plutonium rods for another round of 2,500 MW per reactor (they produce just 1 Plutonium Waste per minute, down from 10 with uranium), or sink the rods outright. Sinking them is one of only two ways to genuinely delete nuclear waste, and it pays out a fat pile of Sink points along the way.
Push into Tier 9 and Ficsonium Fuel Rods burn with zero waste at all. That's the endgame clean nuclear loop, and it's the point where radiation management mostly stops being your problem.
Power grid design to avoid brownouts
One correction on the section title, because Satisfactory doesn't really do brownouts. Buildings never run slow when power is short. The grid just trips, all at once, and everything stops. That's worse in some ways since you get no warning gradient, but it also means the fix is simple: keep production above consumption at all times.
Here's how a trip plays out. When consumption passes production and every Power Storage on the grid is empty, the breaker blows. You reset it by walking to any power pole or generator on that grid and pulling the lever in the UI. Pull the lever without fixing anything and it trips again instantly, so add generation or disconnect a factory section first.
A few things that catch people over and over:
- The Hoverpack draws 100 MW and doesn't show up on the power graph. On a small grid that hidden draw is enough to keep tripping the breaker in a loop. Unequip it before you reset.
- A trip can let hostile creatures respawn. Fun surprise when you stroll back out to flip the lever.
- Power Storages won't charge off Biomass Burners, since those only burn what the grid demands right now. If your backup power is all biomass, your buffer stays empty.
Power Storage
Each Power Storage holds 100 MWh and charges at up to 100 MW, so a completely empty one takes at least an hour to fill. Discharge rate is unlimited, and every storage on the grid dumps in simultaneously the moment production falls short. They throw a warning when discharge drops them below 80% capacity, which is your cue to go build more generation before the buffer runs dry.
A rough target: aim for storage equal to 30 or 60 minutes of your factory's average draw. That covers a fuel shipment arriving late or a Particle Accelerator spinning up, and it buys you time to react instead of scrambling through a blackout.
Grid habits that prevent trips
- Build generation before the machines that need it. Feels slow in the moment, saves a dozen restarts.
- Keep headroom. If the graph shows capacity and consumption nearly touching, you're one new factory away from a trip. Around 20 to 30% spare capacity is comfortable.
- Check the graph at any power pole. It shows capacity, production, and consumption over time, and it'll tell you whether a section starves during specific phases rather than constantly.
- Use Power Switches to split the grid into sections. A train network, an accelerator, and your smelter line all have different draw patterns. Isolating them lets you shut one down instead of watching the whole map go dark.
- Wire new factory blocks through a switch first. Flip it on, watch the graph for a minute, then commit.
The classic late-game trap is the Particle Accelerator. It pulls up to 750 MW in bursts while making Plutonium Pellets, and if your grid was already tight, that burst is what finally trips it. Either leave real headroom for the spikes or give the accelerator its own dedicated grid with its own fuel plant. One reactor's worth of separation buys a lot of peace of mind, and at 2,500 MW apiece, you only need the one.