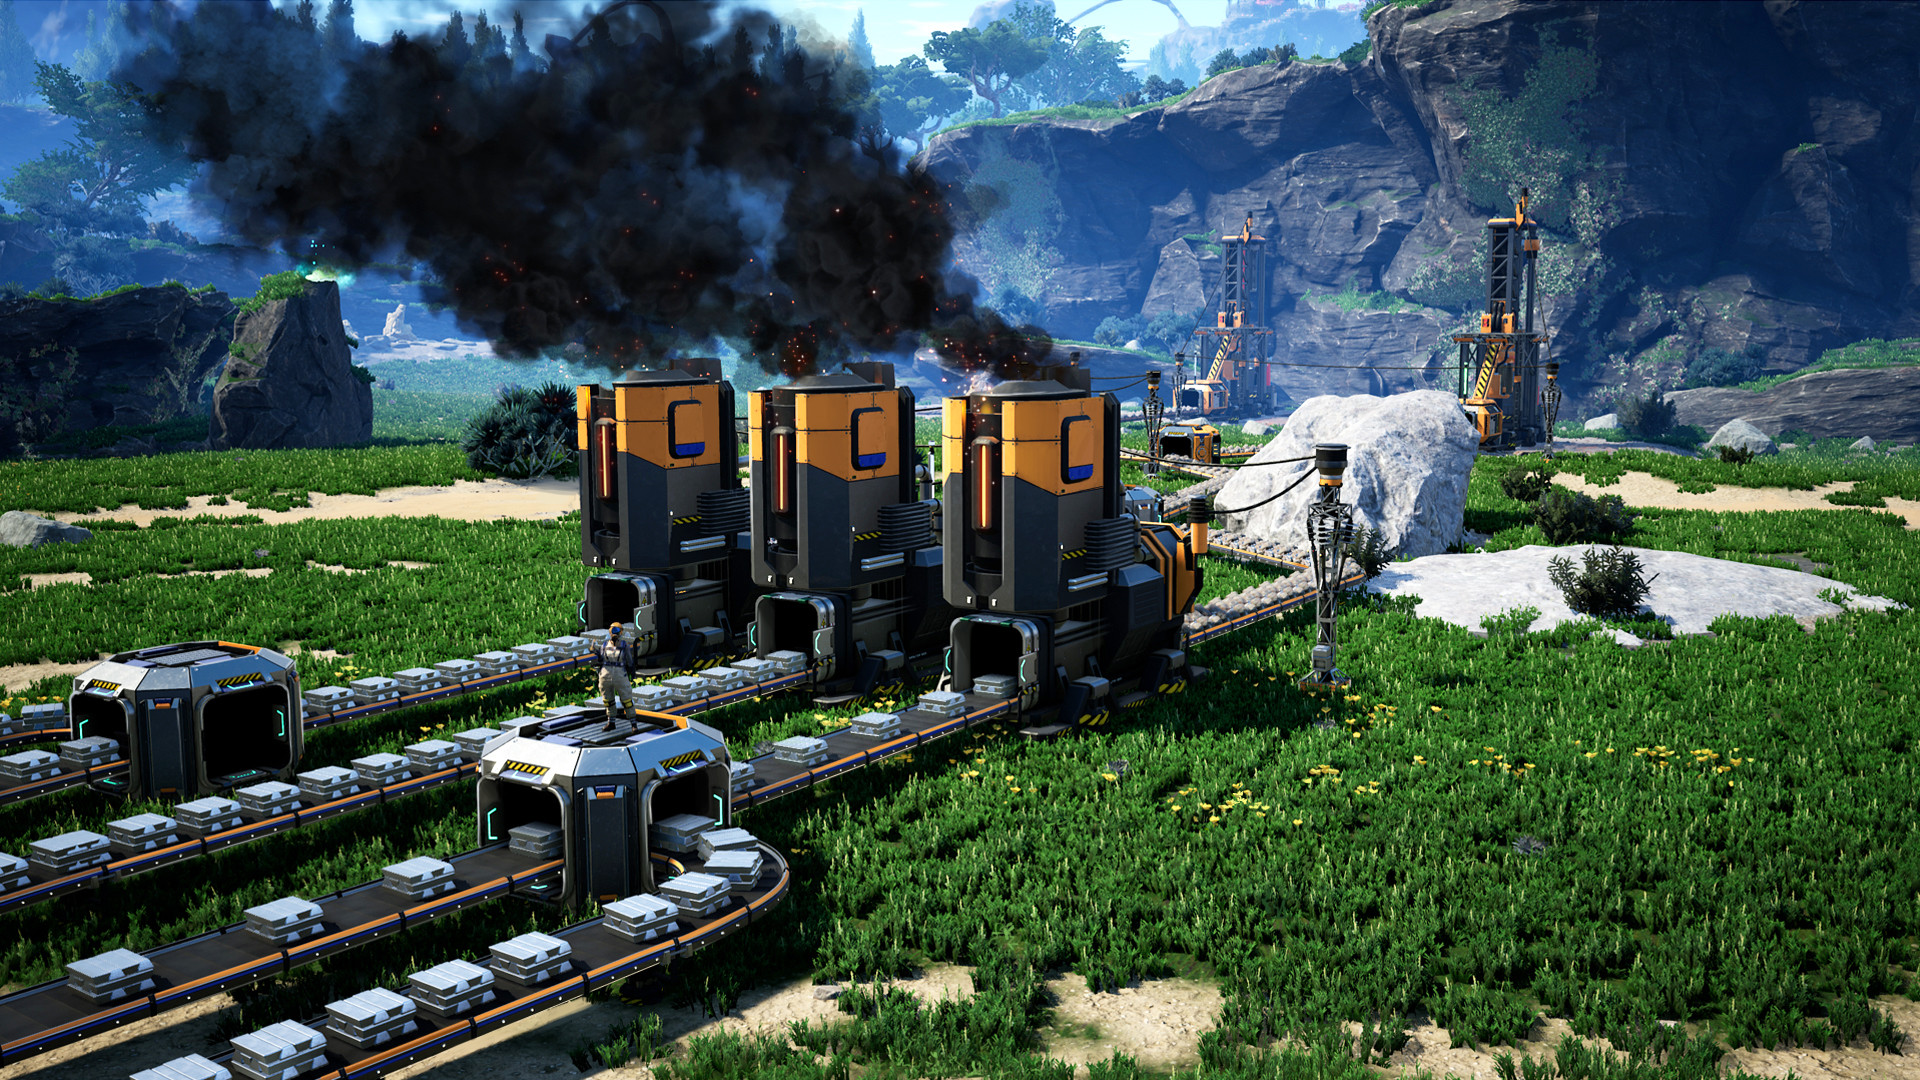
Satisfactory Beginner Guide: Your First Hours on Massage-2(A-B)b
Covers picking a landing zone, setting up smelters and constructors, wiring early power, and dodging the usual beginner mistakes.
You crash onto MASSAGE-2(A-B)b with nothing but a build gun and a corporate AI named ADA talking in your ear. The next few hours decide whether your factory grows in a nice straight line or turns into a tangled mess you have to rip out later. The good news is the game holds your hand through the opening, and almost nothing you build early on is wasted effort, since tearing a machine down refunds every part you spent on it. This walks through picking a landing spot, getting your first smelter and constructor running, spending HUB upgrades in a smart order, keeping the lights on with biomass, and the belt and inventory mistakes that trip up basically everyone.
Landing pod choices and starting resource nodes
Before the drop-pod ever opens, the game asks you to pick one of four starting areas: Grass Fields, Rocky Desert, Northern Forest, or Dune Desert. They're not balanced, and the pick matters more than most new players expect.
The official ratings break down like this:
| Starting area | Flatness | Biomass | Ore amount | Ore variety | | --- | --- | --- | --- | --- | | Grass Fields | 5/5 | 3/5 | 3/5 | 3/5 | | Rocky Desert | 4/5 | 3/5 | 3/5 | 4/5 | | Northern Forest | 1/5 | 5/5 | 4/5 | 5/5 | | Dune Desert | 4/5 | 2/5 | 5/5 | 2/5 |
Which one to pick
Grass Fields is the classic first-timer choice. It's flat, open, and easy to build on, and the terrain almost never fights your conveyor runs. The catch is that a lot of the nodes there are impure, and the good mining spots sit pretty far apart. You'll end up running long belts or building small satellite outposts sooner than you'd like.
Rocky Desert is the one most experienced players point new people toward. Flat-ish ground, a solid spread of iron, copper, and limestone, and it sits right next to the sea. That last part sounds boring until you need water for coal power later and it's a two minute walk instead of a cross-country hike.
Northern Forest is gorgeous and rich, and the terrain is a nightmare. Hills everywhere, height changes, and almost no flat ground to lay a factory on. You can make it work, but you'll be building foundations to level things out long before you unlock nice ones. Save it for a second playthrough.
Dune Desert has the most ore in the game and huge wide-open space to build in. The problem is biomass. Trees and bushes only grow in the scattered oases, and your early power all comes from burning leaves and wood. That makes the first stretch rough. Pick it once you know the loop already.
What to actually do when you land
Press F and dismantle the drop-pod for parts, open the Codex once so ADA stops nudging you, and get your Xeno-Zapper equipped. Then hold V to bring up the resource scanner and set it to Iron Ore. Markers pop up on your HUD, and you walk to one and hold E on the deposit to hand-mine it. You need ore before anything else can happen.
While you're walking, keep an eye out for three things near each other: iron, copper, and limestone. Iron carries the whole early game, copper gives you wire and cable for anything electrical, and limestone becomes concrete, which goes into power poles, miners, and later every foundation you own. Copper a bit farther out is fine. Iron should be close.
Purity is the other thing to check. Look at a node and it'll say impure, normal, or pure. That rating is a straight multiplier on how fast a miner pulls ore out of it. A Miner Mk.1 on an impure node gets 30 ore per minute, normal gets 60, and pure gets 120. Same machine, same power draw, four times the output between worst and best. So a pure iron node within sight of a decent flat spot is worth a slightly longer walk from spawn.
Building your first smelter and constructor line
The first real milestone of the game is turning ore into ingots without standing there doing it yourself. That's the smelter, and it shows up at HUB Upgrade 2.
The smelter
A smelter costs 5 Iron Rod and 8 Wire to build and draws 4 MW. Its iron recipe is dead simple: 1 ore goes in, 1 ingot comes out, every 2 seconds. That works out to 30 ore per minute in and 30 ingots per minute out. Copper runs the exact same numbers.
That 30 per minute figure is the one to burn into your brain, because it's the unit everything else early game gets measured against. A Miner Mk.1 on a normal node pumps 60 ore per minute, which is exactly two smelters' worth. One normal node, two smelters, nothing wasted. A pure node at 120 per minute feeds four. An impure node at 30 feeds exactly one.
So a clean starter metal line looks like this: one Miner Mk.1 on a normal iron node, a Mk.1 belt into two smelters sitting side by side. Split the belt between them once you have splitters, or just run one belt per smelter from a portable miner if you're not there yet. Out the other end comes 60 ingots a minute, forever, with no clicking.
The constructor
Constructors arrive at HUB Upgrade 3. Each one costs 2 Reinforced Iron Plate and 8 Cable, and also pulls 4 MW. This is where the ingots turn into parts you can actually build with. The rates worth knowing:
| Recipe | Input per min | Output per min | | --- | --- | --- | | Iron Plate | 30 Iron Ingot | 20 Iron Plate | | Iron Rod | 15 Iron Ingot | 15 Iron Rod | | Screws | 10 Iron Rod | 40 Screws | | Concrete | 30 Limestone | 15 Concrete | | Wire | 15 Copper Ingot | 30 Wire | | Cable | 60 Wire | 30 Cable |
Notice how neatly some of these chain together. One smelter making 30 iron ingots per minute feeds exactly one plate constructor. One copper smelter at 30 per minute feeds exactly two wire constructors. Two wire constructors making 60 wire per minute feed exactly one cable constructor. The numbers line up on purpose, and once you see the pattern you can plan a floor of machines without a calculator.
Screws deserve a special mention because they multiply. One rod constructor at 15 rods per minute is only half of what a screw constructor wants, since those eat 10 rods per minute and spit out 40 screws. Two rod constructors feeding three screw constructors is a perfect 30 in, 30 used. You'll want those screws, because Rotors and later milestones eat them by the hundreds.
A layout that won't hurt later
Resist the urge to cram everything against the HUB. Leave a few machine-widths of clearance on at least one side of every line. Early factories that look sparse are the ones you can still extend at hour ten. The ones that look tidy and dense are the ones you bulldoze.
Another trick worth using from the start: underclocking. Click a machine and drag its clock speed down. A constructor at 50% speed draws 1.6 MW instead of 4. If you've got a machine that only needs to run half duty anyway, like an impure node's smelter, slowing it down keeps your power bill sane. You're not losing anything when the input was the bottleneck.
HUB upgrades and Milestone priorities
Tier 0 is the tutorial tier, and unlike everything after it, the six HUB upgrades have to be done in order. You feed parts into the HUB Terminal (walk up, press E, then Ctrl+click the materials) and each one pays out immediately. Here's what each level costs and hands you:
| Upgrade | Cost | What you get | | --- | --- | --- | | HUB 1 | 10 Iron Rod | Equipment Workshop, Portable Miner, +1 inventory slot | | HUB 2 | 20 Iron Rod, 10 Iron Plate | Smelter, Power Line, copper recipes, first HUB burner | | HUB 3 | 20 Iron Plate, 20 Iron Rod, 20 Wire | Constructor, Power Pole, concrete and screw recipes | | HUB 4 | 75 Iron Plate, 20 Cable, 10 Concrete | Conveyor Belts, Conveyor Poles, +3 slots | | HUB 5 | 75 Iron Rod, 50 Cable, 20 Concrete | Miner Mk.1, Storage Container, +3 slots | | HUB 6 | 100 Iron Rod, 100 Iron Plate, 100 Wire, 50 Concrete | Standalone Biomass Burner, Space Elevator, biomass recipe |
There's no picking here, so the real strategy is about how fast you clear it. The short version: hand-craft your way to HUB 3, then start automating the parts for the rest. HUB 6's 100 rods and 100 plates feel brutal to click out by hand and take minutes when a constructor line does it.
Those inventory slot upgrades add up too. You start tight on pocket space and Tier 0 quietly hands you 13 extra slots along the way. Every one of those makes the screw problem smaller.
What to rush after Tier 0
Once the HUB is finished, Tiers 1 and 2 open up, and here you do get choices. Three Tier 1 milestones matter right away:
- Logistics gets you Conveyor Splitters, Mergers, and Lifts. Splitters alone change how you build. Being able to feed three smelters off one belt is the moment the game stops feeling like babysitting.
- Field Research unlocks the MAM and the map. The MAM is where power slugs, caterium, and all the side research trees live, and having an actual map instead of fog is worth a lot more than people give it credit for.
- Base Building gives you foundations and walls. Grab it when the terrain starts annoying you, not before. Flat ground is nice, but splitters and the map will speed you up more.
In Tier 2, head for Part Assembly (the Assembler, your first machine that combines two ingredients) and Obstacle Clearing (the Chainsaw and Solid Biofuel). The chainsaw turns tree chopping from tedious to fast, and solid biofuel is a big upgrade over plain biomass for keeping your generators fed.
Past that, build the Space Elevator and finish Phase 1. That's the gate to Tier 3, and Tier 3 is Coal Power, which is the whole reason to push. Every hour of wood-chopping you do before coal is an hour you get back afterward.
Also worth doing as soon as you see them: grab purple, yellow, and blue power slugs off cliffs and caves. MAM research turns them into Power Shards, and shards are what let you overclock a pure node's miner to squeeze even more ore out of it.
Power poles and early biomass generators
Until coal, every watt you use comes from burning plants. The HUB ships with two small biomass burners bolted to the side, unlocked at HUB Upgrades 2 and 5. Each of those puts out 20 MW and burns fuel 1.5 times slower than the standalone kind, which is a quiet little bonus for keeping your base right next door early on.
The proper Biomass Burner is a HUB Upgrade 6 unlock. It costs 15 Iron Plate, 15 Iron Rod, and 25 Wire, puts out 30 MW, and since release 1.0 it has a conveyor input so you can feed it off a belt. That input is your path out of manual refueling.
Fuel that's actually worth burning
Not all biomass is equal. The energy numbers per item:
| Fuel | Energy | | --- | --- | | Leaves | 15 MJ | | Mycelia | 20 MJ | | Wood | 100 MJ | | Biomass | 180 MJ | | Solid Biofuel | 450 MJ |
Raw leaves are almost worthless. Wood is okay. But the real move is converting before burning. The recipe that turns 4 Wood into 20 Biomass takes 400 MJ of input and produces 3,600 MJ of output. Nine times the energy from the same four logs. Grinding your wood into biomass at a Craft Bench is the single biggest free win in the first hour, and it's the difference between refueling every few minutes and walking away for half an hour.
Solid Biofuel (Tier 2, needs the Chainsaw milestone) does it again, a further 1.25x on top, and stacks the energy into fewer items. At 30 MW a burner chews through one 180 MJ biomass every 6 seconds at full load, but only one 450 MJ solid biofuel every 15.
One quirk of biomass burners: they throttle to demand. If your grid is only using half the output, fuel burns proportionally slower. Build a couple extra and they'll all sip fuel together instead of one running dry. Handy for outposts. The flip side is they can't charge Power Storage, so don't count on them as a battery buffer later on.
Wiring it up
Power Pole Mk.1 arrives at HUB Upgrade 3. Each one costs 3 Wire, 1 Iron Rod, and 1 Concrete, and gives you 4 connection points. Power Lines can stretch up to 100 meters between poles, so you don't need a pole on every machine. The usual beginner mistake is jamming all 4 slots instantly. Leave one open on each pole so you can always extend later without rewiring.
A nice trick while dragging a line: if your second target isn't a building, the game drops a new pole automatically where you're aiming. Chain those and you can sprint a power line out to a distant miner in seconds.
Budget-wise, one standalone burner at 30 MW comfortably runs a starter base. A Miner Mk.1 (5 MW), two smelters (8 MW), and two constructors (8 MW) together draw 21 MW. Add a third constructor and you're at 25. That's when you build the second burner, and a good habit is to build it before the machines, not after the blackout. When a Satisfactory grid trips, every machine on it stops at once, and if your fuel supply depended on those machines you get to sort that out in the dark.
Common early mistakes with belts and inventory space
Almost every rough first save comes down to one of these.
Mk.1 belts choke faster than you think
A Mk.1 belt moves 60 items per minute, full stop. That's a perfect match for a normal node's Miner Mk.1, and a hard ceiling for a pure one. Put a miner on a pure node at 120 per minute and route it through one Mk.1 belt, and half your ore backs up at the miner. The machine says it's producing 120 but only 60 arrives. Check belt marks before you blame the miners, because the fix is splitting onto two belts, not adding more machines.
Screws will eat your belts and your pockets
Forty screws per minute out of one constructor sounds modest until you realize how much belt space they take. Every screw is its own item sitting on the belt, no stacking, so a healthy screw line looks packed solid. Give screws their own belts and keep them away from your plate and ingot runs. Crossing a full screw belt over an ingot belt is how you end up rebuilding the same corner three times.
A backed-up belt is not an error
If the machine at the end of a belt is full, items just stop on the belt and wait. Nothing spills, nothing is lost. That's the normal state of a manifold: run one belt past a row of machines, drop a splitter in front of each, and let the first machines fill up before the last ones start eating. The back half sits idle for a few minutes, then everything evens out. People see the idle machines and assume it's broken. It isn't. Let it fill.
Hand-crafting past its expiration date
The Craft Bench exists to get you through HUB 4 or so. After that, every minute spent holding down the craft button on iron plates is a minute your constructors could have been doing for free while you explore. A rule that works: the moment a part shows up in a milestone cost twice in a row, that part deserves a dedicated constructor.
Hoarding in your pockets
Pocket space is tight early, and slot upgrades only come trickling in. Screws and wire stack in small amounts, so carrying 200 screws can eat several slots that should hold a spare miner and some concrete. Drop a Storage Container (HUB 5) next to your production line and one by the HUB, and make a habit of emptying into them before you run off to build. The Personal Storage Box inside the HUB works fine for this before containers unlock.
Building with no room to grow
Cramming machines flush against each other saves ten seconds now and costs an hour later when you need to widen the line. Same for snaking a belt directly on the ground through rocks and roots. It works on day one. By day three you're lifting the whole run anyway. Two things make this painless once you have them: foundations to give everything a flat, gridded floor, and conveyor lifts to go vertical instead of around.
Remember that dismantling refunds 100 percent of the build cost, so none of this is permanent. If a layout isn't working, tear it out and try again. The only real waste in the first hours is a pure iron node still sitting there with nobody mining it, so before you do anything fancy, get that miner placed and powered.