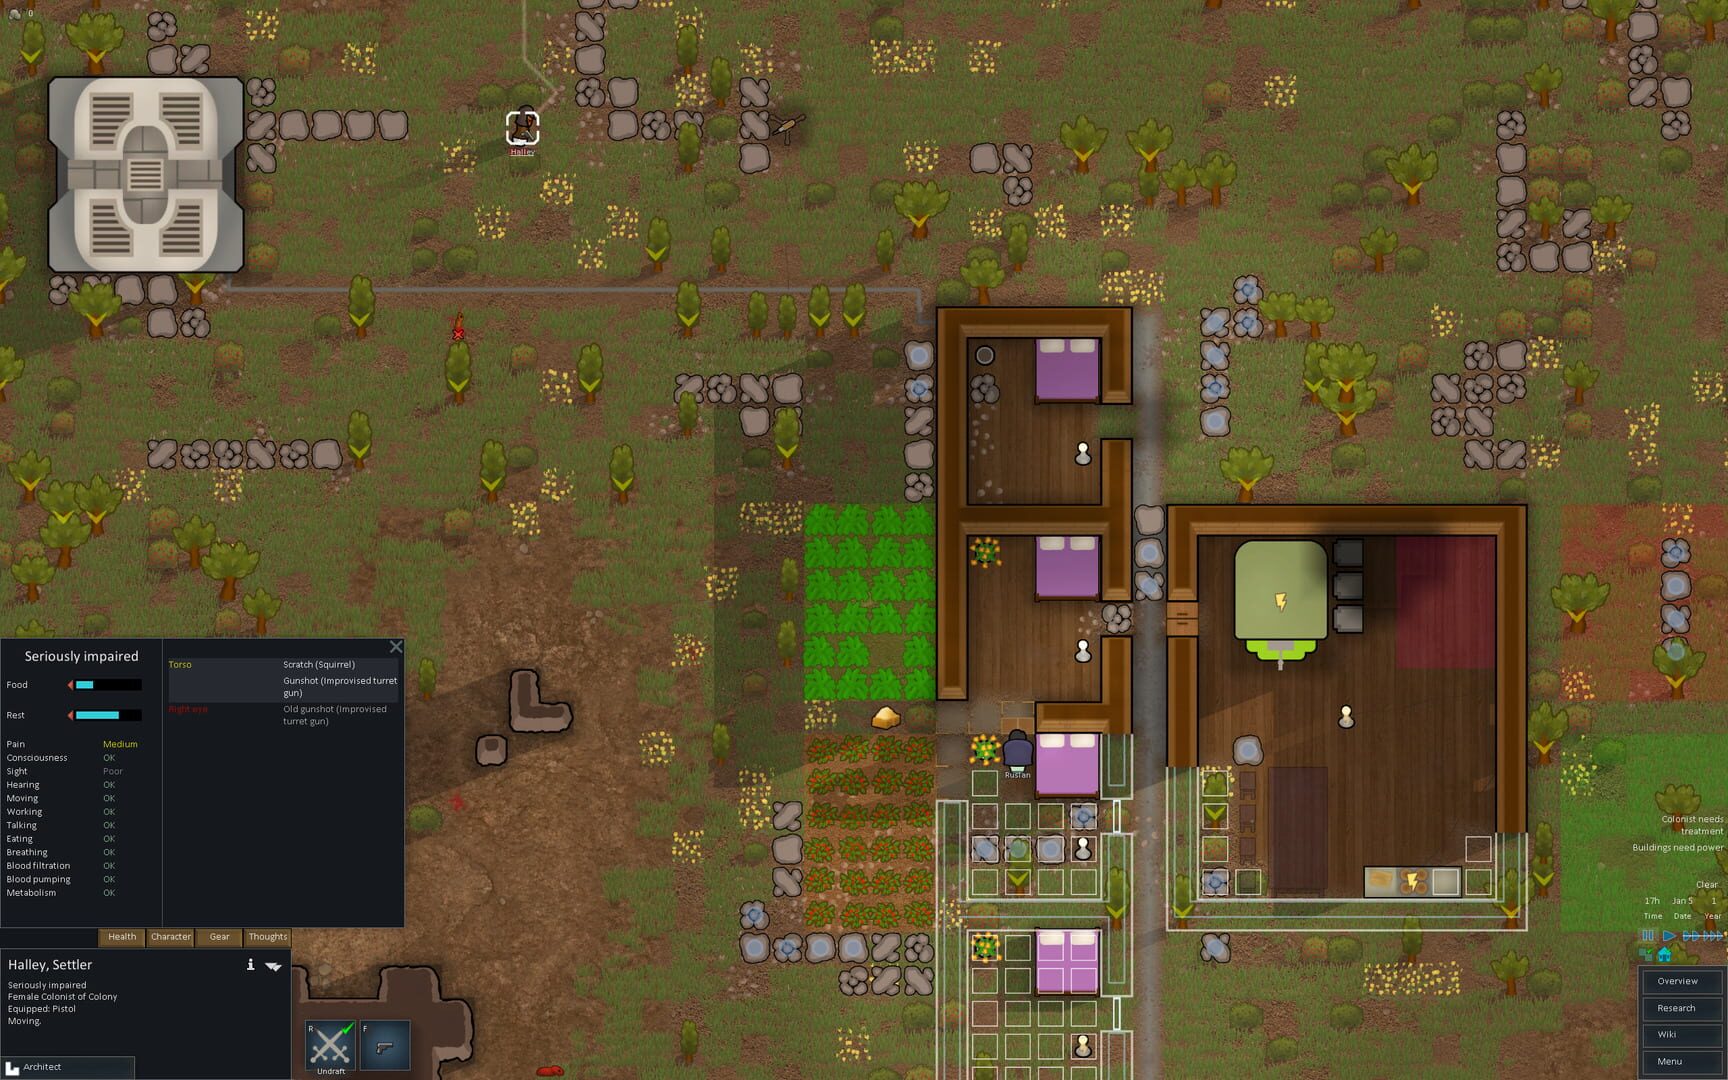
RimWorld Base Layout Guide: Room Design and Killbox Placement
How to lay out a RimWorld base, with room sizes, mood buff targets, killbox placement, and battery room safety.
A RimWorld colony lives or dies on its floor plan. Long walks eat the workday, a leaky freezer rots the harvest, and one soft wall can hand a raid the whole map. Almost all of it comes down to choices made before the first wall goes up, so it's worth getting the shape right while everything is still cheap to move.
Core Principles of Efficient Base Layouts
Traffic is the whole game
Every layout question in RimWorld is secretly a walking question. Time spent hauling meals or trudging to a bench is time not spent cooking, crafting, or researching. So the heart of the base is the work cluster: freezer, kitchen, storage, and workshop arranged so raw materials move a handful of tiles from shelf to bench to stockpile. A pawn who crosses the map for steel every third craft is losing hours a day, and it never shows up as a number anywhere.
Where each room goes
Around that cluster, place rooms where their traffic patterns make sense:
- Bedrooms go on the edge of the base, never the middle. Nobody sleeps at noon, and when breachers come through the wall smashing whatever's in the path, you want them hitting beds, not fabrication benches. Edge bedrooms also leave room to add more later without redesigning anything.
- Dining and rec rooms sit next to the bedrooms. Pawns eat and unwind mostly in the morning and evening, so the far side of the map is the wrong place for the pool table.
- Hospital and prison go central. Both get constant visits from doctors and wardens, and a prison break in the middle of your base gets caught. A prison break at the map corner usually doesn't.
- The freezer needs a short path from the crop fields and the kitchen both. It also gets outside traffic from hauling, so a door that opens toward the fields saves a surprising number of steps.
- Keep the armory near the entrance so defenders can grab guns on the way out, but away from the prison so escaping guests don't walk past a rack of charge rifles. Ammo goes deeper in, away from anything that burns.
Picking a base shape
The three classic shapes each trade something. A superstructure base (one or two big buildings) has the shortest walks and the best temperature control, but a fire in a wooden one spreads everywhere. A town of separate buildings is flexible and pretty, with long walks and weak temperature control. A mountain base is the easiest to defend and shrugs off mortars and drop pods, at the cost of infestations and pawns who miss the sky. Most colonies end up somewhere in between: a walled superstructure core with farms and geothermal sprawled around it.
Two smaller habits pay off constantly. Put the ugly stuff (dumping stockpiles, generators, butcher tables) off the main walkways, and drop a few large sculptures into the mess when moving it isn't an option. Also plan in chunks: blueprint the full dining hall, partition it with cheap wooden walls, use one corner now, and tear out the partitions when the colony can afford the real thing.
Killbox Design and Chokepoint Placement
How raiders pick a path
Raid AI follows one rule you can build around: attackers walk the quickest unobstructed path to a colonist, they can't open your doors, and they can't see traps. Give them one open gap in an otherwise sealed wall and they'll queue up for it like it's marked on the map. That's the entire trick. Start with a perimeter wall around the whole base with exactly one opening, and build the killbox at that opening.
The funnel and the corridor
The basic shape is a funnel (wall narrowing to the gap), a short entry corridor, then an open box where your shooters and turrets wait. The corridor is where most designs go wrong:
- Make it turn a corner. A straight corridor lets raiders stop at the mouth and shoot from cover. A bend forces them to walk in. Drop a grave or another object nobody can stand on, on the corner tile, so no one camps it.
- Slow them down without stopping them. Fences every other tile do the job, since pawns only lose speed vaulting a fence, and a continuous line does nothing extra. Spike traps fit in the gaps. Raiders can't see the traps and walk straight over them.
- Give colonists a bypass. Doors next to the fences let your own people rearm traps without springing any. The standard pattern is a two-wide corridor with trap, fence, trap, fence down one lane.
- Keep the mouth one tile wide. That lets you park melee blockers on it, and melee blocking at a one-tile choke beats almost anything against melee-only waves.
- Cap the corridor exit with a T of sandbags or fences. Pawns can't stand on those tiles, so raiders coming out of the corridor can't hug its end walls as cover.
- Don't overdo the length. Past a certain point raiders decide the walk isn't worth it and start bashing walls instead. Manhunters are the exception, since they'll chase forever, so a dedicated anti-manhunter box can run a very long corridor.
Guns inside the box
The box itself should be open ground on their side and stacked cover on yours. Walls give 75% cover, sandbags and barricades 55%, and a pawn leaning out of a wall corner still benefits from sandbags in front of it, so mix the two. Double-wall the far end of the box. Your own gunfire chews the wall behind the targets, and once it breaks, raiders have a second way in that skips every trap you laid.
Turrets slot in behind the colonist line. Mini-turrets go up close (no exclusion zone, and they fire at touch range), autocannons a few tiles back where raiders can't get inside their minimum range. Keep turrets at least three tiles apart, because a dying turret explodes and chains. Put them on their own power switch, and set them to hold fire until the box actually has bodies in it, or the whole array dumps everything into the first raider through the door.
What a killbox doesn't stop
Drop pods ignore it completely, sappers tunnel straight for the nearest bedroom wall, breachers smash through wherever they feel like, and sieges shell you from standoff range. A box handles the standard assault, which is most raids, but keep real weapons and armor in the armory for everything else. A small triage room near the killbox helps too, since your wounded are usually ten steps from exactly there.
Room Sizing for Impressiveness and Mood Buffs
The four stats and the weak one
Bedrooms, dining rooms, and rec rooms hand out mood buffs based on a single stat called impressiveness, built from four room stats: wealth, beauty, space, and cleanliness. The tiers:
| Impressiveness | Label | Mood | |---|---|---| | under 20 | awful | -2 (bedrooms only) | | 20 to 29 | dull | 0 | | 30 to 39 | mediocre | +1 (bedrooms only) | | 40 to 49 | decent | +2 | | 50 to 64 | slightly impressive | +3 | | 65 to 84 | somewhat impressive | +4 | | 85 to 119 | very impressive | +5 | | 120 to 169 | extremely impressive | +6 | | 170 to 239 | unbelievably impressive | +7 | | 240 and up | wondrously impressive | +8 |
The formula weights the weakest stat at a bit over half the total, so one bad stat drags everything. A masterpiece sculpture in a vomit-covered room does almost nothing. Fix the floor first, then decorate.
Bedroom sizes that work
Space is the stat people misjudge. A room's space score is 1.4 per tile, and each tile covered by a bed, bench, or lamp gives back only 0.5 of that. An empty 5x5 room scores 35, which counts as average-sized. Drop in a bed, a table, a lamp, a heater, a plant pot, and some art, and it falls to roughly 28, which is "rather tight". For bedrooms, 5x5 or 4x6 is the practical target: furnished, carpeted, with bed, dresser, end table, and lamp, that footprint can reach "very impressive" without much fuss. A 4x4 room fights you the whole way. Don't bother going huge either, since the mood buff caps out and the cleaning bill doesn't.
Small rooms also take a beauty penalty below 40 internal space, so a cramped bedroom needs better art to hit the same tier. Sculptures are usually the answer, because wealth and beauty keep climbing long after space is maxed out. That's how a good bedroom gets from very impressive to extremely impressive.
Cleanliness is the ceiling
Cleanliness is the quiet bottleneck. A perfectly clean ordinary floor scores 0, sterile tile scores 0.6, and no room can push the cleanliness term much past that. That's why "very impressive" (85 to 119) is the natural stopping point for most rooms, and pushing toward 120 and beyond means fighting the cap with space and wealth. The numbers that matter day to day: sterile tile 0.6, steel floor 0.2, most other constructed floors 0, dirt filth -5, blood -10, vomit -15. One speck of blood can drop a room across a tier boundary, and blood is not rare in this game. Press G (or the room stats button in the corner) to see the live numbers on any room.
Cleanliness also feeds surgery success, research speed, and food poisoning chance, so sterile tile belongs in hospitals, labs, and kitchens even before mood enters the picture.
One efficiency trick worth stealing: combine the dining room and rec room. Colonists keep both moodlets (impressive dining room, impressive rec room) from a single shared space, and the furniture for each role pumps the same room's impressiveness. The sculptures it takes to make two separate rooms "slightly impressive" often make one combined room "somewhat impressive" or better, for both buffs at once.
Power Grid and Battery Room Safety
What a Zzzt actually does
The Zzzt event is the trap waiting in every grid. Any powered conduit can fault at random, and when it does, every battery on that grid dumps its charge at once. The blast radius grows with the square root of total stored power, running from about 1.5 tiles up to a cap near 15, and a big discharge adds a second explosion on top. Then you're rebuilding a wing of the base with no power left to run the coolers.
Taming the blast
Three fixes, in order of usefulness:
- Hidden conduits can't be targeted by the fault at all (version 1.5 and later). They cost one extra steel apiece. Past the early game, switching the grid over to hidden conduit removes the event outright.
- Split the grid with power switches. Charge a backup battery bank, flip the switch off, and those batteries sit isolated from any fault on the main grid. Flip it back on when the main bank runs low or after a Zzzt empties everything.
- Build the battery room like it might burn, because it might. Stone walls, a stone door, and a roof, since unroofed batteries short in rain and snow. Put a firefoam popper inside and keep chemfuel and mortar shells somewhere else. A battery has 100 HP and 100% flammability, so fire is its entire threat profile.
How much battery to build
Battery math is worth knowing before you build a bank of twenty. Each battery holds 600 watt-days, charges at 50% efficiency (200W of surplus for a full day stores 100 Wd), and self-drains 5 Wd per day whether connected or not. More batteries than you need means more steel, more components, more breakdowns, and a bigger fireball, all for nothing. Cover your demand, add a small isolated reserve, stop.
On generation: fueled generators give a steady 1000W, solar panels 1700W but only in daylight, wind turbines spike to 3450W and drop to nothing, and a geothermal generator on a geyser gives a constant 3600W forever. Geothermal is the mid-game goal. The conduits out to a far geyser are raider bait, so link generators to each other so a single cut can't isolate one, and don't waste steel walling the whole conduit run.
On the demand side, coolers pull 200W while actively cooling and 20W idle, so freezer-heavy bases feel eclipse pain fast. Turret arrays are the real spike: twenty mini-turrets plus four autocannons draws around 3200W while live, which is why they belong on their own switch, with their own battery plan.
Common Layout Mistakes That Invite Disaster
Wood everything
Wood walls go up fast and burn fast, and late-game raiders show up with incendiary launchers. Build the perimeter and every load-bearing wall out of stone, and save plasteel for the turrets: a plasteel mini-turret has 335 HP versus 120 in steel.
The unroofed trade beacon
Center-drop raids have a 40% chance to land on an unroofed orbital trade beacon. Roof your beacon, or wall it away from anything that matters. Drop pods punch through built roofs and thin rock but never overhead mountain, so anything truly precious lives under the deep stuff.
Digging too much mountain
Infestations spawn under overhead mountain within 30 tiles of a colony structure, as long as the space is warmer than -17°C. Light, and temperatures below -8°C, both cut the chance. If the mountain base has a big dug-out section you're not using, freeze it or light it, or the bugs move in before you do.
A freezer set to exactly 0°C
Food freezes at 0, but every door swing pulls the room a degree or two above it, and meals flicker in and out of frozen state while the food poisoning dice roll. Set the target to -2 or -3 for a buffer, double-wall the freezer for insulation, and put a one-tile airlock on the door so the room equalizes with one cold tile instead of the whole dining hall.
Bedrooms in the center
Sappers pick the shortest tunnel to a colonist's bedroom, and breachers smash whatever's in front of them. Central bedrooms invite a hole through the middle of the base and block every later expansion. Edge bedrooms turn the same raid into a short, ugly tunnel to a room full of cheap beds.
One long conduit spine
A single conduit run means one break, or one raider with a grenade, blacks out half the colony. Loop the grid so power has two paths to anything important, and keep a switch-isolated battery bank for the bad night.
Mortars at the map edge
A mortar can't hit anything within 30 tiles of itself, so edge-mounted mortars have a blind spot covering your entire base. Place them deeper in, separated by walls so one shell can't chain the whole pit, and unassign the crew afterward or they'll stand there until they collapse.
A killbox with a straight entry
The mouth of a straight corridor is free cover. Raiders stack in it and shoot back, and suddenly the box is a fair fight instead of a shooting gallery. Bend the corridor and put a grave on the corner.
The cheap insurance list, for the record: stone battery room with a popper, hidden conduits once steel allows, -3 on the freezer, roofed beacon, spare batteries behind a switch. None of it costs much, and every line covers a failure that ends runs.