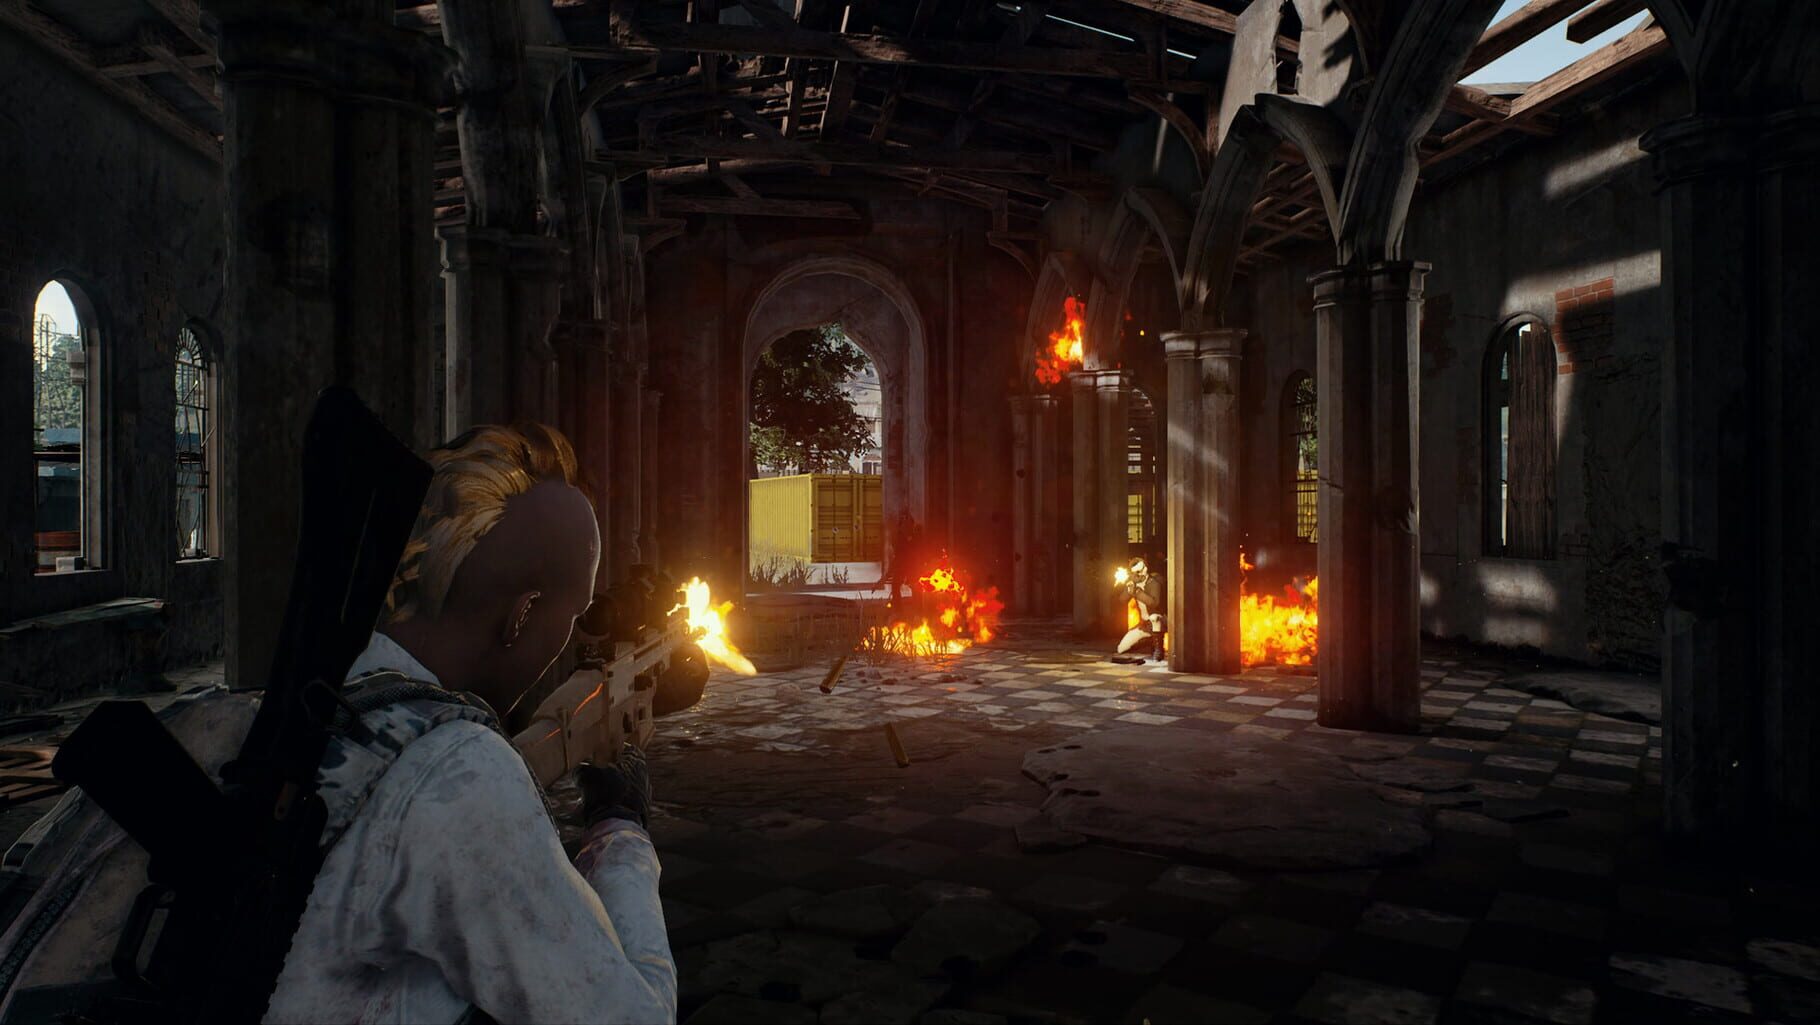
PUBG BATTLEGROUNDS Common Mistakes That Get You Killed Early
Common early-game PUBG mistakes around looting, audio, the blue zone, fighting, and smokes, with plain fixes for each one.
PUBG eats newer players alive in the first five minutes of a match. Most deaths happen before the second circle even starts to shrink, and the funny part is they almost always come from the same handful of slip-ups. You don't lose because someone out-aimed you in a fair duel. You lose because you stood in one window too long, tuned out the boots on the staircase, or got greedy with loot while three squads closed in on your building.
Every one of these deaths is fixable. Below are the five early-game blunders that send people back to the lobby fast, what really goes wrong in each one, and the plain fixes that work.
Looting Too Long in Hot Drop Zones
A hot drop is any big loot spot that pulls a crowd. On Erangel that's Pochinki, the School, Military Base, and the Georgopol shipping crates. Miramar has Pecado, Los Leones, and Hacienda. Sanhok runs Bootcamp and Paradise Resort. Great gear lives in these places, and so does half the lobby.
The mistake isn't landing there. It's landing there and then treating the place like a shopping trip.
What goes wrong when you over-loot
You kill the first guy, and now there's loot everywhere. Crates stacked on crates. A level 3 helmet, an extended quickdraw mag, two guns you kind of want. You start swapping attachments, sorting ammo, hunting for that one scope, and forty seconds vanish. Meanwhile the squad across the street finished looting three minutes ago. They have angles on every door. You're a mouse in a box with the lid open.
Loot greed is the quiet killer here. Every second spent standing still in a hot zone is a second someone gets to line up a headshot on you.
How much gear is actually enough
You do not need perfect gear to win a fight. You need a working gun, ammo, a vest, a helmet, and one or two heals. A common community benchmark for newer players is hitting roughly level 2 gear within the first six minutes, then moving on. After that, extra pickups come from kills, not from the third floor of a building you already cleared.
Better drop habits for new players
- Land on the edge of a compound instead of dead center. You grab a gun faster and you're less likely to drop right next to two enemies at once.
- Hit small compounds near the big ones while you're still learning. Quieter, decent gear, and you can push inward once you're kitted.
- Once you have a gun and heals, stop opening drawers. Get your eyes on the doors and windows instead.
- Skip the early care package. That red smoke is a magnet, and chasing it before the area is clear is how you catch a sniper round in the open.
The whole match changes once you treat looting as a quick stop rather than the main event. Gear you can replace. Being alive to use it is the hard part.
Ignoring Footstep and Gunshot Audio Cues
In PUBG, sound is closer to a wallhack than a flavor effect. Half the players you kill never saw you, they heard you first. Newer players run full speed everywhere, leave doors swinging, and then wonder why every ambush lands on their head.
How far sound actually carries
Community testers have measured the audible ranges, and the numbers explain a lot. A standing sprint can be picked up from around 80 meters out. A crouch sprint reaches about 58 meters. Drop down to a crouch run and you're closer to 24 meters, and a crouch walk or a prone crawl barely registers. These shift patch to patch, so treat them as rough guides rather than gospel.
Gunfire is louder by a lot. Gunshots stay pinpointable out to about 100 meters, and you can hear them well past that even when you can't tell exactly where. That's why a fight two compounds over might as well be a flare going up.
The surface under your feet matters too. Metal roofs and wooden floors are loud and crisp, almost telegraphing your path. Grass and dirt are quiet. Sprinting across a tin roof is basically a dinner bell.
Setting up your ears
Most audio mistakes start in the settings. A few quick fixes go a long way.
- Keep master volume in a comfortable 50 to 80 percent range, loud enough to catch soft footsteps without blowing out your hearing on a frag grenade.
- Use headphones, not speakers. Directional audio is the whole point, and desktop speakers blur left from right.
- If the option is there, a mild loudness equalization or a high-end EQ boost lifts footsteps up above the gunshot noise floor.
- Cut the background music and keep voice chat low during fights. The one footstep that matters will hide under a louder track.
Reading what you hear
Each sound is a clue. One set of fast footsteps overhead means a single pusher, not a full squad. A door creak behind you says someone just entered your building. Distant gunfire maps out where other teams are fighting, which is also a map of where you can rotate around the chaos.
The habit that pays off most is simple. When you hear something, stop moving and listen. Half a second of stillness tells you direction, distance, and how many. Running straight through that information is how you walk into a doorway sideways.
Poor Blue Zone Rotation Timing
The blue zone is the big electric wall that pushes everyone together. Newer players either ignore it until it's chewing their health, or they bolt across open ground the second it starts to close. Both end the same way.
How the blue zone actually works
There are nine phases in a standard match, and the damage ramps hard with each one. The wall shrinks toward a white circle that shows up ahead of time, so you always know where safe ground will be before it matters.
Here's what the damage looks like on Erangel, which is a fair stand-in for the classic maps. (Miramar and Sanhok differ a bit, but the curve is the same.)
| Phase | Damage per second | Wait before it shrinks | |-------|-------------------|------------------------| | 1 | 0.4% HP | ~270 sec | | 2 | 0.6% HP | ~180 sec | | 3 | 0.8% HP | ~130 sec | | 4 | 1% HP | ~120 sec | | 5 | 3% HP | ~100 sec | | 6 | 5% HP | ~90 sec | | 7 | 7% HP | ~70 sec | | 8 | 9% HP | ~60 sec | | 9 | 11% HP | ~30 sec |
The early phases tickle. Phase 1 at 0.4 percent a second barely scratches you, so a little zone damage there is no big deal. By phase 5 it's doing 3 percent a second and climbing fast, and the further outside the circle you are, the harder it hits on top of that base number. Past phase 6, the wall stops being a nuisance and starts being lethal. Outrunning it is no longer realistic.
The timing mistakes that kill you
- Waiting too long to leave a compound. You finish a fight, start looting, and suddenly the wall is on you. Now you sprint through open fields with the blue eating your back, and anyone set up ahead gets a free shot.
- Pushing the edge into teams that got there first. The players who rotate early pick the rocks and ridges. You arrive tired, maybe hurt, running into a firing squad.
- Crossing wide open ground exactly as the wall closes. That's when everyone else is moving too, and you're all exposed at once.
Timing your moves better
The fix is to move early and beat the shrink. Once the white circle pops, glance at where you are and pick a route before the wall even starts. You want to arrive at the next zone with time to find cover, not to slide in as the blue nips your heels.
Holding the edge of the zone is often smarter than bee-lining for dead center. Center spots get contested by everyone with the same idea. Edge players pick off the stragglers who waited too long and are now running from the wall. So pick a strong piece of cover near where the safe zone meets the blue, hold it, and let the game funnel kills toward you.
Fighting Instead of Repositioning
Here's a pattern that ends a lot of runs. You spot an enemy, you start shooting, they duck behind a rock, and instead of doing anything smart you keep peeking the same angle for the next thirty seconds. You trade shots, you maybe land a hit, and then a third team rolls in from the side because they heard every bullet.
Why standing your ground gets you killed
Every shot you fire is a beacon. Gunshots carry for 100 meters and more, so you just told every squad nearby exactly where to find a free kill. If the fight drags on, you become the bait. The team you're shooting at is pinned and distracted, which sounds great until you realize you're also pinned and distracted. Who actually wins that fight? Usually not the first shooter. The real threat is the squad you haven't seen yet, sneaking up while you tunnel on one guy behind a tree.
Tunnel vision is the core problem. You stop checking flanks, you stop watching your back, you forget the blue zone exists. The longer a fight runs, the more likely it is that someone else wins it.
When to take the fight versus breaking off
A good rule of thumb: only commit when you have a real advantage. That means you outnumber them, you have the high ground or better cover, or you caught them moving in the open with nowhere to hide. If you're not sure, the smarter move is usually to break line of sight, reposition, and force them to come find you on your terms.
You don't have to finish every fight you start. There's no penalty for letting someone go. There is a big penalty for dying because you were too proud to step back behind the ridge.
Repositioning basics
The goal of repositioning is to fight the next fight from a better spot than the last one.
- Know your nearest cover before you fire a single shot. If things go sideways, that's where you go.
- Move when their eyes and ears are busy. Their reload, their gunfire, a passing vehicle, even their own footsteps, all cover the sound of your sprint to a new angle.
- Limit what they can see and hear. A small move to the side often gets you a fresh angle on the same enemy while they're still watching your old position.
- Never sprint across open ground just to "get closer." That's not repositioning, that's suicide with extra steps.
The players who win late-game circles aren't the ones who win every duel. They're the ones who pick fights they can win and walk away from the ones they can't.
Misusing Smoke Grenades and Cover
Smoke grenades are the most underrated item in a beginner's backpack, and also the most misused. People save them for revives, throw them straight down at their feet, or pop one and then stand inside it like it's a magic tent. None of that works the way they think.
What a smoke actually does
A few hard numbers help. The fuse is one second these days, down from three a few seasons back, so the cloud blooms fast once you throw it. The smoke sticks around for a good while, roughly 40 to 45 seconds of useful cover (the exact number shifts a bit between patches). One quirk worth knowing: smoke is rendered on each player's machine rather than shared, so what blocks your view and what blocks the enemy's view aren't always identical. Treat it as cover from a distance, not a guarantee.
The deploy hiss is also a giveaway. It stops about ten seconds before the smoke fully fades, and once the fade begins, players inside start becoming visible again. So a cloud that still looks thick near the end is already leaking.
The common smoke mistakes
- Throwing it at your own feet and camping in the middle. Now you can't see out, and anyone who pushes the cloud has the jump on a blind target.
- Saving all your smokes and never using them. They don't carry over to the next match. Two smokes sitting unused when you die were wasted.
- Popping one smoke to cross a huge open field. A single cloud covers a short stretch, not a hundred-meter sprint. You step out the far side and you're still standing in the open.
- Only using smoke to revive a teammate. Revives are fine, but that's the least of what these things can do.
Using smokes and cover the right way
Smoke shines for two jobs: blocking a sightline so you can move, and breaking contact so you can escape.
- To rotate across open ground, drop smokes along your path, not in one pile. A line of clouds gives you a corridor to walk, and you walk the edge of it rather than the dead middle, so you can still peek out.
- If a sniper pins you, pop a smoke at your current position and move the moment the screen fills. They're scoped in on where you were, and you're already gone.
- Prefer hard cover whenever you can. A rock, a wall, a ridge, these stop bullets cold and never fade out. Smoke is for the gaps between real cover, not a replacement for it.
- Pair the smoke with a move. Throwing one and then standing still is a waste. The throw should be the start of a reposition, every single time.
And one habit that pays off more than any fancy play: carry a couple of smokes by default. A spare smoke grenade saves a life in way more situations than a fourth scope you'll never equip. Grab two before you grab that extra 4x, and you'll find yourself walking out of the blue zone instead of respawning in the lobby.