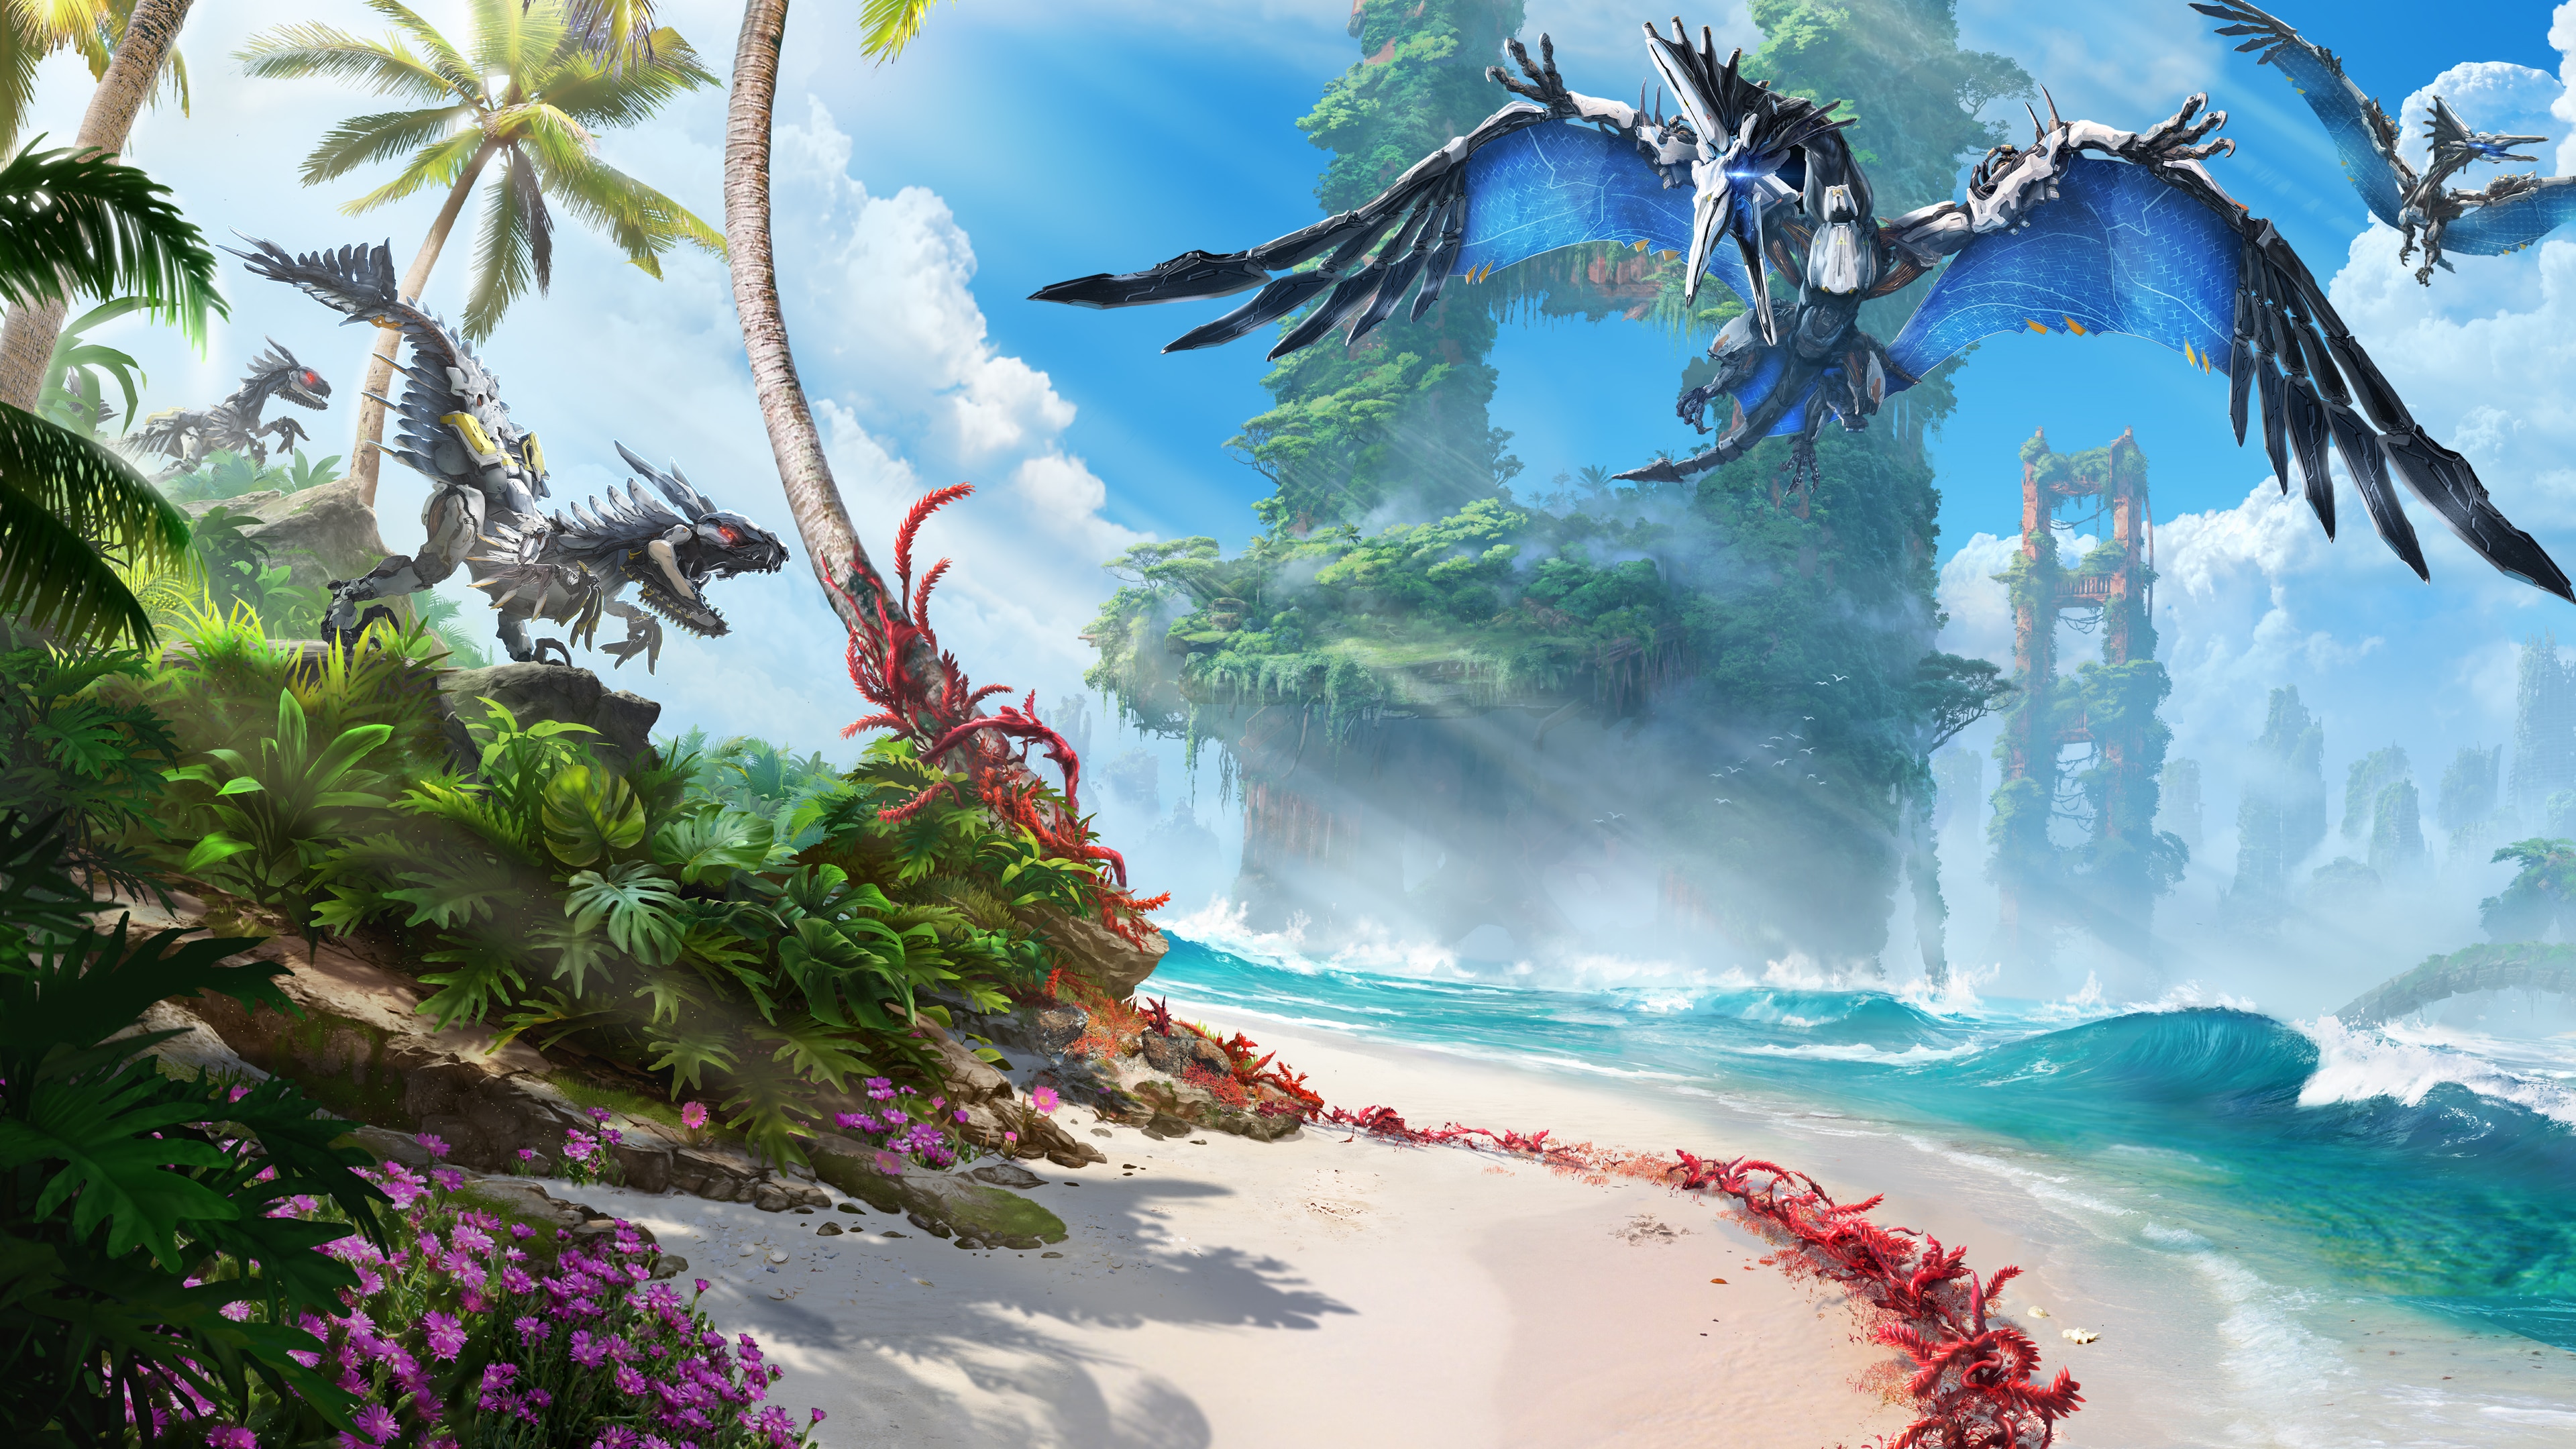
Horizon Forbidden West Machine Parts Guide: Tear Damage and Upgrade Farming
How tear damage works in Horizon Forbidden West, which weapons strip parts best, and how to farm rare machine components for gear upgrades.
Every cool weapon in Horizon Forbidden West eventually runs into the same wall: the upgrade screen wants a Thunderjaw Tail, or six Shellsnapper Shell Bolts, and you can't just buy those. You have to go pry them off a machine that's still walking around. The whole game has a quiet second loop built around this, and it's scan first, tear second, kill last. Do it in that order and your stash fills up. Do it backwards and the part you needed dies with the machine.
Here's how the loop works, which weapons do the tearing, and where to go when the workbench starts asking for Apex hearts.
Scanning Detachable Parts
The Focus is where every hunt starts. Hold R3 (or the matching input on PC) and the scan sweeps the area, pinging machines, animals, and people through walls. Hold it a second and you get the sustained Focus mode instead of a quick pulse. Park your reticle on a machine for a couple of seconds and it scans fully, which fills in its catalog entry, its elemental strengths and weaknesses, and the full list of components bolted to its body.
That component list is the part most people skip. Tap left and right on the d-pad while scanning and you cycle through every detachable part, one at a time, each with its name and what it drops. If a part feeds gear upgrades, the game flags it as a key upgrade material right on the scan. Press Triangle to tag it, and it glows purple for the rest of the fight so you can find it while the machine is spinning and roaring at you.
A few practical notes on reading the scan:
- Parts sit in awkward spots on purpose. Some hang under the belly, some hide behind armor plates. If you can't see the part you tagged, tear the armor off first and rescan.
- The scan shows you the machine's damage resistances too. Handy later, because some machines shrug off the elements you'd normally lean on.
- Purple is your feedback loop in reverse too. When a torn part pops off, it drops as a glowing purple resource node. If you see that flash, you got it. If the part just explodes, that's your cue that you hit it with the wrong damage type.
Early on, the classic example is the Burrower Soundshell. Scan a Burrower, cycle to the neck, tag it, then hit the glowing spot at the base of that long neck with tear damage. It usually comes off cleanest right as the Burrower lifts its head to raise the alarm, so Concentration plus one good shot does the job. One part, one kill, and you're already thinking the right way about every machine after that.
Choosing Tear Weapons
Tear damage is structural damage. It doesn't care much about health, it cares about bolts and brackets. That's why a Tear Precision Arrow barely scratches a machine's HP bar but rips a component clean off. The arrows work like the old Tearblast arrows from Zero Dawn: they latch on and fire a compressed-air sonic blast that pops armor and parts loose. Strip a Ravager's cannon and it has to charge you. Strip a Thunderjaw's disc launcher and you've removed the scariest thing on the field, then picked it up and used it yourself.
Not every bow can do this. Tear Precision Arrows only fit certain Sharpshot Bows, and a couple of the big-name bows don't take them at all. Here's what the wiki numbers look like:
| Weapon | How you get it | Tear Precision Arrow (tear, base to max) | Worth knowing | |---|---|---|---| | Cleaving Sharpshot Bow | Free from Dekka during The Broken Sky (main quest) | 265 to 400 | Component Tear +25% once fully upgraded | | Glowblast Sharpshot Bow | Merchants at Thornmarsh, Legacy's Landfall, the Raintrace Hunting Grounds, and outside the Base | 393 to 543 | Costs 1,035 shards plus a Large Machine Core and a Thunderjaw Circulator | | Blacktide Sharpshot Bow | Fleet's End merchant in Burning Shores, 1 metal shard | 559 to 624 | Tear arrows stay locked until upgrade level 3 | | Iriv's Downfall | New Game+ merchant, 10 Champion's Tokens | 572 to 780 | Also has Elite Precision Arrows and instant-shock perks | | Tears of the Land-god | New Game+ merchant, 10 Champion's Tokens | 238 to 328 (on Advanced Hunter Arrows) | A Hunter Bow, not a Sharpshot, with a much faster draw |
A few pointers on that list:
- Start with the Cleaving Sharpshot Bow. It's rare rather than legendary, but it's free, it comes mid-story, and 400 tear with Component Tear +25% is plenty for most of the game. Bristleback resource containers, Grazers, and Clamberjaw tail dusters all come off in one or two fully drawn shots.
- The Glowblast is your first big purchase. It hits 543 tear fully upgraded and carries plasma arrows as a bonus, which pairs nicely with all the Glowblast Canisters the game loves to stick on machines.
- Watch out for Forgefall. It's the legendary Sharpshot from Dukkah at the Arena for 80 medals, and it's a monster of a bow, but it fires precision and plasma ammo only. No tear arrows at all. Plenty of players grab it expecting it to be the parts-farming tool and end up back on the Cleaving.
- On a New Game+ file, Tears of the Land-god is the sleeper pick. The raw tear number looks low next to a Sharpshot, but the draw speed is so fast you can just about machine-gun components off. Thunderjaw disc launchers come off in one shot once it's cranked up, and it's arguably better in messy close-range fights where Sharpshots get awkward.
Tear Precision Arrows aren't free, so stock up before a farm run. A field-crafted pack costs 20 shards, 13 Machine Muscle, and 7 Echo Shell, or 15 shards plus 10 Machine Muscle and 5 Echo Shell if you craft at a workbench. You get 2 per pack, bumped to 3 and then 4 with the Ammo Expert skills, and the quiver caps out at 30. That cap is roomier than it sounds, since a good bow only needs one arrow per part.
Two last things that make every tear weapon better. Coils matter a lot here, so socket anything with Component Tear or Tear+ on it, and lean on perks like Concentration and Overdraw Damage while you're at it. And Sharpshot Bows punish you for shooting on the move, so plant your feet and draw all the way back before each shot. A half-drawn tear arrow is a wasted arrow.
Preserving Parts Before Kills
This is the rule the whole guide hangs on: any detachable component still attached to a machine when it dies gets destroyed. The tail, the cannon, the ears, all of it. If you want the part, it has to come off while the machine is still standing. That's not a bug, it's the tax the game charges for killing things carelessly.
The second half of that rule is about damage types. Blowing up a part with explosive or elemental damage usually wrecks it, and canisters that burst give you their status goop instead of the component. Tear damage is the clean option, since it does almost nothing to the machine's health while dismantling it piece by piece. So the order of a hunt goes: scan, tag what you need, tear those parts off, and only then switch to your killing tools. It feels backwards at first, fighting a Thunderjaw politely until its tail is off, but it becomes second nature.
Keeping the target still makes all of this way easier:
- Shock is king. A shocked machine freezes up and stops moving, which turns component shots into target practice. Shock ammo, shock tripwires, whatever you've got.
- Ropecasters pin big machines in place, which is a lifesaver when you need to reach a part on the far side of a Slaughterspine.
- Adhesive and tripwires buy you the same kind of windows on mediums and smalls.
One more habit worth building: finish the fight near where the part dropped and grab it soon. A rampaging machine can trample or blast its own detached components, and watching a Dreadwing Metal Fang evaporate because the fight rolled over it is a special kind of pain.
If you genuinely hate the teardown routine, the difficulty settings can carry some of it for you:
| Difficulty | Enemy tear and elemental defense | Easy Loot | |---|---|---| | Story | 29% | On | | Easy | 67% | On | | Normal | 100% | Optional | | Hard | 133% | Optional | | Very Hard | 182% | Optional | | Ultra Hard | 250% | Off |
Two things going on there. Easy Loot makes every still-attached external component drop into your loot pile when the machine dies, no teardown needed. And on lower difficulties, enemy tear defense drops too, so parts come off faster regardless. Playing on Normal with Easy Loot flipped on is a pretty reasonable middle ground if you're mainly farming. Story difficulty turns the whole game into a parts conveyor belt, which is fine for a farming evening but not much of a fight.
And a small upside to the teardown habit: ripping off weapons like a Ravager's cannon or a Thunderjaw's disc launcher leaves a heavy weapon lying there. Pick it up after your parts are secured and the kill phase goes twice as fast.
Farming Rare Machine Components
Once your upgrades start asking for Apex hearts and Luminous Brainstems, you graduate from "tear parts off whatever walks by" to actual farming. The targets change but the loop doesn't.
Hunt Apex machines at night. Apex variants are the black-armored, meaner versions of regular machines, and they're the source of the rarest upgrade parts in the game. They can spawn any time, but your odds go up a lot after dark. Shelters let you skip time forward, so when dawn breaks your farming session, fast travel to a shelter and wait for night again instead of wandering around.
Use the fast travel respawn trick. Find a site with the machine you need, kill it, then fast travel a couple of campsites away and come right back. The machine respawns, and here's the useful part: whether it comes back as the regular or the Apex version rerolls each time. If you need an Apex Snapmaw Heart and the site gave you a normal one, leave and come back. A few reloads of the same spot beats trekking across the map.
Hearts come from Apex bodies. An Apex machine's heart is a guaranteed drop when you loot the corpse, so one clean Apex kill equals one heart. The RNG pain is all in getting the Apex to show up, not in the loot roll once it's dead.
Luminous Brainstems come from the big combat machines. Rockbreakers, Slitherfangs, Thunderjaws, Stormbirds, Fireclaws, that tier. They're body loot rather than something you tear off, which is a nice break. Legendary upgrades eat these things by the fistful, so bank a stack whenever a big machine crosses your path.
For the parts that do need tearing, some dependable spots:
- Clamberjaw Tail Dusters - packs northeast of the Zenith base and northeast of Tide's Reach. They're squishy, so go easy on the damage or you'll shred the part you came for.
- Shellsnapper Shell Bolts - the site northeast of the Dry Yearn Relic Ruins. Tear the bolts off the shell before the kill.
- Thunderjaw Tail - Thunderjaws in the Stillsands southwest of Hidden Ember, and southeast of Cliffwatch. The tail is the classic "destroyed on death" part.
- Slitherfang Earthgrinders - north of Scalding Spear and north of Hidden Ember.
- Rockbreaker Mining Claws - two sites in the Stillsands, four claws per machine. Bring adhesive or a Ropecaster, because they burrow the moment you let them.
- Dreadwing Metal Fangs - the site far southwest of Cauldron MU, between No Man's Land and the Stillsands. Nighttime again, since that's when Dreadwings and their Apex versions show up.
A general tip for all of these: kill the machine after you've torn the part off anyway, and loot the body too. Even a farmed-out machine drops shards, Circulators, and Primary Nerves, and those show up in upgrade recipes constantly. No trip is a wasted trip.
Planning Gear Upgrades
Weapon upgrades happen at workbenches, which sit in every settlement. Each upgrade level costs metal shards plus a shopping list of machine parts, and each level bumps the weapon's damage and tear, unlocks perk steps, and opens new coil slots. Some weapons even gate ammo behind upgrades, like the Blacktide keeping its Tear Precision Arrows locked until level 3.
The single best habit: open the workbench before you hunt. Pull up the weapon you're working toward, read the parts list for the level you're on, and make that your shopping list for tonight's session. The game marks key upgrade materials during scans for exactly this reason. You tag the part in the field because you already know the workbench wants it, instead of finding out afterward that you sold three Thunderjaw Tails to a merchant last week.
To make the point, here's what some real upgrade steps ask for, straight off the wiki:
- Cleaving Sharpshot Bow, level 4: 250 shards, 6 Braided Wire, 3 Medium Machine Cores, 6 Shellsnapper Shell Bolts, and a Snapmaw Primary Nerve. That's one focused Shellsnapper evening.
- Blacktide Sharpshot Bow, level 3: 300 shards, a Large Machine Core, a Stormbird Storm Cannon, and a Thunderjaw Circulator. The cannon has to be torn off a Stormbird before the kill.
- Iriv's Downfall, level 3: 1,000 shards, an Apex Shellsnapper Heart, 3 Shellsnapper Shell Bolts, a Thunderjaw Tail, and 3 Luminous Brainstems. Level 5 asks for an Apex Fireclaw Heart, two Apex Scorcher Hearts, and five more Brainstems.
- Forgefall, level 5: 1,500 shards, an Apex Slaughterspine Heart, two Apex Tremortusk Hearts, five Luminous Brainstems, and two Slaughterspine Circulators.
Notice the pattern in the endgame lists. Late upgrade levels are basically Apex heart collections plus a Brainstem tax, and legendary levels run 600 to 1,500 shards each on top. That's why you shouldn't upgrade everything you own. Pick two or three weapons you actually use, one outfit, and pour resources into those. Spreading shards across six half-upgraded bows leaves you with no bow that's good.
The currency side has its own little systems. Arena Medals come from Arena challenges in Memorial Grove, and 80 of them buys Forgefall from Dukkah. Champion's Tokens only exist in New Game+, where you earn them from quests and activities in amounts equal to the skill points those activities grant, and every NG+ legendary weapon costs a flat 10. So if you finish the story sitting on Iriv's Downfall money, a NG+ run funnels tokens at you fast.
The cleanest starting move is still the cheapest one. The Cleaving Sharpshot Bow costs you nothing but showing up to The Broken Sky, and its level 4 upgrade asks for six Shellsnapper Shell Bolts. Next time you're near the Dry Yearn Relic Ruins, scan the Shellsnapper northeast of it, tag a bolt, and pop it off before the kill. That's the whole loop in one fight, and it's usually enough to carry a save from midgame straight into the Apex grind.