FFXIV Occult Crescent Guide: Phantom Jobs and South Horn
How FFXIV's Occult Crescent works: getting into South Horn, leveling Knowledge and Phantom Jobs, Critical Encounters, and farming silver and gold.
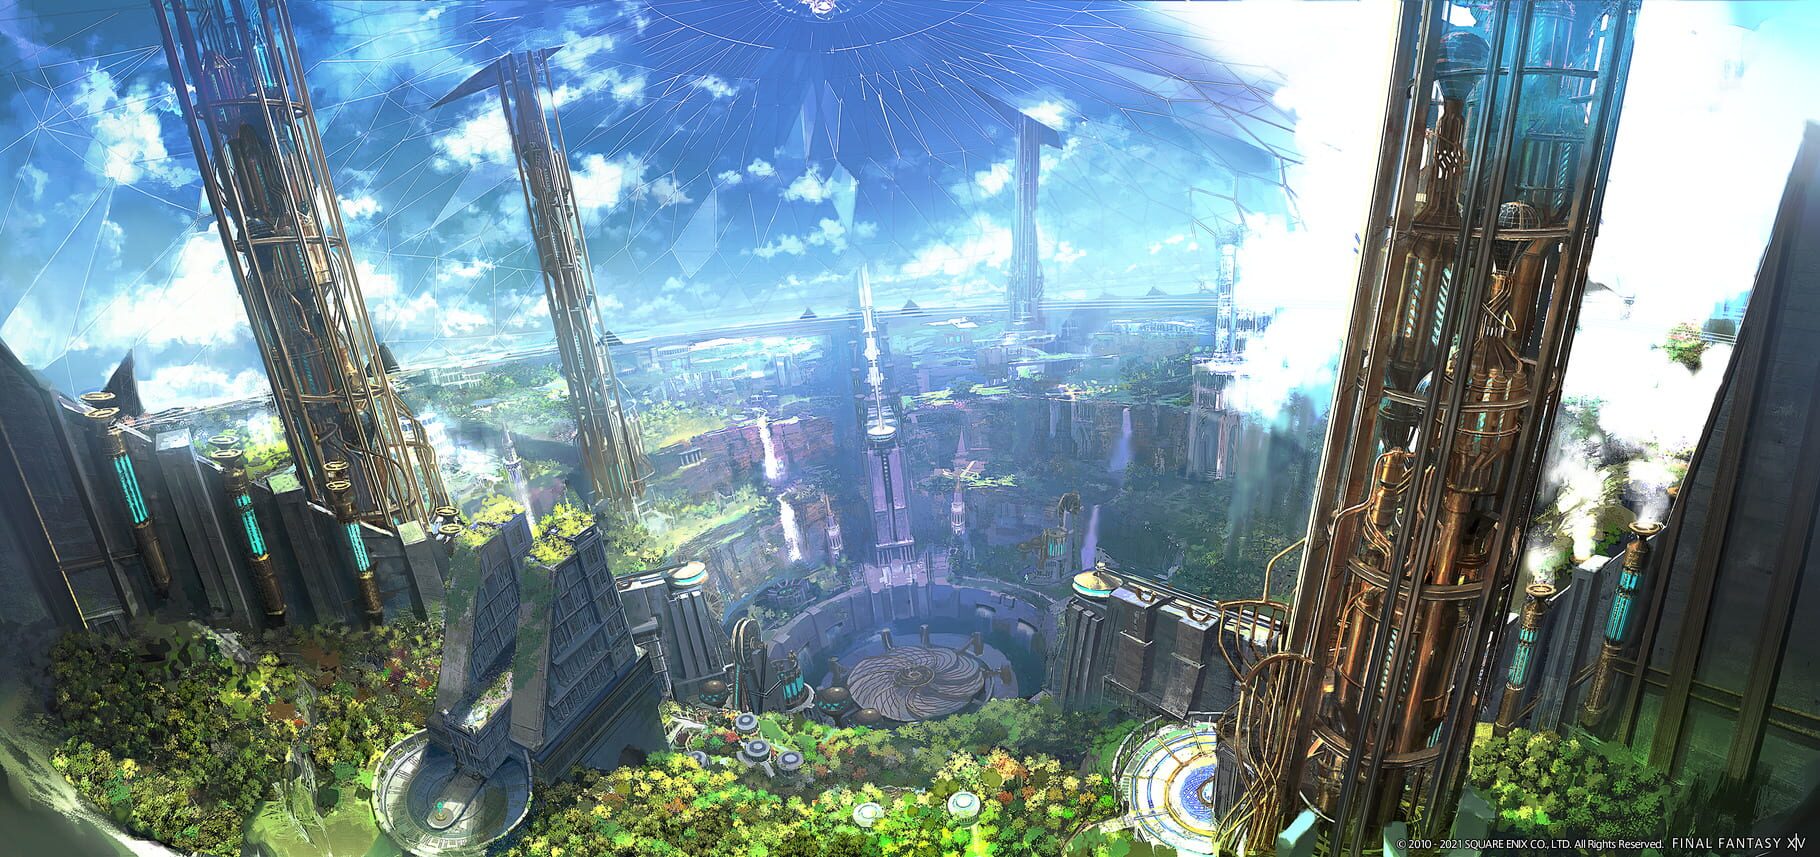
The Occult Crescent is FFXIV's big Dawntrail field operation, the spiritual follow-up to Eureka and Bozja. You get dropped onto a foggy island inside Shades' Triangle, a ship-swallowing stretch of sea inspired by the Bermuda Triangle. The whole loop is pretty simple once it clicks: grind a separate level bar called Knowledge, pick up a second mini-job on top of your real one, and slowly claw your way toward a 48-player raid hidden in a tower. The first zone, South Horn, is where you'll burn most of your early hours. It's a pile of systems stacked on top of each other, and the game does a pretty bad job explaining how they fit. Here's the short version of all of it.
Unlocking the Occult Crescent
Two gates stand between you and the island, and both are pretty firm. First, you need to have finished the main scenario quest that's literally called "Dawntrail," the last story beat of the base expansion. Second, you need at least one combat job (a Disciple of War or Magic) parked at level 100. Crafting and gathering jobs don't count.
Once those are sorted, head to Tuliyollal and look for the Expedition Messenger at X:17.1, Y:11.8. That NPC hands you the quest "One Last Hurrah," which kicks off the whole chain. You'll ride along with Ketenramm, the old explorer, and a very bookish Tonberry called the Archive as they poke at the mystery of ships vanishing near the island. Work through the chain until you finish "Unfamiliar Territory," the quest that actually swings the door open on South Horn.
There's a gear check too. To enter the zone you need an average item level of 690, and everything inside syncs down to 700. That sounds strict, but it mostly just means your best endgame stuff works fine. Neo Kingdom gear, bought from Ryubool Ja in Tuliyollal for Sacks of Nuts, makes a nice starting set if you want to squeeze out a little extra damage. Don't lose sleep over perfect gear, though. The gap between synced-down high-end gear and a tuned set is pretty small, and you'll stop worrying about it fast.
When you first land, you wake up at Base Camp in the northeast corner of the map. Talk to Ketenramm and the Archive, then go clobber three specific enemies nearby to wrap the intro quest. After that the real chain opens up, and it's the backbone of your time here:
- New Job, Old Tricks hands you your first three Phantom Jobs: Knight, Monk, and Bard.
- Creatures of the Crescent sends you after a Crescent Garula, a Flying Lizard, and a Bandersnatch for a chunk of Knowledge.
- A Ruined Land needs Occult Record 7.
- A Common Thread needs Records 9, 13, and 15.
- Past and Crescent needs Record 19 and clears you for the Forked Tower.
- Mysteries Abide wraps up the South Horn story.
One thing worth doing the second you arrive: sprint around and tag every aethernet teleport point you can find. Unlike Eureka, there's no level requirement on these. Unlocking them up front means you can bounce straight to a spawning Critical Encounter instead of jogging across half the map and showing up late.
The Occult Records that gate the later quests are little lore pickups scattered around the island. Some you just walk up and read, while others drop from specific FATEs and Critical Encounters. A few are tucked inside the Forked Tower itself. Grabbing them as you roam saves you a frustrating scavenger hunt later, when a quest suddenly asks for Record 15 and you have no idea where it was.
Knowledge Levels and Support Jobs
Your real job level is frozen at 100 the moment you step on the island. In its place you get a new bar called Knowledge Level, and it works almost exactly like the Elemental Level did back in Eureka. Knowledge is shared across every job you bring in, so leveling it once benefits all of them.
Enemies carry their own Knowledge Levels too, and the gap between you and them is what matters. Anything at or above your level will auto-aggro based on its type (sight, sound, proximity). Stuff above your level hits harder and shrugs off more of your damage, and the bigger the gap, the worse it gets. A level 1 player wandering into a level 20 mob is going to have a very short fight.
Here's the part that stings. Past Knowledge Level 5, if you die and choose to return to base instead of waiting for a raise, you bleed knowledge. Bleed enough and you drop a level. At level 20, a single return costs somewhere around 30,000 knowledge, which is roughly one Critical Encounter's worth of progress down the drain. The fix is simple: always prefer a player rez over returning. Shout your location, drop a marker, and wait.
The cap in South Horn is Knowledge Level 20. Getting there from scratch takes about 1,197,130 total knowledge, and the climb steepens hard near the top. Here's how the per-level requirement ramps:
| Knowledge Level | Knowledge to Next | |---|---| | 1 | 100 | | 2 | 600 | | 3 | 2,800 | | 4 | 8,000 | | 5 | 15,500 | | 6 | 25,000 | | 7 | 30,800 | | 8 | 37,000 | | 9 | 43,740 | | 10 | 50,940 | | 11 | 58,640 | | 12 | 66,750 | | 13 | 77,500 | | 14 | 89,000 | | 15 | 103,160 | | 16 | 118,200 | | 17 | 136,200 | | 18 | 155,400 | | 19 | 177,800 | | 20 | Maxed |
You earn knowledge from quests, killing overworld mobs, and clearing FATEs and Critical Encounters. The mob route rewards chaining kills together, while FATEs and CEs scale their payout to your current level, so they stay relevant the whole way up.
That brings up EXP chains, the fastest way to grind. Certain mobs in the open world show a double-crescent icon, and killing one kicks off a timed chain. Keep the kills rolling and the bonus snowballs, capping out at chain 30. The catch is the mob has to be tough enough relative to your group. The thresholds scale with party size:
| Party Size | Mob Must Be This Many Levels Above | |---|---| | Solo | 2 | | 2 players | 3 | | 3 to 4 players | 4 or 5 | | 5 to 6 players | 6 or 7 | | 7 to 8 players | 7 or 8 |
This is why partying up matters so much. If everyone in a party is within 3 Knowledge Levels of each other, the game calls it a Balanced Party and you're eligible for chains. The party leader can also hit a sync button to clamp everyone down to the lowest member's level, which is handy for carrying a friend but rough on your own progress. For most play, leave the sync off.
The other piece of the puzzle is what you could call your support layer: Phantom Jobs. Each one bolts a handful of extra actions and traits onto whatever real job you're playing, giving you utility your job normally doesn't have (heals, raises, shields, movement buffs). They get their own deep dive in the next section, but the part that lives here is the mastery system. Every time you max out a Phantom Job, you bank a permanent stack of Phantom Mastery that adds 2% to your damage and healing inside the zone, no matter which Phantom Job you've got equipped. Stack enough of those and the whole island gets noticeably easier.
One more thing in this layer: Knowledge Crystals. These glowing landmarks sit near aetherytes and outside the Forked Tower. Pop the right Phantom Job action next to one and it hands your whole party a 30-minute buff. Pray from the Knight cuts damage taken by 10%, Counterstance from the Monk boosts your run speed, and Romeo's Ballad from the Bard pumps your Phantom Job EXP by 10%. The neat trick is that the buffs stick around when you swap Phantom Jobs, so you can rotate through and stack all of them at once. It's a free, lasting edge you'd be silly to skip.
Phantom Jobs and How to Level Them
Phantom Jobs are the heart of what makes Occult Crescent feel different from a normal duty. There are 13 of them at launch, and they're all nods to the classic Final Fantasy V job roster. You slot one in on top of your real job and get up to five extra actions on your duty bar, plus passive traits as it levels. They're how a tank picks up a raise, how a DPS grabs a self-heal, how anyone gets a movement buff.
You start on Phantom Freelancer by default. The other 12 come from two sources: a quest, and Soul Shards. Here's the full rundown:
| Phantom Job | How to Get It | Level Cap | |---|---|---| | Freelancer | Default | 16 | | Knight | "New Job, Old Tricks" quest | 6 | | Monk | "New Job, Old Tricks" quest | 6 | | Bard | "New Job, Old Tricks" quest | 4 | | Thief | 1,600 Gold Pieces (Antiquarian) | 6 | | Samurai | 1,600 Gold Pieces (Antiquarian) | 6 | | Geomancer | 1,600 Gold Pieces (Antiquarian) | 5 | | Time Mage | 1,000 Silver Pieces (Antiquarian) | 5 | | Chemist | 1,000 Silver Pieces (Antiquarian) | 4 | | Cannoneer | 1,000 Silver Pieces (Antiquarian) | 6 | | Berserker | Drop from The Unbridled CE | 3 | | Ranger | Drop from The Black Regiment CE | 6 | | Oracle | Drop from On the Hunt CE | 5 |
The Antiquarian hangs out at X:38.1, Y:7.0 in South Horn. The three drop jobs are the real time sinks, since you're at the mercy of the CE spawn timer and then the drop rate on top of that.
Phantom Jobs level on their own separate EXP bar, and they only earn it while you've got them equipped. The cap is low (3 to 6 for most), so maxing one doesn't take that long, but you only gain EXP on the job you're currently wearing. That's the catch: you can't passively level twelve jobs at once. Sources of Phantom EXP are the same as Knowledge (overworld chainable mobs, FATEs, CEs) plus your weekly Challenge Log entries, which are a nice chunk of free progress you shouldn't skip.
A practical leveling order saves a lot of headache. Knock out Knight, Monk, and Bard first since they're free. Bard is worth bumping early because Romeo's Ballad, popped at a Knowledge Crystal, hands out that 10% Phantom EXP buff, and every other job you level after benefits from it. From there, pick based on what you want to do. Chemist is the only source of a portable raise outside of healer limit break, so it's gold for party play and pretty much mandatory later. Knight doubles as a makeshift tank and gives that damage-cut Pray buff. Time Mage brings slows and dispels that come up in the raid.
For pure damage, Samurai is the easy favorite once you buy its shard. Zeninage and Iainuki hit hard and it's simple to play, which is why you'll see most raid groups ask everyone without an assigned role to just play Samurai. Berserker is a glass-cannon gambler that hits like a truck but takes more damage to do it, so it's powerful but punishing.
Freelancer plays by different rules. Instead of earning EXP, it gains a level for every other Phantom Job you master. At launch, with twelve jobs to max, that puts its cap at level 13, and it'll keep climbing as later patches add more jobs. The real reason to push it is Occult Treasuresight at level 10, which shows a running count of unopened treasure coffers on the map. A higher skill, Inquiring Mind, bundles every Knowledge Crystal buff into a single cast once the cap rises far enough to reach it.
A couple of mechanics worth knowing about Phantom actions. They can't crit or direct hit, and they ignore crit-rate buffs like Battle Litany, so don't expect them to spike. Their damage scales off a stat called Special Attribute, which you build up by wearing Arcanaut armor and the rare Occult Accessories found inside the zone. You can also drop Phantom actions onto your normal hotbar through Actions & Traits, then Duties, if the duty-action cycling feels clunky. Swapping Phantom Jobs is free and instant as long as you're not mid-fight.
Critical Encounters and Forked Tower
Critical Encounters are the boss fights that break up the open-world grinding, and they work a lot like the Critical Engagements from Bozja. When one's about to pop, the map pings its location and a big blue circle appears on the ground. You've got a 3-minute window to get inside that circle. Miss it and the arena seals without you, and you're locked out of the rewards.
Once inside, the rules get meaner. Every avoidable AoE you eat slaps a stack of Vulnerability Up on you, and that debuff doesn't fall off for the rest of the fight or until you die. Eat two or three and you're basically a one-shot waiting to happen. The flip side is that finishing a CE has a random chance to grant Battle High, a 15-minute buff that bumps your crit and direct hit rates and adds a heal-over-time. It rewards clean play without being required.
The payoff from CEs is solid: more Knowledge, more Phantom EXP, and more Enlightenment Silver Pieces than FATEs hand out. They also drop the Soul Shards for Berserker, Ranger, and Oracle, and a few of them gate story progress. Calamity Bound, the CE tied to the third quest, is a good example. It doesn't spawn on its own. You have to clear the level 20 Crescent Inkstain enemies down near the Occult Cloister in the southwest corner to force it to appear.
The Forked Tower: Blood
This is the payoff for the whole zone. The Forked Tower: Blood is a 48-player raid that sits inside South Horn rather than loading into its own instance, and it's the closest thing FFXIV has had to the Baldesion Arsenal in years. It's genuinely hard and genuinely punishing, and almost nobody pugs it. On the NA and EU data centers, runs are organized through player Discord servers, because herding 24 to 48 strangers in-game is a nightmare.
Getting in is a whole process. You need to clear the story quest Past and Crescent (including the Calamity Bound CE), hit Knowledge Level 20, and buy Sanguine Ciphers from the Antiquarian with silver or gold. Then your group gathers at the cipher reliquary near the Solitary Pavilion and feeds ciphers in. When at least 24 qualifying players do that during a special weather window called Auroral Mirages, an aetherial node spins up and teleports everyone inside. That weather only appears when enough level-20 players are present, and its timer ticks down faster as the instance clears CEs and FATEs.
The difficulty comes from one brutal rule: resurrections are rationed. Everyone starts with three stacks of a Resurrection Restricted debuff, which are basically your lives. The only things that can raise you are a Phantom Chemist's Revive or a healer Limit Break 3, and each raise burns a stack. Run out and your next death is permanent, forcing you to return to Base Camp, which costs you Knowledge and drops you back to level 19. Re-leveling is just one CE away, but the real loss is sitting out the rest of the run.
A handful of Phantom Jobs are mandatory to clear the place, because specific mechanics literally cannot be handled without them. You need Time Mages to dispel adds, Geomancers to Levitate the party over hazards, Bards to stun Tower Idols before they wipe the group, Thieves to spot hidden traps and open locked doors, and a Berserker for one specific canister mechanic on the final boss. Fill those slots first, then stuff the rest of the raid with Samurai for damage.
The run itself is a gauntlet of seven encounters: Demon Tablet, the trapped Hallways, the Dead Stars boss trio, the Bridges, the Marble Dragon, the Lockwards, and finally Magitaur. Most of them have enrages, so the damage check is real. Clear it and you walk away with Sanguinite, the currency that upgrades your Arcanaut armor to its +2 form, plus the Occult Records that only exist inside the tower.
Silver and Gold Coffer Farming
Most of your time in South Horn comes down to two currencies: Enlightenment Silver Pieces and Enlightenment Gold Pieces. They cap at 9,999 each and don't eat inventory space, which is a small mercy. Everything you actually want, from Phantom Job shards to the Arcanaut armor to glamour, runs on these.
The split is clean and worth memorizing. Silver comes from group events: FATEs, Critical Encounters, clearing the Forked Tower, trading your excess zone junk to the Expedition Trader, and the treasure coffers from Persistent Pots and Happy Bunny carrots. Gold comes from the grind itself: killing overworld mobs, plus those same Pot and carrot coffers. So if you're chasing gold, you're chaining mobs. If you're chasing silver, you're hopping from event to event.
That fork is also why the player base splits into two flavors of farm party. Gold farm parties form full eight-player groups, sync to the lowest member, and chain tough mobs for both the gold drops and the EXP chain bonus. It's the fast track to Knowledge Levels and a fat gold stack at the same time. Silver runners bounce between FATEs and CEs, which pay out silver and Knowledge scaled to your level, and they're friendlier to anyone still low.
Spending comes down to priorities. The single best early purchase is the riding map from the Antiquarian for 3,000 silver. Faster mounts mean more events caught, more mobs killed, and less time jogging, so it pays for itself almost immediately. After that, grab the Soul Shards for whatever Phantom Jobs you're missing, then start eyeing the Arcanaut armor set, which is item level 745 and carries the Special Attribute stat that pumps your Phantom Job damage inside the zone. That armor upgrades to +1 and eventually +2 using items pulled from coffers, the Antiquarian, and the Forked Tower.
Coffers, Pots, and Carrots
Layered on top of the currency grind is the treasure system, and this is where a lot of the real loot hides. As you clear FATEs, CEs, and mob chains, personal coffers spawn around the map, up to eight silver and thirty bronze at once. Bronze coffers cough up one item, silver coffers give three. Grab the Freelancer's Treasuresight at level 10 and it shows you a running count of how many are waiting, so you know when it's worth a sweep.
The juiciest chests come from two minigame-style systems. Persistent Pots work like the Happy Bunnies from Eureka: rescue them in certain FATEs, earn a gold rating, and up to twenty players get a Magical Elixir that points to a hidden coffer. Those hidden chests pay out materia, items, and currency on top of gil (1,000 for bronze, 5,000 for silver, 30,000 for gold). Then there's the Fortune Carrot. Occasionally a normal coffer drops one, and if you pop it near a chewed carrot on the ground, it spawns a Gold Coffer stuffed with 200,000 gil plus rare mounts, minions, and emotes. Those are the chests people actually chase.
So the practical loop looks like this: unlock your teleports, grab the riding map, slot Bard early for the EXP buff, bounce between FATEs and CEs for silver while sneaking in mob chains for gold, sweep your coffers whenever Treasuresight lights up, and pour the silver into Phantom Job shards and Arcanaut armor. Do that for a while and the island starts feeling a lot smaller. A good last-mile move is to push a few Phantom Jobs to mastery before you even look at the Forked Tower, since every mastered job is 2% more damage you carry into the hardest content the zone has to offer.