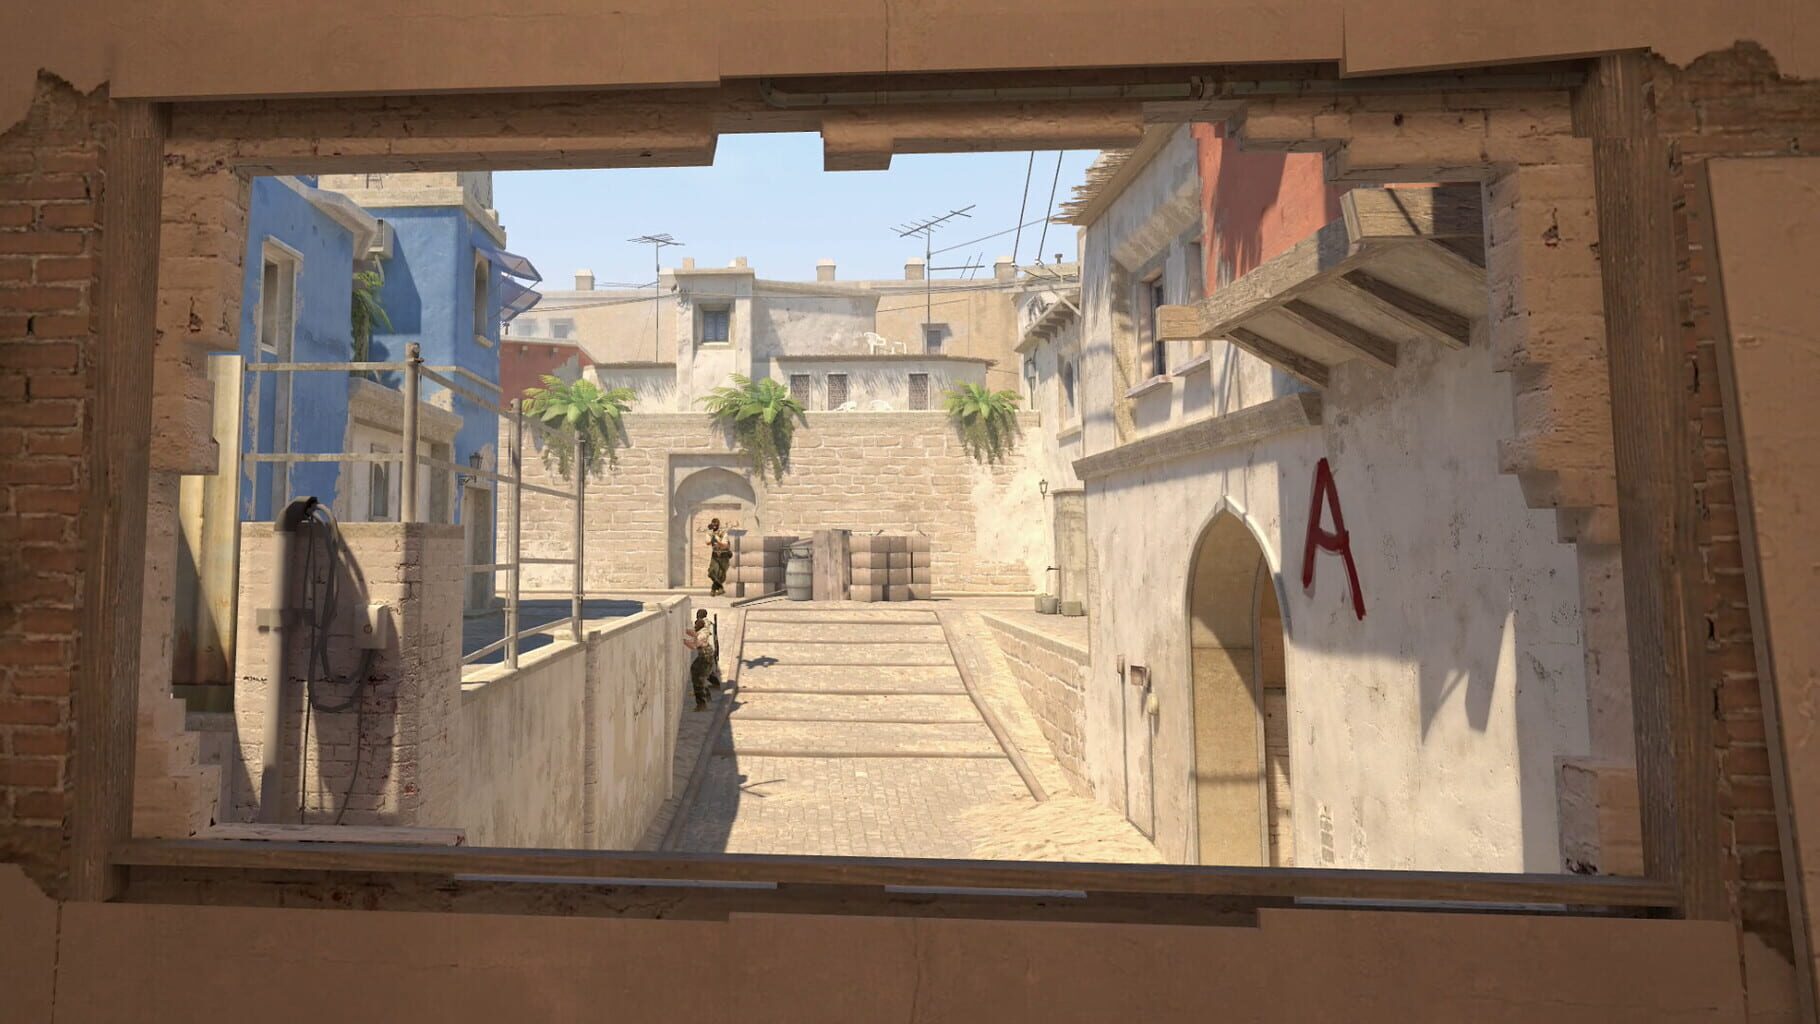
Counter-Strike 2 AWP Guide: Positioning, Quickscopes, and No-Scope Timing
How to use the AWP in CS2: where to stand, when to scope, how to quickscope and no-scope, and how to reposition after a kill.
The AWP is the scariest gun in Counter-Strike 2, and there's a good reason for that. One shot to the chest drops an armored player on the spot. The thing runs $4,750, which is more than just about anything else you can buy in a round. When you're holding one, a lot of duels feel tilted your way. When the other team has one aimed at a doorway, that doorway feels like a death trap.
Here's the catch, though. The AWP is only as good as the person behind it. It fires slow, reloads slow, and turns you into a slow-moving target the second you scope in. A rifle player can whiff a shot and spray the next five rounds into you. You miss, and you're probably dead before you can cycle the bolt. So the gap between a decent AWPer and a great one usually isn't raw aim. It's how they move, where they plant themselves, and how fast they bail out after firing.
Why the AWP Rewards Patience Over Aggression
The single biggest AWP mistake is treating it like a rifle. An AK or M4 wants you out there taking fights, swinging corners, trading shots. The AWP is the opposite. It wants you posted up, quiet, waiting for someone to walk into your crosshair.
The math makes the case for you. The AWP does 115 base damage with 97.5% armor penetration, so a body shot is a kill against an armored player at almost any range you'll actually fight at. That means the instant an enemy appears on your screen, the fight is more or less over, assuming you're aimed roughly where they show up. They have to swing into your view, stop moving, find you, and click. You just have to click. Posted angles favor the defender by a wide margin, and that advantage compounds the longer you're willing to wait.
Why firing once leaves you wide open
There's a flip side, and it's brutal. The fire rate sits around 41 rounds per minute, and the five-round mag means you'll be reloading a lot. After you take a shot, there's a long dead window where a rifle player can just run you down. So that first bullet has to count. Patience isn't a personality trait for an AWPer, it's the only way the weapon's numbers work out.
The economy angle
Losing an AWP isn't like losing a rifle. That's $4,750 gone, and usually it hands the enemy a free sniper too if they grab it off the ground. One greedy push that gets you killed can swing the whole half. Surviving a round you lose still keeps the gun in your hands for the next one, which is honestly one of the most valuable things you can do for your team's economy. A saved AWP at the end of a lost round is worth more than a lot of kills.
When aggression actually pays
None of this means you sit in one spot and never move. Aggressive AWPing has its place. Opening picks on a low-buy round, swinging for early info when the other team is broke, catching a rotation out in the open. Those plays work because the enemy isn't ready for them. The trick is that aggression is situational, not your default. Most rounds, your job is to make the enemy come to you.
Best Angles for Holding Long Sightlines
Long sightlines are the AWP's natural home. The farther away someone is when they peek you, the smaller they are on their screen and the more time you have to react. Short distances flip that around and hand the advantage to whoever shoots first. So your default setup is to find the longest lane you can cover and plant yourself at the back of it.
Isolate one angle at a time
The big rule here is don't watch two things at once. If you're holding a position where enemies could come from the left or the right, you've already lost half the duel, because you can't be aimed at both. Pick one gap, one doorway, one corner, and commit to it. A lot of newer AWPers get killed trying to cover too much ground at once (called over-peeking, and it's the most common way to die with this gun). Tape your angle down to a single sliver and trust a teammate to watch the rest.
Default spots vs off-angles
Every map has the obvious AWP spots. Dust2 Long A, where you can hold the double doors from Pit or the site. Mirage Mid, where Window gives you a long view down the lane toward Catwalk and Top Mid. Inferno Banana, that long lane running from the CT side down toward the B entrance. Overpass Long A with its extended sewer route. Nuke's Outside yard, with its big open stretches. Those default positions are strong because the sightlines are clean.
The problem is everyone knows them. A half-decent enemy pre-aims the common spots before they even swing, which means your "safe" angle is exactly where their crosshair is already sitting. That's where off-angles come in. Take a step off the standard position, hold from a spot one or two body-widths to the side, and you'll catch people who are pre-aiming where they expect you. The sightline gets a little worse, but the surprise is usually worth the trade.
Crosshair height and the leg trap
Aim matters more than people think, even with a one-shot gun. Keep your crosshair at roughly chest height where enemies will appear, not glued to head level the way you would with a rifle. The body is a bigger target, and remember that a body shot kills just fine, so you don't need to chase headshots.
There's one spot you really want to avoid aiming, and that's low. Leg shots have a 0.75 damage multiplier, which works out to about 86 damage. That leaves a full-health player alive with a chunk of health and very angry. You'll see your shot land, watch the hitmarker pop, and then they kill you before you cycle the bolt. Aim for the upper body and you sidestep the whole problem.
Counter-strafe before you shoot
If you're holding still and someone walks into your scope, just click. But a lot of your duels happen right after you move into position, and that's where counter-strafing comes in. Tap the opposite movement key to cancel your momentum an instant before you scope and fire. Moving shots with the AWP are basically a coin toss, so getting dead still before the trigger pull is what separates a clean kill from a whiff into thin air.
Quickscope and No-Scope Mechanics
Sooner or later you're going to end up in a fight where the enemy is too close to safely scope, or appears faster than you can pre-aim. That's where quickscopes and no-scopes come in. They're emergency tools, and understanding the difference between them is what keeps you alive when an enemy is suddenly in your face.
How quickscopes actually work
A quickscope is when you scope in and fire almost immediately, without fully settling. The idea is that scoping lines up your shot more precisely than a hipfire, so you trade a split second of time for much better accuracy. In close-to-mid fights, against a rifle player who rounded a corner faster than you expected, a clean quickscope is often your best answer.
There's a catch specific to CS2, and it trips up people coming from the older game. CS2 gives the AWP a slightly longer window of inaccuracy right after you scope in compared to before. The accuracy isn't perfect the instant the scope fills your screen. It ramps up over a brief moment as you stand still. Two things drive your accuracy with this gun: your movement (you have to be stopped) and the time since you scoped in (a touch of patience helps). So a true instant quickscope is a little less reliable than it used to be. The fix is to scope a hair earlier than you think you need to, let the crosshair settle for that fraction of a beat, then fire.
The setup that makes quickscopes land
You can't quickscope well from a dead sprint. Counter-strafe to stop, get your crosshair roughly on the target before you scope, then click the scope and fire in one smooth motion. Think of it as lining the shot up first and then confirming it with the scope, rather than scoping and then hunting for the target inside it. That hunt is what gets you killed.
No-scopes are mostly luck
A no-scope is firing the AWP without scoping at all, and the honest truth is that they're unreliable past point-blank range. The bullet goes somewhere in a spread around your crosshair, and you don't get to pick exactly where. At spitting distance, say an enemy bumps into you in a tight hallway, a no-scope is a fine panic option. Outside of that, you're praying.
A couple of things do tighten the spread. Crouching makes no-scopes noticeably more accurate, so if you have the split second, drop into a crouch before you hipfire. Standing still helps too, for the same reason it helps scoped shots. But treat no-scopes as a last resort, not a strategy. If someone is far enough away that you have time to scope, scope.
Why the body still wins these fights
Even in scrambly close fights, the math is on your side if you connect. Remember that leg shots do about 86 damage and don't kill. So in a panic quickscope or no-scope, do your best to put the crosshair on the upper body. A sloppy body hit still ends the fight. A sloppy leg hit hands them the kill.
Repositioning After a Confirmed Kill
Here's something that catches a lot of AWPers off guard. The kill isn't the end of the play. In fact, the moment you fire, your position is basically broadcast to the whole enemy team. There's a loud gunshot, a tracer line, and your dot on their radar. Everyone who was nearby now knows exactly where you are, and at least one of them is already pre-aiming your spot to trade you out.
One shot, one move
The rule that'll save your skin more than any other: after you take a shot, move. Don't repeek the same gap. The enemy you killed has a teammate right behind them more often than not, and that teammate is now aiming at the exact pixel you'll appear in. Repeeking the same angle is how AWPers turn a clean opening kill into a 1-for-1 trade, which is a bad deal for the team that just spent $4,750 on a sniper.
Instead, fall back. Drop off the angle you just fired from and take up a deeper position, one where you can watch the same approach from a second line of defense. On Mirage, if you got a pick from Window, drop back behind cover before re-peeking from a different spot. On Dust2, a kill from Long can be followed by sliding back into Pit or repositioning deeper on the site. The goal is to make the enemy chase you into a fresh angle instead of trading you on the old one.
Use utility to cover your retreat
Smokes and flashes are your friends here. If you have to bail out of an angle and you've got a smoke, throw it on your old position to break the sightline as you leave. A flash before you reposition can buy you the second you need to relocate. A lot of AWPers hoard their utility and then wonder why they get traded every round. Spend it to stay alive.
Vary your spots round to round
This feeds into something broader. Don't take the same angle two rounds in a row if you can help it. The enemy remembers where you posted up, and good players will pre-fire or avoid that lane entirely. Rotating your position keeps them guessing. Round one you hold Long, round two you're mid, round three you play a sneaky off-angle they won't expect. Predictability gets you killed, variety keeps you alive and effective.
The survive-at-all-costs mindset
When the round starts slipping away and your team is falling, the smartest play is often to save the AWP rather than go down swinging for a low-percentage kill. Walking that $4,750 gun into the next round is sometimes the difference between your team having a real buy and forcing on pistols. You'll catch flak for "baiting" sometimes, but a saved AWP that wins the next round is worth more than a heroic death that loses two.
Common AWP Mistakes That Get You Traded
Most AWP deaths come from a fairly short list of bad habits. Nailing these is usually worth more than grinding your flick accuracy, because a clean angle and good timing beat a fast wrist almost every time.
Repeeking the same angle
Covered above, but it's worth its own mention because it's the number one killer. You take a shot, you're tempted to peek again to finish the job or grab a second kill, and the enemy is waiting. Break the habit. Shoot, relocate, and only re-engage from a new position. If you absolutely must hold the same lane, change the exact spot you're standing so their pre-aim is off.
Watching too many angles at once
Over-peeking kills almost as many AWPers as repeeking. The moment your screen shows two possible entry points, you're at half strength against both. Pin your view to one gap and let teammates handle the rest. If you're solo and genuinely have to cover two angles, pick the one that matters more and accept you might get hit from the other, rather than being half-ready for both.
Chasing kills instead of holding
The AWP's strength is making the enemy fear an angle. The second you abandon your post to go hunt for frags, you throw that away. Aggressive pushes have their moment, but as a default they burn your advantage. Make them come to you. A posted AWPer forces the enemy to use utility and numbers just to get past one player, which is a great trade for your team.
Overflicking instead of pre-aiming
A big dramatic flick looks cool and feels great when it lands. But relying on flicks means you're reacting instead of predicting, and reacting is slower. The better habit is tight crosshair placement, so your crosshair is already where the enemy will appear, and your "flick" is just a small correction. Big flicks also pull your aim off other threats. Keep the movement small and let placement do the work.
Firing on the move
Shooting while your feet are still sliding is basically throwing the round. The AWP punishes movement hard, and a moving shot will sail wide more often than not. Get stopped, then fire. Counter-strafe every time if you have to. It feels slower at first, but the kills you gain from being accurate more than make up for the lost fraction of a second.
Tunnel vision while scoped
When you're zoomed in, your view narrows and the world outside your scope basically disappears. That's how you miss footsteps behind you, a push on the other side of the site, or a rotation you should have caught. Scope in when you're about to fire or hold a tight angle, then unscope to keep your awareness up between shots. Sitting scoped in for ten seconds waiting is a good way to get knifed from the side.
Aiming too high
Head-level crosshair placement is great for rifles. For an AWP it's slightly too high. You don't need a headshot to kill, so drop the crosshair a touch to chest level. It gives you a bigger margin for error and stops you from whiffing over someone's head when they bob into view. Just keep it off the legs, since those pesky 86-damage hits don't finish the job.
Panicking at close range
An enemy suddenly in your face is the AWP's worst case. The panic play is a frantic no-scope that misses, followed by a death. The better play is usually to quickscope if you have a beat, or commit to a crouched no-scope if you don't, and aim for the body either way. And if you've got time, switching to your pistol can actually be more reliable than a desperation AWP shot at arm's length.
The thread running through all of this is simple. The AWP rewards the player who picks one angle, takes one shot, and disappears before the trade arrives. Get that loop down, one clean kill and then gone, and the gun starts doing exactly what its price tag promises. The opening pick that your team can actually use is worth more than two kills that cost you the AWP and the round.