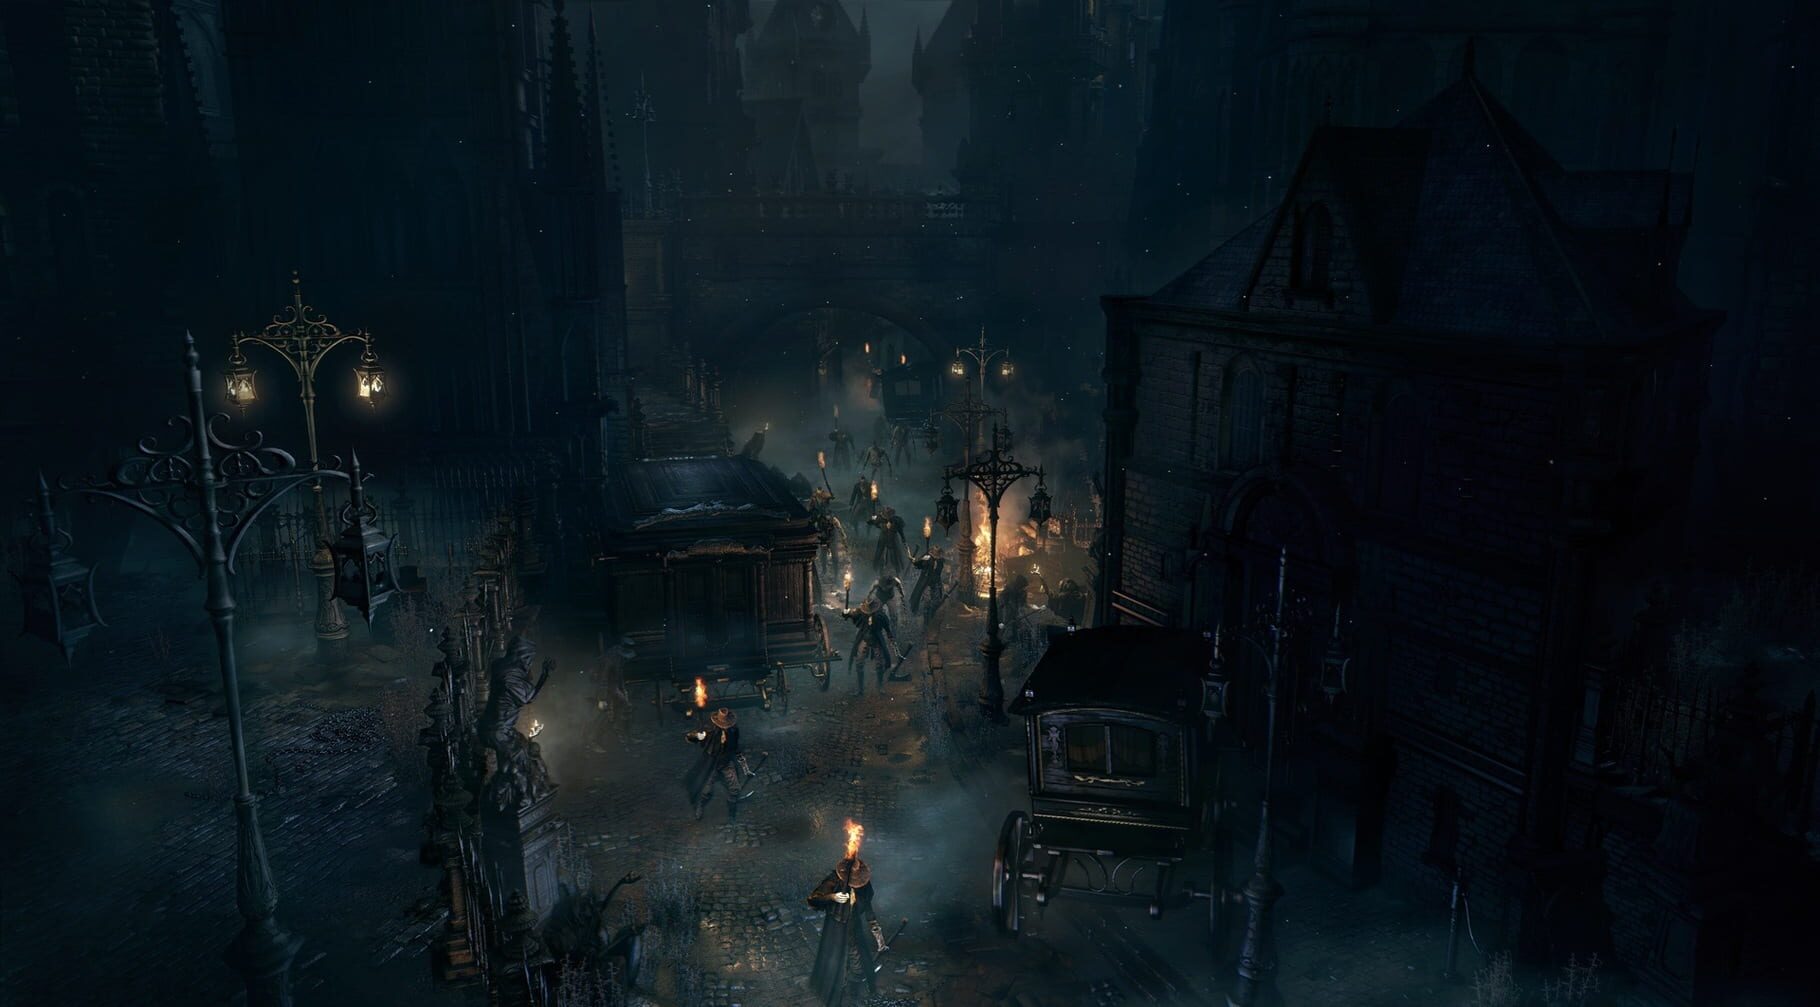
Bloodborne Chalice Dungeon Progression Guide: Required Materials and Route
The full chalice dungeon route from the Pthumeru Chalice to Yharnam, the Pthumerian Queen, with every ritual cost and where to farm each material.
Chalice dungeons are Bloodborne's optional underworld: a stack of fixed labyrinths you unlock one at a time, each one deeper and meaner than the last. The whole system runs on rituals. You bring a chalice plus a pile of ingredients to a tomb altar in the Hunter's Dream, pay some Blood Echoes, and a dungeon opens. The game explains almost none of this, so plenty of hunters wander in with the wrong materials, bounce off a boss, and drop the whole thing. The route from the first chalice down to Yharnam, the Pthumerian Queen, runs through a fixed chain of dungeons, and the trick is that each one mostly pays for the next if you know which side rooms to loot.
Unlocking the First Chalice
Everything starts with the Blood-Starved Beast in Old Yharnam. Put it down and it drops the Pthumeru Chalice, your ticket into the labyrinth. That fight happens in the Church of the Good Chalice, which is handy, because Old Yharnam also holds two Ritual Blood (1) on an altar in the church building with the beast remains hanging around. That's exactly the two the first ritual asks for, so poke around before you leave.
With the chalice in hand, go to the Hunter's Dream and walk up the steps past the workshop to the tomb altars (the stone coffins). Interact with one, pick Chalice Ritual, and select the Pthumeru Chalice. The offering is 1,000 Blood Echoes plus 2 Ritual Blood (1). If you missed the altar pickup, the bath messengers will sell you Ritual Blood (1) for 2,500 echoes each once the Beast is dead. Either way, the first door in is cheap.
A few terms worth knowing before you drop in:
- Depth is the difficulty rating, 1 through 5. Deeper depth means harder enemies and better gems. This first dungeon is depth 1.
- Each dungeon splits into layers, basically floors. Every layer has a lamp, a hidden lever somewhere on the map, and a boss door the lever unlocks. The side areas off the main path hold the treasure chests, and that's where most ritual ingredients live.
- Story chalices like this one are preset. Same layout, same bosses, same loot, every run. Root chalices, which you start collecting along the way, generate random dungeons you can share and search with glyphs.
The Pthumeru dungeon has three layers. Layer 1 is an Undead Giant. Layer 2 is the Merciless Watcher with his Watcher Chieftain buddy, and they drop the Pthumeru Root Chalice. Layer 3 is the Watchdog of the Old Lords, a fire-breathing dog thing, and it drops the Central Pthumeru Chalice. So one clean run hands you the next story chalice and your first root at the same time.
Loot as you go. Layer 2 has two Ritual Blood (2) in the room with the Kidnapper, and layer 3 holds four more in the side area before the boss. That's the exact six the Central Pthumeru ritual will ask for later, so grab them on the way through.
Two small things. Kidnappers (the hulking sack-carriers) show up in this dungeon with half their usual health, so at this point they're basically free echoes. And if the Watchdog keeps eating you, you can summon Tomb Prospector Olek with the Old Hunter Bell just outside the layer 3 lamp room.
Recommended Dungeon Order
The Pthumeru line is the spine of the whole system. Here's the full chain with every ritual cost and where each chalice drops:
| Dungeon | Depth | Layers | Ritual cost | Chalice source | | --- | --- | --- | --- | --- | | Pthumeru | 1 | 3 | 1,000 echoes + 2 Ritual Blood (1) | Blood-Starved Beast, Old Yharnam | | Central Pthumeru | 2 | 3 | 1,800 echoes + 6 Ritual Blood (2) | Watchdog of the Old Lords, Pthumeru L3 | | Lower Pthumeru | 3 | 4 | 3,200 echoes + 9 Ritual Blood (3) | Pthumerian Descendant, Central L3 | | Ailing Loran | 4 | 3 | 5,500 echoes + 9 Ritual Blood (4) + 4 Coldblood Flowerbud | Amygdala, Nightmare Frontier | | Defiled | 4 | 3 | 5,500 echoes + 9 Ritual Blood (4) + 2 Bastard of Loran + 22 Arcane Haze | Bloodletting Beast, Lower Pthumeru L4 | | Great Isz | 5 | 3 | 11,500 echoes + 9 Ritual Blood (5) + 3 Pearl Slug + 25 Arcane Haze | Ebrietas, Altar of Despair | | Lower Loran | 5 | 3 | 11,500 echoes + 9 Ritual Blood (5) + 4 Blooming Coldblood Flower | Abhorrent Beast, Ailing Loran L3 | | Great Pthumeru Ihyll | 5 | 3 | 11,500 echoes + 9 Ritual Blood (5) + 4 Red Jelly + 25 Arcane Haze + 1 Living String | Amygdala, Defiled L3 |
Why Loran comes before Defiled
Notice the swap in the middle of the table. Plenty of older walkthroughs send you straight from Lower Pthumeru into the Defiled Chalice, but Defiled wants 2 Bastard of Loran, and the only easy source is Ailing Loran's layer 3 bonus room, which holds four of them. Running Ailing Loran first also solves your blood problem: its chests hold exactly nine Ritual Blood (4), which is exactly what the Defiled ritual costs. Loran funds Defiled. That one swap saves you a whole farming trip.
Ailing Loran itself is a beast pit, mostly furry things that hate fire, with sandstorm weather for mood. Fire paper goes a long way here. Layer 2's side area has the Beast Claw weapon in a chest if you want it, and layer 3's bonus room past the lever door holds those four Bastards of Loran plus six Blooming Coldblood Flowers, which Lower Loran asks for later.
The Pthumeru stretch
Lower Pthumeru deserves a few notes. It's the first dungeon with four layers instead of three, and the community wiki suggests level 80 or so with a +8 weapon before you start it. Layer 2 hides the single most important pickup in the entire chain: the Workshop Haze Extractor, sitting in a coffin in the side area after the lever door. You need that tool to craft Arcane Haze for the last three rituals. Miss it and you're backtracking later, so don't leave the layer without it. Layer 4's boss, the Bloodletting Beast, drops the Defiled Chalice.
The Hintertomb branch is fully optional, for what it's worth. The Hintertomb Chalice sits in a chest in Central Pthumeru's layer 2 side area, and the only real reasons to run it are the Madman's armor set or seeing every boss in the game. Skipping it costs you nothing on the way to the Queen.
After Defiled
The last three dungeons are all depth 5. Only Great Pthumeru Ihyll actually gates the Queen, but Great Isz is worth doing first anyway. Ebrietas drops its chalice at the Altar of Despair, past the Orphanage in Upper Cathedral Ward, and Isz layer 3 has a room holding 2 Red Jelly, 6 Sage's Hair, and 5 Tomb Mould (5), plus 3 Yellow Backbone in a second room. Those stock the Ihyll ritual and your first cursed root later. Lower Loran is skippable unless you're chasing every root chalice in the game.
Farming Ritual Materials
Ritual Blood comes in five tiers, and the tier matches the depth you're opening: tier 1 for depth 1, tier 2 for depth 2, and so on. The pattern that keeps the chain cheap is that every dungeon hides most of what the next one needs in its side areas. The Central Pthumeru ritual wants 9 Ritual Blood (3)? Central itself has three on layer 2 and six more in two chests on layer 3. Loot everything as you go and you'll rarely have to grind.
The Ritual Blood ladder
When you do come up short, the messenger shop in the Hunter's Dream slowly unlocks direct purchases as you progress: Ritual Blood (1) at 2,500 echoes each after the Blood-Starved Beast dies, Ritual Blood (2) at 6,000 after you finish Lower Pthumeru, Ritual Blood (3) at 12,000 once you hold the Great Pthumeru Ihyll Chalice, and Ritual Blood (4) at 24,000 once you've beaten the Queen. Those prices are steep for bulk buying, more of a top-up than a plan.
The big count to plan around is 18 Ritual Blood (4), nine for Ailing Loran and nine for Defiled. Lower Pthumeru hands you eight as treasure: two on layer 2, one behind a hidden wall near the layer 3 lantern, and five in two chests on layer 4. That leaves you one short for Loran. Easy fix. Kidnappers in Lower Pthumeru drop Ritual Blood (4) about a quarter of the time, and the Merciless Watchers drop it around one fight in five, so kill the Watcher guarding the ladder in the layer 2 bonus area a couple of times and you're set. Then loot Loran's own nine (three on layer 1, six on layer 2) and Defiled is paid for without another farm.
Ritual Blood (5) is the real grind. The three depth-5 rituals want 27 between them. Free pickups first: three sit in front of the Orphanage Key gate in Upper Cathedral Ward. After that, the community method is the werewolf chest in Ailing Loran. From the layer 1 lamp, go right into the big room, find the tunnel behind the ladder, and there's a small chest with two inside. Repeating it needs online glyph searches (grab the chest, Hunter's Mark out, search another), which is fast but eats your ritual stock each time. Offline, the wiki points at a respawning Merciless Watcher in a lever room just off Defiled's layer 1 hall.
Arcane Haze and the extractor
Arcane Haze comes from that Workshop Haze Extractor you grabbed in Lower Pthumeru. It works at the workbench in the Hunter's Dream and breaks spare ingredients down into haze. The useful rates: Ritual Blood (2) through (5) give 5, 7, 10, and 12 haze each, Blooming Coldblood Flower gives 12, Sage's Hair and Yellow Backbone give 11 apiece, and Coldblood Flowerbud gives 7. You need 22 haze for Defiled and 25 each for Great Isz and Ihyll, so don't sell your spares. Fluorescent Flowers (the plant enemies in Pthumeru's lower layers) drop haze too, and it shows up in high-depth chests.
The specialty ingredients
Each late ritual wants one weird item, and most have a free pickup in the main game:
- Coldblood Flowerbud, 4 for Ailing Loran: four free pickups in the Nightmare Frontier, drops from Loran Clerics, or 2 Insight each at the bath once you hold the Loran chalice.
- Bastard of Loran, 2 for Defiled: the four in Ailing Loran layer 3's bonus room cover it. Loran Silverbeasts drop them as well, and shops sell them for 7 Insight in NG+.
- Pearl Slug, 3 for Great Isz: one in a chest at Byrgenwerth in the building you pass on the way to Rom, plus two in the Orphanage near a Brainsucker. That's your three right there. After that they're 3 Insight each at the bath.
- Red Jelly, 4 for Ihyll: two on the first floor of the Lecture Building, just right of the Nightmare Frontier entrance, and two in one room on Great Isz layer 3. Lower Loran also hides one each on layers 2 and 3 if you went that way.
- Living String, 1 for Ihyll: kill the Brain of Mensis. Pull the lever that drops it into the pit, climb down, and finish it off. The pit inflicts frenzy, so keep a Sedative handy or sprint. It's a guaranteed drop, though there's a known bug where a co-op partner landing the final hit can rob you of it, so solo it if you can.
Handling Cursed and Defiled Dungeons
The Defiled Chalice (sold as the Cursed and Defiled Chalice in the EU) opens the Cursed Pthumerian Defilement, and the curse is the whole point: your max HP is cut in half for as long as you're inside. Vials still fill roughly the same slice of your bar, so healing feels normal. Incoming physical damage gets halved too, so melee trades sting about what you'd expect. Elemental damage does not get reduced. Fire, bolt, and arcane hit full strength into your halved health pool, which turns any elemental attack into a possible one-shot. The layer 1 boss throws fire around and can delete a full bar with one combo. That's the defilement experience in a sentence.
The three fights
Three layers, three bosses, and no treasure you need from this one. The wiki puts it bluntly: no materials needed from this chalice. Just survive.
- Layer 1, Keeper of the Old Lords. Watch the lamp room exit, since there's an oil puddle right in front of the door and a Labyrinth Ritekeeper lurking to the right, and charging out blind is a common instant death. The Keeper himself is fire-heavy, so treat every swing as lethal and stay mobile. Some players lock him in a stun chain with Beast Roar and a fast weapon.
- Layer 2, Watchdog of the Old Lords. Same fire dog from Pthumeru layer 3, but meaner. The charge and bite chains are the killers, so keep your distance until one whiffs and punish the recovery.
- Layer 3, Amygdala. This one drops the Great Pthumeru Ihyll Chalice, so it's the gate to the endgame. The Defiled version loves its laser and stomps, and with half a bar both are usually fatal. Stay close, hug its sides, and punish the head whenever it dips down low.
The reward beyond progression is real: bosses here drop fat radial physical gems, with physical boosts north of 20 percent at the cost of weapon durability. If you're building a physical weapon, this is where it turns a corner.
Curse facts for later
Adding a Cursed offering to a root chalice does the same HP cut on purpose, because cursed dungeons drop the best gems in the game. But making the story Defiled does not count as "having made a cursed dungeon" for glyph purposes, since the curse there is baked into the chalice rather than an offering you picked. When you start joining cursed and rotted glyphs, you'll still need to burn a Bastard of Loran adding that rite to a root of your own. Co-op also helps less than you'd hope here. Summoned helpers eat the curse on top of their usual health cut for being summoned, so they melt fast.
Reaching the Final Chalice Boss
Once Defiled's Amygdala hands over the Great Pthumeru Ihyll Chalice, the end of the line costs 11,500 echoes, 9 Ritual Blood (5), 4 Red Jelly, 25 Arcane Haze, and 1 Living String. Follow the route so far and the jelly came from the Lecture Building and Great Isz, the haze from the extractor, and the string from the Brain of Mensis. The bloods are the only thing you might still be farming.
Ihyll is depth 5 with three layers:
- Layer 1: Pthumerian Descendant, a fast, dagger-throwing duelist. Straight-up fight, no gimmicks.
- Layer 2: Headless Bloodletting Beast, a headless version of the Lower Pthumeru layer 4 boss. It drops the Pthumeru Ihyll Root Chalice.
- Layer 3: Yharnam, Pthumerian Queen.
Before the Queen, there's a side dungeon off layer 3's pre-boss area with a bath messenger selling the Sinister Pthumeru Ihyll Root Chalice for 16,000 echoes, plus two Kin Coldblood (12) sitting nearby. Grab those if you're collecting roots, since sinister roots count as roots for glyph searching later.
The Queen herself
Yharnam is a weird fight. She floats out of melee range for long stretches and fights with blood magic: summoned knife waves, blood bursts, and teleports she uses both to escape and to appear behind you. Patience wins it. Dodge through the knife volleys rather than away from them, punish the window after her bigger casts, and keep moving whenever she stops to channel, because blood can erupt out of the floor under you. It's a ranged duel more than a brawl, and calm beats greed here more than anywhere else in the labyrinth.
Beating her drops the Yharnam Stone, which does absolutely nothing. It's a trophy trinket, proof you went to the bottom. The real prizes are the Yharnam, Pthumerian Queen trophy (one of the ones the Platinum needs) and the shop unlock, since with the Yharnam Stone in hand the messengers will finally sell you Ritual Blood (4) outright at 24,000 echoes each.
And that's the chalice line done. If the depths caught you, the next step is gem farming: finish the story dungeons, then create one fetid, rotted, cursed root of your own. An FRC Isz is the cheapest at 13 Ritual Blood (5), 5 Tomb Mould (5), 3 Pearl Slugs, 1 Red Jelly, 6 Sage's Hair, 6 Yellow Backbone, and 3 Bastards of Loran. The Yellow Backbones are sitting in that Great Isz layer 3 room you already looted, and The One Reborn in the main game drops three more. Make that single dungeon and every FRC glyph on the shared list opens up.