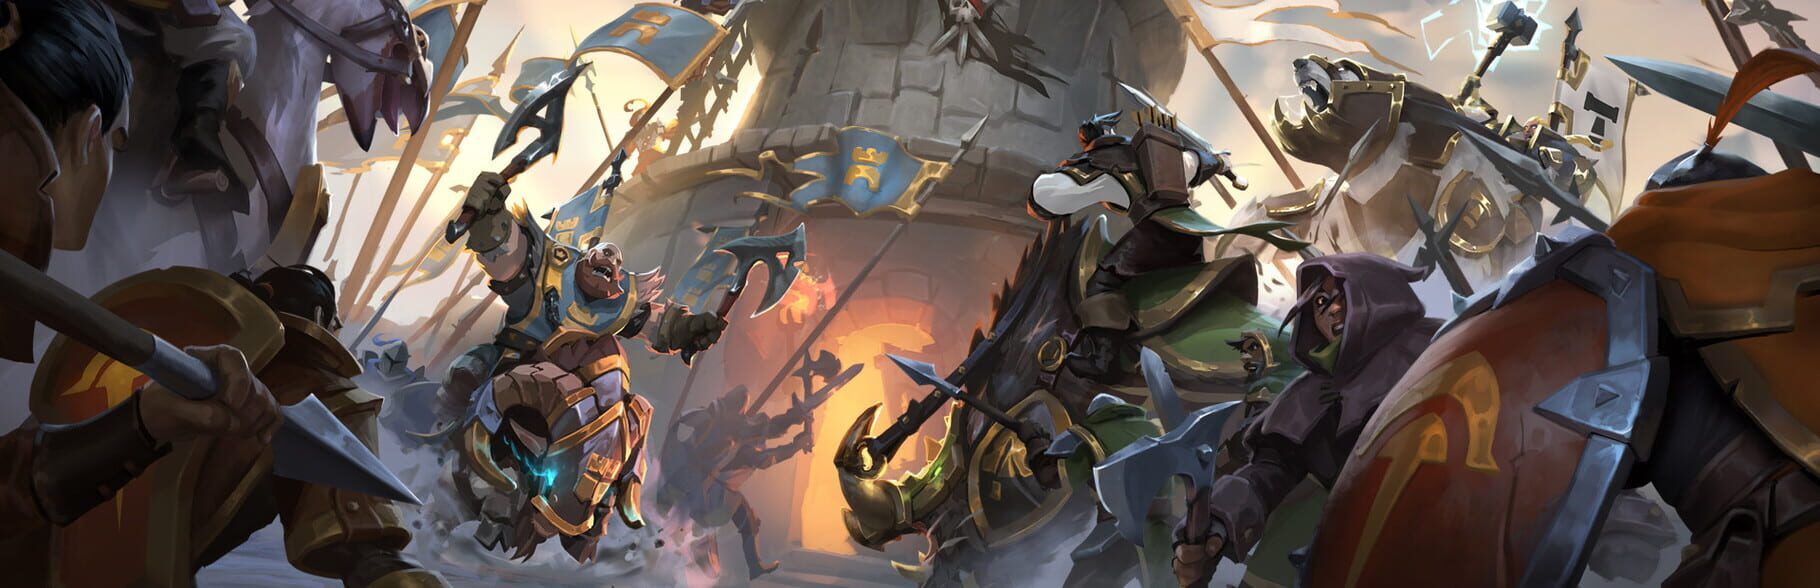
Albion Online Best Weapon Builds for Every Combat Role
Picks for tanks, damage dealers, healers, and support in Albion Online, plus how to mix plate, leather, and cloth armor.
Albion Online skips classes. Whatever role you play is just the gear you hold, so a toon can swap from meat shield to mage by changing weapons and armor in town. That freedom is great until you wander into full-loot PvP with the wrong setup and drop your whole kit to the first gank squad. The four jobs that keep a group alive are tank, damage dealer, healer, and support. Each leans on a small set of weapons and a specific armor feel, and the build that wins usually mixes those pieces instead of one clean matching set. Here's how each role breaks down, what to hold, and how to layer your armor.
Tank Builds With Plate Armor and Crowd Control Weapons
The tank's job is simple and ugly. You stand in front, eat the damage, and lock the other side down so your backline can do the work. You're not there to win a damage race. You're the wall, and a good wall is loud: stuns, roots, silences, anything that stops the enemy from acting.
Why plate armor is the tank base
So why plate at all? Because a tank's one job is to not die, and plate is built for exactly that. It packs the highest defense and the best crowd-control reduction of the three weights, which means stuns and roots wear off faster and hits land softer. The trade is offense. Plate pumps up your survivability but does almost nothing for your damage, and that's fine. A tank who can't die but deals no damage still does the job. A tank who hits hard but pops in two seconds does not.
The Mace line: your go-to control weapons
Maces are the backbone of tanking in Albion, and the whole line is about control.
The One-Handed Mace is the mobile pick. Its E, Deep Leap, lets you jump a long way and stun everyone in the impact zone, perfect for jumping on a healer or peeling for your own. Pair it with Silencing Strike on the W so the target can't cast once the stun fades, and the Stunning Strike passive stacks a third layer of control every five auto-attacks.
The Heavy Mace is for disruption. Its E, Battle Howl, drops a wide line silence that also purges enemy buffs, so it strips defensive auras and chokes the enemy backline at the same time.
The Camlann Mace is the big ZvZ engage. Its E, Vendetta, throws a black hole that yanks every enemy it touches into one tight pile. Land it on a clump, call your mages, and the fight is more or less over.
The Incubus Mace shrinks enemies with its E, cutting their max health and damage. That's a PvE favorite for Hardcore Expeditions, though it shows up in 5v5 to cripple the enemy tank.
Other crowd-control options
The Quarterstaff family is worth a look too. It's fast, mobile, and full of knockbacks and position tricks for players who like a more active tank style. A Leering Cane off-hand is a sneaky add for a one-handed setup, since it stretches out the length of your stuns and roots.
Tank armor that actually sticks
For the chest, Soldier Armor is the classic tough plate piece, and Graveguard Armor (a Royal plate chest) is a strong all-around ZvZ pick. Guardian Armor is a cloth chest you'll see mixed in a lot, since its active debuffs the damage everyone in its area deals, great for smothering an enemy push. On the head, the Soldier Helmet (Knight Helmet) hands you interrupt immunity while channeling, which matters when you're trying to land a Camlann pull. Plate boots like Soldier Boots or Giant Boots give you a sturdy defensive active plus Refreshing Sprint for a steady speed boost.
The simple combo: buff with the helmet, leap or pull into the clump, chain your stun into a silence, then call the follow-up. You're the setup, never the finisher.
Damage Dealer Builds Using Bow and Fire Staff Combos
Ranged damage in Albion splits into two flavors: physical poke from bows and magical area damage from fire staves. The best group comps run them together, and the reason is positioning. Tanks clump the enemy, the bow picks off key targets, and the fire staff turns the clump to ash.
The Bow family
Bows are about sustained single-target damage and kiting. You stutter-step between every shot to keep your distance while still pumping out hits, and the line has a flavor for every range.
The normal Bow is a machine gun. Its E, Enchanted Quiver, ramps your attack speed and damage with each consecutive hit, so you melt bruisers who try to trade with you. Take Frost Shot on the W to leap backward and slow a chaser, and run the Slow Poison passive. That one is pretty much mandatory because it stacks a slow on every auto, so nobody walks out of your range once you start shooting.
The Warbow is the hit-and-run sniper. Its E, Magic Arrow, hits harder the further it travels, and its W, Ray of Light, roots the target in place. You root, run, then fire at max range for the biggest number.
The Bow of Badon shoots a storm cloud with its E that ticks damage and interrupts casting on every tick, a nightmare for cloth mages and healers who can't get a spell off inside it.
The Wailing Bow is the ZvZ piercing pick. Its E, Demon Arrow, deals more damage the more enemies it passes through, so one lined-up shot down a choke can gut an entire backline.
The Fire Staff family
Fire staves trade the bow's mobility for raw burst and zone control. You stand behind your frontline, wait for the enemy to group up, then drop damage they can't walk away from.
The Great Fire Staff is your small-scale and choke weapon. Its E, Flame Pillar, drops a big column of fire that lingers on the ground, so you drop it where enemies are forced to walk. Fire Wall on the W doubles as a peel tool that bounces melee off you.
The One-Handed Fire Staff is the 1v1 brawler. Its E, Pyroblast, throws monstrous single-target damage, and with a Tome of Spells off-hand for cast speed it becomes a fortress melee players struggle to crack.
The Brimstone Staff is the ZvZ bomb. Its E, Meteor, has a long cast but deletes whole formations when it lands, and it leans hard on arcane buffs and a tank's stun to connect.
The Wildfire Staff flings a slow magma ball that deals percentage-based damage and can't be reflected, which makes it safe against teams running reflect gear. The Dawnsong fires a big flaming bird that slaps a healing-reduction debuff on anyone it hits, great for shutting down enemy Nature healers.
Take the Aggressive Caster passive on any fire staff. Cast speed is the stat that matters most, since your spells hit hard but have long, interruptible casts.
How bow and fire stack together
The combo is about timing, not spamming. Your tanks engage and pull the enemy into a tight spot or choke. While the clump forms, your fire staff pre-casts an area spell on the spot the enemy has to walk through. The bow's job in that window is control and cleanup: a Badon storm to stop the enemy backline casting, or a Wailing shot to punch through the grouped-up squishies. Once the fire pillar or meteor lands, you pick off the runners.
Armor for ranged damage
Glass cannon gets you killed. Most ranged damage dealers run a Cleric Robe for the invulnerability window when a diver jumps them, an Assassin Hood to shrink cooldowns, and a Martlock Cape that shields them automatically when health drops low. Boots come down to taste: Assassin Shoes for a dash, or Scholar Sandals for a crowd-control-immune sprint.
Healer Builds With Holy Staff and Nature Staff
Healing in Albion is reactive or proactive, and the two staff lines match those styles. Holy Staffs throw huge instant heals to save someone about to die. Nature Staffs stack heals over time before the damage shows up. So who picks which? It comes down to emergency saves versus steady sustain.
Holy Staff: reactive burst healing
Holy is the premier single-target rescue line. The heals hit hard and fast, and the catch is that a lot of them are stationary casts, so positioning matters a ton.
The One-Handed Holy Staff is the bailout weapon. Its E, Desperate Prayer, fires a massive instant heal that scales way up when the target is low on health, the classic "save the tank at the last second" button. Generous Heal on the Q and Holy Orb on the W round it out.
The Hallowfall is the mobile, expensive option. Its E, Divine Intervention, sends you leaping into the air where you're immune to damage, then you slam down to heal allies and knock up enemies. A healer who can dodge burst and peel for themselves is a real pain for the other side.
The Fallen Staff is the ZvZ group pick. Its E, Salvation, drops a big delayed healing circle that also scrubs debuffs off everyone inside, and it's considered a must for backline healing in big fights.
The Redemption Staff throws a Celestial Sphere that bounces between hurt allies, strong in 5v5 arenas and Hellgates when your team stays grouped. The Great Holy Staff leans on Holy Explosion, an E that heals while knocking enemies back.
Run the Adrenaline Driven Charity passive on Holy. It bumps your healing up every few casts, and that extra throughput is what keeps a focused target alive.
Nature Staff: proactive heal-over-time
Nature is about sustained, mobile healing. You keep stacks of Rejuvenation ticking on your team, so the group's already topped off when the burst lands. The weak spot is instant spike. A true burst combo can out-damage your heal-over-time, and a Mage Robe purge strips all your stacks at once.
The One-Handed Nature Staff is the small-group sustain pick. Its E, Circle of Life, roots enemies around you based on how many Rejuvenation stacks are nearby, so it heals and controls at the same time.
The Blight Staff is the ZvZ and kiting star. Its E, Ruthless Nature, lets you channel a big area heal while moving faster, which makes you almost impossible to catch while you patch up a retreating team. It also carries a Cleanse on the W for control-heavy fights.
The Ironroot Staff is the high-skill pick. Its E, Soul Link, links two targets so they share healing when it's two allies, or split damage when it's an ally and an enemy. Broken when it lands right, punishing when it lands wrong.
The Druidic Staff is the 1v1 and Mists weapon. Its E, Spiritual Seed, plants a seed that pops for a big heal a few seconds later, perfect for trading blows and winning the exchange.
Keep three Rejuvenation stacks rolling at all times, and take the Energetic passive since you'll be spamming Q and burning through energy fast.
Healer armor
Healers fold fast when dived, so defense comes first. The Cleric Robe is the standard "survive the dive" chest. The Graveguard Helmet is a clutch save: its active, Sacrifice, costs a chunk of your own health but instantly heals an ally for a big chunk of theirs, so you trade yourself to pull someone back from the brink, then patch yourself up right after. A Lymhurst Cape covers the energy you'll burn spamming heals.
Support Builds for Root, Silence, and Cleanse Utility
Support is the quiet role that wins fights without topping the damage chart. You're not killing anyone. You're locking down targets, breaking the enemy's plan, and bailing out teammates who got caught. The tools are roots, silences, and cleanses, and a good support layers them so your team can act and the enemy can't.
Arcane Staff and the Locus: the cleanse-and-shield core
The Malevolent Locus (an arcane staff) is the defining ZvZ support weapon. Its E, The Void, creates a bubble that grows from where you cast it, cleansing debuffs off allies inside and giving them a damage-resistance buff. Drop it where your team is getting chain-CC'd, and suddenly none of it sticks. Arcane Protection on the W slaps a shield on a low-health ally, and Motivating Cleanse on the other W option drops a field that clears crowd control and debuffs and speeds everyone up.
Other arcane picks cover the same space: the Occult Staff and Witchwork Staff as ZvZ support variants, the Enigmatic Staff leaning on cooldown reduction, and the One-Handed Arcane Staff for solo play. All of them shield, cleanse, or buff rather than kill. Pair a Locus with Judicator Armor, whose Force Shield bubble boosts healing received and resistance, and you can stack two defensive fields on a clump.
Roots: locking targets in place
Roots stop runners and set up burst. The Warbow Ray of Light W roots a single target, great for holding a healer still. The One-Handed Nature Staff Circle of Life roots everyone around you based on your Rejuvenation stacks. The Great Nature Staff brings Brambleseed, a root that doubles as area denial. Line up a root with your team's burst window and the target has nowhere to go.
Silence: shutting down casters
Silence is a death sentence for healers and mages, since it locks their spells behind a timer. The Heavy Mace Battle Howl is the big team silence, a wide line that also purges buffs, so it shuts casting and strips defenses at once. The One-Handed Mace Silencing Strike is the single-target version, perfect for jumping a healer and keeping them quiet through your stun chain. A Light Crossbow is a more offbeat pick, bringing a ranged silence and knockback to poke and disrupt from the backline.
Cleanse: breaking the enemy's control
Cleanse is the answer when your team gets caught. Every leather hood (Mercenary Hood, Hunter Hood, and the rest) has a Cleanse active on its fourth slot, so anyone can self-cleanse or pop it for the group. The Arcane Motivating Cleanse and the Locus The Void are the team-wide versions, and Nature's Blight Staff Cleanse is the mobile one. A support running cleanse is the reason your tank survives a Camlann pull instead of dying in it.
How support wins
The play is layering, and you don't dump everything at once. Watch for the enemy engage, drop a cleanse bubble the moment your team gets caught, shield the target the enemy is focusing, and save a silence or root for their healer's cast. None of that shows up as a kill, but it's why your side walks away with the loot.
Mixing Armor Weight to Balance Mobility and Survivability
Albion's armor has three weights, and each leans a different way. Plate is all defense: high resistances, strong crowd-control reduction, low offense. Cloth flips that, giving the most damage and energy regen but making you fold fast. Leather sits in the middle, balancing offense and defense with a mobility and sustain lean. One thing almost nobody mentions is that the chest piece sets your weight's damage-versus-defense skew, while head and boots lean on their own actives more than raw stats.
Why the meta rarely runs a matching set
A full plate set makes you a slow wall. A full cloth set makes you a glass cannon. A full leather set is fine but middle-of-the-road. The builds that actually win mix weights on purpose, because each slot can pull the ability you need from any weight class.
Kite casters like fire staffs and bows often grab one plate piece for a defensive active so they survive a dive. Melee brawlers reach for a cloth or leather chest for sustain. Healers lean cloth for the Cleric Robe invulnerability but bolt on plate or leather for staying power. Solo builds mix the most, since you cover your own weaknesses with no team to save you.
Classic mix recipes
A ranged damage dealer might run a Cleric Robe (cloth) chest for the invuln, an Assassin Hood (leather) to cut cooldowns, and plate boots for a defensive active. A healer stacks Cleric Robe with a Graveguard Helmet (plate) sacrifice save and a Lymhurst Cape for energy. A tank leans plate for the chest and head, then swaps in a Guardian Armor cloth piece when they want the damage-debuff aura. The point is to cover gaps: too squishy, add plate or a defensive robe; starved for energy, add cloth or a Lymhurst Cape; too slow, swap your boots.
Boots and capes do the mobility work
Your boots carry most of your escape and reposition tools. Assassin Shoes (leather) dash you out of trouble. Scholar Sandals (cloth) give Focused Run, a sprint that grants crowd-control immunity, which is a lifesaver when the enemy is trying to lock you down. Royal Shoes offer a flexible blink. Plate options like Soldier Boots, Giant Boots, and Demon Boots lean defensive but still hand you a Refreshing Sprint or a dash to close or open distance.
Capes fill the gaps. The Martlock Cape shields you automatically when health drops low, cheap insurance that saves squishy builds over and over. The Lymhurst Cape pumps energy regen, which healers and Nature staffs basically can't live without. The Thetford Cape adds chain damage for rapid attackers.
Where to land
If you're not sure, start simple. Pick the chest for your biggest need, defense for tanks, the Cleric Robe invuln for squishy roles, a sustain piece for brawlers, then look at what kills you most often and fix that slot. Die to dives? Martlock Cape and a defensive boot. Run out of mana? Cloth piece and a Lymhurst Cape. Get locked down? Scholar Sandals for the immune sprint. A balanced kit beats a matching set almost every time, and the right mix is what keeps your gear on your back instead of in someone else's loot bag.