
Embark on an unforgettable adventure with our comprehensive guide, ‘The Legend of Zelda: The Wind Waker HD: Seafaring Success’. Whether you’re a seasoned sailor or a first-time adventurer, this guide will help you master the high seas and uncover all the hidden treasures of the Great Sea. Dive into essential tips for Understanding Basic Controls, expertly Navigate the Great Sea like a true pirate, and conquer Key Locations and Their Challenges. Learn to efficiently Manage Health and Resources to keep Link at his best, and gear up with unbeatable Strategies for Boss Battles. Set sail and transform your Wind Waker HD experience into a legendary journey!
Understanding Basic Controls
Welcome to the beautiful, oceanic world of The Legend of Zelda: The Wind Waker HD! Before you set sail on your grand adventure, it’s essential to get a handle on the basic controls. This section will break down everything you need to know to navigate, fight, and explore like a pro.
Moving Around
- Left Analog Stick: Use the left analog stick to move Link around. Push it gently for a slow walk or all the way to make him run.
- Right Analog Stick: Control the camera with the right analog stick. Tilt it to get a better view of your surroundings.
Interacting with the World
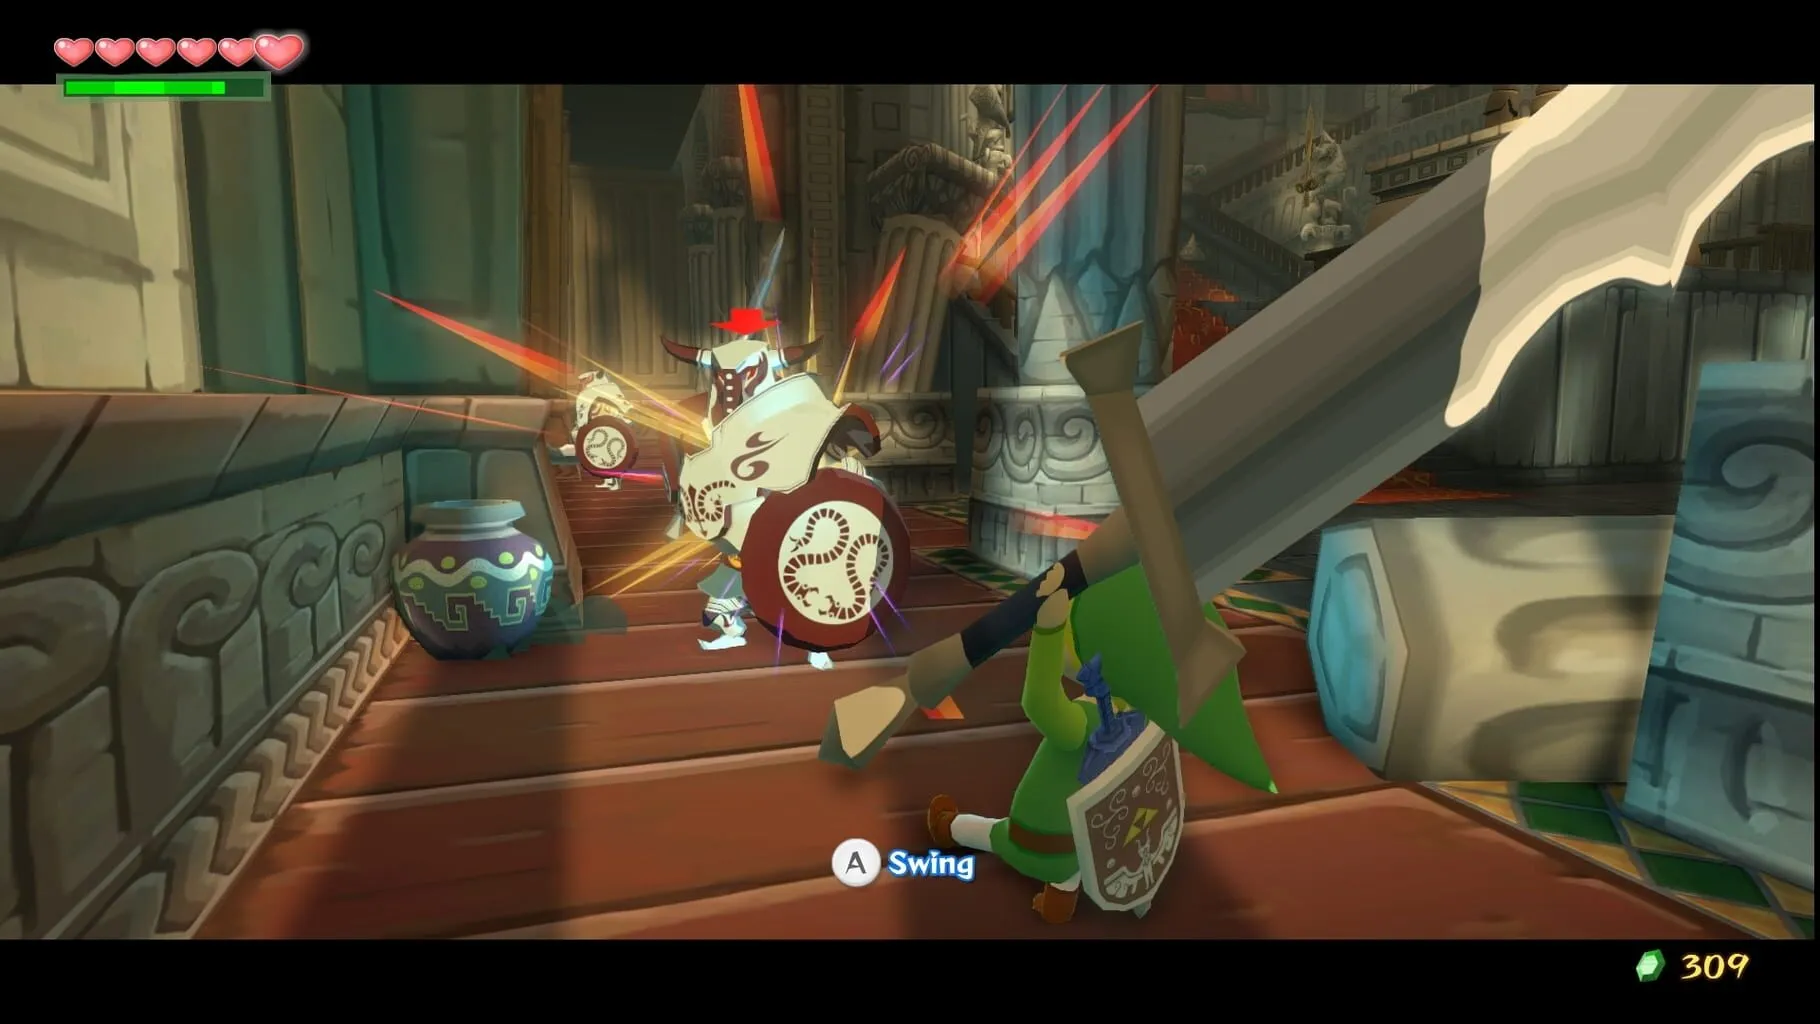
- A Button: The most versatile button! Use it to talk to NPCs, read signs, open doors, and climb ladders. It’s your main action button.
- B Button: This is your attack button. Tap it to swing your sword and attack enemies.
- L Button: Targeting time! Hold the L button to lock onto enemies and objects. This is super helpful during combat and when you need to focus on specific targets.
- R Button: Use the R button to crouch and crawl. Handy for sneaking around and exploring tight spaces.
Sailing the Seas
- A Button: While on the boat, press A to hop on and off. When you’re in control, use A to adjust your sail and get moving.
- Left Analog Stick: Steering your boat works the same as moving Link on land. Tilt it to steer your vessel through the waves.
- Z Button: The Z button allows for quick turns, making swift maneuvers on the sea easier.
Combat Basics
- B Button: Your primary attack button. Line up your enemies and slash away.
- A Button: Perform special actions during combat, like parrying. Watch for the prompt and press A at the right moment for a powerful counterattack.
- L Button: Hold to lock onto enemies, ensuring your strikes land where they need to.
Item Management
- X, Y, and Z Buttons: Assign items to these buttons from your inventory screen. Hit the corresponding button to use the item instantly.
- D-Pad: Use the D-pad to navigate the inventory and maps. Press up, down, left, or right to switch between different screens and items.
- Start Button: Access the main menu, where you can save your game and tweak settings.
Pro Tips
- Tuning the Camera: The right analog stick is your best friend for keeping an eye on your surroundings. Don’t be afraid to adjust it often.
- Quick Switch: Assign your most-used items to X, Y, and Z for fast access during critical moments.
- Practice Parrying: Timing your A button parries can turn the tide in tough battles. Practice makes perfect!
With these controls at your fingertips, you’re ready to tackle whatever the Great Sea throws your way. Now, hoist anchor and let the winds guide you to adventure!
Seafaring Success: Navigating the Great Sea
Welcome to the vast and beautiful Great Sea in The Legend of Zelda: The Wind Waker HD. Set sail with Link on an adventure that spans islands and dungeons, as you uncover the secrets of the ocean. This guide will help you master the art of navigation, ensuring you’re always on course.
Getting Your Bearings
Before you set sail, get comfortable with your Sea Chart. This is your most important tool for navigating the waters. Accessible with the GamePad, it shows all the islands you’ve discovered, along with important locations like the Forsaken Fortress. Always keep an eye on your map to make sure you’re heading in the right direction.
Pro Tip: Keep a mental note of key landmarks. Observing the horizon for recognizable features can help you stay oriented even without constantly checking the map.
Using the Wind Waker
The Wind Waker baton will be your trusty tool for controlling the wind’s direction. Open the Wind Waker menu, select the “Wind’s Requiem” song, and direct the wind to blow in the desired direction. Each time you change direction, make sure the wind doesn’t end up pushing you off course.
Wind’s Requiem: Up, Left, Right.
Exploring Islands
Each square on the Sea Chart usually houses at least one island. Stop by to explore them – some can have important items or side quests. Even small islands can harbor treasures or puzzles, so be thorough with your search.
Tip: Use the Grappling Hook to hoist valuable items from the sea based on the glowing spots. Some treasures are linked to charts from sunken ships or other adventures.
Managing Your Voyage
Keep track of your supplies. Having enough bombs, arrows, and of course, Grandma’s delicious soup, will ensure you’re prepared for anything. Visit Beedle’s Shop Ship if you need to restock.
Tip: Traveling at night might seem daunting, but it can unveil new secrets like glowing treasure spots and different enemy encounters.
Battling the Seas
Enemies patrol the Great Sea as well, from Bokoblins on rafts to fearsome Seagulls. Be ready to draw your sword or use your ship’s cannon. Bombs can defend you from pirates or take down obstacles blocking your way. Always prepare for combat when venturing into haunted areas or stormy waters.
Weather and Day-Night Cycle
The weather and time will change as you make your way across the sea. Sunny weather is ideal for clear sailing, but the occasional storm can stir things up. Keep an eye on the sky and adjust your plans if needed. Unfavorable conditions might mean seeking shelter until things clear up.
Making Quick Work of Travel
Once you learn the “Ballad of Gales” from Cyclos (you’ll need arrows to hit him down), you can warp to different points on the map. This melody will save you loads of time, especially for longer quests or backtracking to previous areas.
”Ballad of Gales”: Down, Right, Left, Up.
Gathering Sea Charts
Seek out Fishman at every new island you visit. He’ll happily fill in blank spots on your Sea Chart in exchange for All-Purpose Bait. Getting a complete map will simplify your navigation and help you find secret locations more easily.
Connecting the Dots: The Sea Chart might seem overwhelming with blank spots early on, but filling it out square by square makes navigation a breeze!
Final Tips
- Sail Wisely: Don’t just mindlessly sail from point A to B. Look out for submarines, platforms, reefs, and other structures that might hide useful treasures.
- Stopping for Treasure: Keep an eye out for shining spots in the water as these often indicate sunken chests holding valuable items or rupees.
- Document Everything: Keep notes on islands and treasures you’ve found. It makes backtracking less of a hassle later.
Mastering the Great Sea will take practice, but with these tips, you’ll be a seafaring expert in no time! Now, hoist your sails, adjust the wind, and set off for your next big adventure.
Key Locations and Their Challenges
In The Legend of Zelda: The Wind Waker HD, navigating the Great Sea is all about knowing where to go and what to expect. Here’s a rundown of some of the most important locations in the game and the challenges you’ll face there.
1. Outset Island
Challenges
- Introductory Quests: Outset Island is where your journey begins. Here, you’ll learn the basic mechanics of the game, including sword combat and item usage. The early tasks involve helping the islanders, such as finding Aryll’s pet pig and retrieving Tetra from the forest.
Tips
- Familiarize Yourself: This island acts as a tutorial zone. Take your time to explore and talk to everyone; it pays off later.
- Practice Combat: Use the opportunity to master the basics of sword fighting before the real challenges begin.
2. Dragon Roost Island
Challenges
- Dragon Roost Cavern: The first real dungeon you’ll tackle. Expect tricky lava-filled rooms, block-pushing puzzles, and a variety of fire-themed enemies.
Tips
- Take It Slow: Pay attention to the environment. Many puzzles require you to interact with objects in specific ways.
- Grappling Hook Mastery: You’ll get the Grappling Hook here. Learn how to use it for combat and navigation.
3. The Forsaken Fortress
Challenges
- Stealth Mission: Initially, Link doesn’t have a sword. You’ll need to avoid guards and searchlights while making your way through.
- Helmaroc King: Eventually, you’ll face off against this giant bird. It’s all about timing and quick movements.
Tips
- Patience is Key: Sneak around using barrels and avoid unnecessary confrontations.
- Observe Patterns: Guards and searchlights follow specific routes. Plan your moves carefully.
4. Forbidden Woods
Challenges
- Platforming and Puzzles: This dungeon relies heavily on your ability to navigate through forests using Deku Leaves and manage tricky puzzles.
- Kalle Demos: The boss fight involves using those new platforming skills mid-battle.
Tips
- Wind Management: The Deku Leaf uses wind to propel you. Watch wind direction and use it to your advantage.
- Resource Management: Keep an eye on your magic meter, as it’s essential for using your Deku Leaf and completing certain puzzles.
5. Great Sea Exploration
Challenges
- Navigating the Open Sea: The vast sea is filled with hidden treasures, enemy ships, and various islands, each with its own challenges.
- Weather and Night-Time: Storms can make navigation tougher, and you might encounter harder enemies at night.
Tips
- Map Use: Constantly refer to your Sea Chart. Mark points of interest as you find them.
- Swift Sailing: Use the Swift Sail (found at the Auction House on Windfall Island) to speed up travel and reduce wind direction hassle.
6. Windfall Island
Challenges
- Side Quests Galore: From helping a poor man regain his fortune to reuniting a couple by delivering letters, most of Windfall Island’s challenges come in the form of side quests.
- Pictograph Challenges: Completing the Pictograph challenges can be a test of patience and timing.
Tips
- Interact with Everyone: If you see someone with a thought bubble over their head, there’s usually a mission to be had.
- Night and Day Cycles: Some quests are only available during specific times, so pay attention to the in-game time.
7. Tower of the Gods
Challenges
- Multi-Level Puzzles: Splitting between different levels, the puzzles require a combination of combat, navigation, and brainpower.
- Godan Boss Fight: Here, you’ll put all your learned skills to the test.
Tips
- Think Ahead: Many puzzles are interconnected, so think about your actions and their lasting effects.
- Use All Tools: You’ll need almost every item you have to solve the Tower’s puzzles.
Exploring these locations and overcoming their challenges is what makes The Wind Waker HD such an awesome game. Equip your sword, set sail, and dive into the adventure. Happy sailing, hero of the winds!
Managing Health and Resources
Navigating the vast Great Sea in The Legend of Zelda: The Wind Waker HD can be tough if you’re not good at managing your health and resources. Let’s dive into some tips and tricks to keep Link in top shape and make sure you’re stocked up on everything you need for your adventure!
Healing Items and Finding Hearts
Keeping an eye on your health is crucial as you explore dungeons and battle enemies. Here are a few ways to heal up:
- Hearts: The most common way to restore health is by collecting Hearts. You can find these in pots, by cutting grass, and defeating enemies.
- Fairies: Capturing Fairies in bottles is a lifesaver! They not only heal you fully when you release them, but they can also automatically revive you if you fall in battle.
- Tip: Fairies are often found in Fairy Fountains, secret caves, and occasionally in dungeons.
- Red Potions: Purchase or create Red Potions to instantly restore health. You can buy them from shops or use Chu Jelly collected from ChuChus at the potion shops on Windfall Island.
- Grandma’s Soup: Once you’ve saved your grandma on Outset Island, she’ll give you her special soup, which not only heals you completely but also doubles your attack power until you take damage. You can carry it in a bottle for two uses!
Managing Magic Meter
Magic is essential for some of Link’s abilities, like using the Deku Leaf, Fire/Ice Arrows, and the Bows of Light. Keep an eye on your Magic Meter:
- Magic Jars: These refill your magic meter and can be dropped by enemies or found in pots and tall grass.
- Upgrade: To make things easier, you can get a Magic Meter upgrade from a Great Fairy, which doubles your overall magic capacity.
Rupees — The Currency of the Sea
Rupees are vital for buying items, charts, and more. Here’s how to keep your wallet full:
- Treasure Hunting: Using Treasure Charts to locate underwater chests is an excellent way to find large amounts of Rupees.
- Side Quests: Participate in side quests and mini-games around the islands for cash rewards.
- Selling Items: You can sell certain items like Joy Pendants or Knight’s Crests to Beedle or other merchants.
Arrows and Bombs
Combat and puzzles often require a good supply of arrows and bombs. Here’s how to maintain a healthy stock:
- Drop Rates: Enemies, pots, and grass can drop arrows and bombs.
- Upgrades: Early on, upgrade your quiver and bomb bag to carry more. This can be done by finding and visiting certain Great Fairies.
- Shops and Beetle’s Shop Ship: Replenish your supplies by purchasing them from shops around the Great Sea and Beetle’s Shop Ship.
Bait and Hyoi Pears
You’ll need Bait and Hyoi Pears to interact with the Fishmen, feed greedy pigs, and control seagulls for various quests:
- Buy From Beetle: Visit Beetle’s Shop Ship, and stock up on All-Purpose Bait and Hyoi Pears.
- Use Sparingly: Only use Bait when necessary, especially with the Fishmen to fill your Sea Chart.
Pro Tips for Resource Management
- Always have bottles filled: Be it Fairies, Potions, or Grandma’s Soup, keeping those bottles ready can save your skin in tough spots.
- Regularly check shops: Shops can have new and useful items as you progress, so keep checking back.
- Complete Side Quests: They often reward you with Rupees or useful items, making your journey smoother.
- Map It Out: Use Treasure Charts to find important resources beneath the sea.
- Upgrade Early: Seek out Fairy Fountains to get upgrades for your Magic Meter, bombs, and arrow capacity as soon as you can.
Managing health and resources can make your adventure across the Great Sea much easier and more fun. Keep Link healthy, well-equipped, and you’ll be ready to face any challenge that comes your way!
Strategies for Boss Battles
Battling bosses in The Legend of Zelda: The Wind Waker HD can be tough, but don’t worry. With the right strategies, you can come out on top and feel like a true hero. Here’s a rundown of how to tackle each of the game’s major bosses.
Gohma - Dragon Roost Cavern
Gohma looks intimidating with her fiery exterior, but she’s the first boss for a reason. You’ll need to use the Grappling Hook to bring down the dragon’s tail hanging from the ceiling. Here’s how:
- Stay Mobile: Keep moving to dodge her claws and projectiles.
- Use the Grappling Hook: Aim at Valoo’s tail to swing across the room. The ceiling will crash down on Gohma.
- Repeat: Do this three times to break her shell.
- Strike: Once her shell is gone, Gohma’s eye will be exposed. Use your sword to attack it directly.
Kalle Demos - Forbidden Woods
This tentacled plant can seem tricky, but getting through this battle is all about timing and precision.
- Cut the Vines: Use the Boomerang to target and cut all the vines holding up Kalle Demos.
- Wait for the Collapse: Once all vines are cut, Kalle Demos will fall to the ground, exposing its core.
- Attack the Core: Rush in and hit the core with your sword as much as possible until it gets back up.
- Avoiding Hazards: Dodge the small creatures and spike attacks that the boss sends your way.
Jalhalla - Earth Temple
Jalhalla’s ghostly form can be quite challenging, mainly due to his ethereal nature and minions.
- Use Light: Use the Mirror Shield to reflect light onto Jalhalla, stunning him.
- Throw Jalhalla: Once stunned, pick him up and toss him onto the spiked pillars around the room.
- Defeat Poes: When he splits into smaller Poes, defeat as many as possible before he reassembles.
- Repeat: Keep using light and throwing Jalhalla until all Poes are gone.
Molgera - Wind Temple
Molgera is a giant sandworm with a taste for playing hard-to-get. Focus on its weaknesses and stay persistent.
- Use the Hookshot: When Molgera opens its mouth, use the Hookshot to pull its tongue out.
- Attack the Tongue: Slash the tongue repeatedly with your sword.
- Watch for Minions: Molgera summons smaller sandworms. Take them out or avoid them while focusing on the main target.
- Avoid Swipes: Keep moving to dodge Molgera’s attacks from beneath.
Puppet Ganon - Ganon’s Tower
Puppet Ganon has three different forms, and each needs a different tactic.
First Form (Spider):
- Target the Tail: Use your Bow to shoot the blue orb on his tail.
- Avoid Attacks: Dodge his flailing limbs and keep focused.
Second Form (Centipede):
- Stay Mobile: Shoot the blue orb at the end of the tail while maneuvering around.
- Deal with Minions: Get rid of the Keese that might interfere.
Third Form (Bat):
- Predict Movements: Wait for the right moment to shoot the orb. The Hokshot can help stabilize your aim.
- Avoid Lightning: Be extra wary of lightning strikes and other attacks.
Ganondorf - Ganon’s Tower
Ganondorf, the final boss, requires everything you’ve learned.
- Parry Attacks: Look for opportunities to perform parry attacks when prompted.
- Team Up: Tetra assists in the battle. Use her help strategically.
- Shield and Sword: Defend well with your shield and strike swiftly when there’s an opening.
- Use Light Arrows: When Ganondorf is stunned, hit him with Light Arrows to create chances for further sword strikes.
Final Tips
Remember, patience and observation are keys to mastering The Wind Waker HD’s boss battles. Watch for patterns, learn from your mistakes, and keep your cool. With practice, you’ll conquer these foes and bring peace to the Great Sea!