
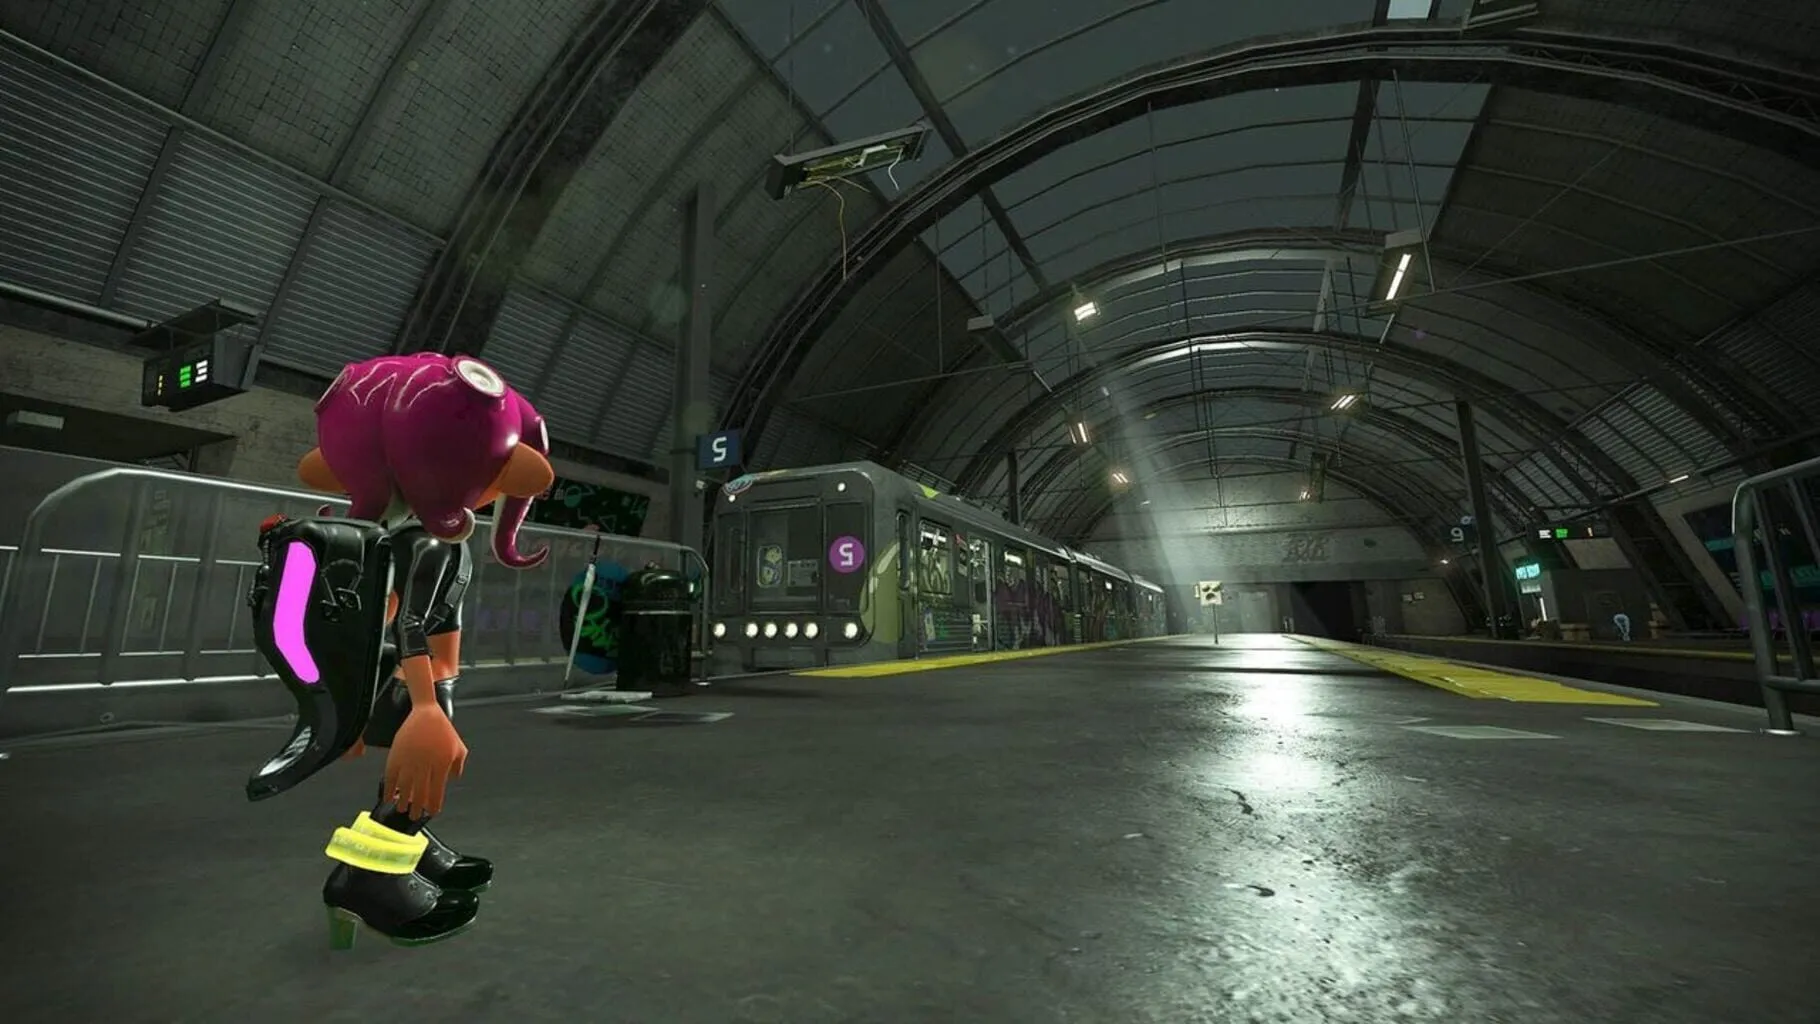
Welcome to “Splatoon: Turf War Tactics” – your ultimate guide to dominating every match in Nintendo’s vibrant and chaotic ink-splatting world! Whether you’re a seasoned Inkling or a fresh-faced recruit, this guide will equip you with the strategies and insights needed to turn the tide in your favor. Dive into expert advice on Navigating Each Map, learn to use every nook and cranny with Using Map Features to Your Advantage, and discover the Key Maps to Master for consistent wins. Unveil the secrets behind Multiplayer Map Dynamics and boost your team’s chances with surefire Strategies for Winning Turf Wars. Get ready to splat, splatter, and conquer like never before!
Navigating Each Map
Splatoon maps come in all shapes and sizes, and each one offers unique challenges and opportunities. Whether you’re new to the game or looking to up your skills, understanding the layout of each map can give you a big advantage. Let’s dive into some key tips and tricks for navigating Splatoon’s colorful arenas.
Walleye Warehouse
Map Overview: Walleye Warehouse is a compact, symmetrical map with plenty of chokepoints and narrow passages. The central area is a hotspot for action, so you’ll need to be quick and strategic.
Key Tips
- Stay Mobile: Don’t get stuck in one place. Move quickly and use the side routes to flank enemies.
- Ink the Center: Control over the central area can dominate the match. Make sure to constantly ink and re-ink this zone.
- Use Height to Your Advantage: Walleye Warehouse has boxes and platforms that give you a height advantage. Use them to surprise enemies below.
Arowana Mall
Map Overview: Arowana Mall offers a mix of long pathways and vertical plays. It’s a bit larger, making it essential to prioritize map control.
Key Tips
- Mind the Lanes: The main lane in the center is a sniping haven. Be cautious and use side paths to maneuver around snipers.
- Ink Those Corners: Many players forget to ink the corners. This area can be a game-changer for point accumulation.
- Vertical Play: Use ramps and slopes to gain high ground. It’s a great spot to make strategic jumps and splats.
Blackbelly Skatepark
Map Overview: Blackbelly Skatepark is an open, circular map with lots of ramps, bumpers, and wide spaces. It’s perfect for fast and furious gameplay.
Key Tips
- Keep Moving: The open design makes standing still dangerous. Always be on the move to avoid becoming an easy target.
- Utilize the Top Hub: The raised central area (or “Top Hub”) is perfect for controlling movement. Get to know its layout and use it for both offense and defense.
- Spread Out: Don’t focus on one area too long. Ink a broad range to prevent enemies from gaining the upper hand.
Moray Towers
Map Overview: Moray Towers is known for its verticality. Spiral ramps and multiple levels make it a sniping paradise but also a tricky place to maneuver.
Key Tips
- Vertical Awareness: Always look up and down. Moray Towers has many heights, and the enemy can often surprise you from above.
- Stay Inking: Make sure to ink the walls. This helps you climb up swiftly and escape tight situations.
- Cover the Lower Levels: While many focus on the top, inking the bottom areas can turn the tide in your favor. Don’t leave them unattended.
Port Mackerel
Map Overview: Port Mackerel is a narrow, rectangular map with lots of corridors and boxes scattered around. It’s ideal for ambushes and strategic plays.
Key Tips
- Master the Corridors: Knowing the layout of the corridors and using them for quick escapes or surprises can give you an edge.
- Ambush Tactics: Use the boxes to hide and spring on unsuspecting foes. Remember, a well-timed splat can turn the game around!
- Seeing the Bigger Picture: Always check your map. Knowing which corridors are controlled can help you plan your next move.
Kelp Dome
Map Overview: Kelp Dome is an expansive map with lots of open spaces, grated floors, and high vantage points. Stay flexible and adaptable here.
Key Tips
- Reserve the Tall Grass: Use the tall grass areas to hide and plan your attacks. Just be ready to move if things get heated.
- Inking Strategy: Focus on the central area under the dome. It’s crucial for maintaining control.
- Layers of Play: The grated walkways above the main floor offer great vantage points. Utilize them for scouting and sniping.
Camp Triggerfish
Map Overview: Camp Triggerfish offers long bridges and water hazards, making it crucial to maintain balance and smart inking.
Key Tips
- Bridge Control: Controlling the bridges can dominate the game. They’re the main passage, so don’t neglect their importance.
- Watch Your Step: Be mindful of the water hazards. A misstep can mean an instant splat!
- Strategic Inking: Inking along the bridges and side paths can create new routes and escape paths for you and your team.
Mahi-Mahi Resort
Map Overview: Mahi-Mahi Resort features floating platforms and a lot of water. It’s a dynamic map that changes as the water level rises and falls.
Key Tips
- Dynamic Playing: Be prepared for the map layout changing. Learning to adapt on the fly is crucial here.
- Water Hazards: The water is everywhere. Stay vigilant and avoid falling in.
- Team Communication: Work closely with your teammates. Coordinated attacks are key to map control.
Bluefin Depot
Map Overview: Bluefin Depot is split into two main areas with several ramps and ledges. The high ground is crucial for success.
Key Tips
- Area Control: Hold the high ground to have a commanding view of the battlefield.
- Ramps as Paths: Use the ramps for quick movement between sections. Pre-ink them to ensure a smooth travel.
- Cover Ground: The split nature of the map means you’ll need to cover both sections effectively. Balance is key.
Mastering these tips will help you become a better player on each map. Remember, practice makes perfect, and every match is a new chance to learn and adapt. Happy splatting!
Using Map Features to Your Advantage
In Splatoon, knowing the map can be the difference between victory and defeat. Each map is full of unique features that you can use to your advantage. Here’s a breakdown of how to leverage these features to dominate your foes.
High Ground and Vantage Points
The high ground isn’t just a meme; it’s a genuine tactical advantage. Maps like Moray Towers and MakoMart have areas where you can perch above the action. Being up high lets you target enemies more easily, paint large areas below, and keep an eye on the battlefield. Just be wary of chargers and long-range weapons when positioning yourself.
Tip: Combine height with long-range weapons like the Splatterscope or Heavy Splatling for maximum effectiveness
Inkrails and Sponges
Inkrails are those nifty ziplines made of ink. You’ll find them on maps like Kelp Dome and Starfish Mainstage. Use them to quickly traverse the map or surprise unsuspecting enemies. Inkrails can also serve as a quick escape route when you’re overwhelmed.
Sponges on maps like Skipper Pavilion can grow or shrink depending on whether they’re inked by your team or the enemy’s. Use these to create platforms or block enemy shots. Keep inking and shrinking them to disrupt enemy movements and gain control of key areas.
Tip: Launch an ambush by traveling silently along an Inkrail or hide behind a sponge until the perfect moment
Grates and Glass
Some maps, like New Albacore Hotel, have grates or glass floors requiring you to be squid-shaped to pass through. Inking beneath these areas can cause enemies to drop into your territory, trapping them in your ink. Stay alert and use these spots for quick escapes or surprise attacks.
Tip: When you spot an enemy above a grate, swim up and shoot them from underneath for a sneaky splat
Propeller Platforms and Conveyor Belts
On maps like Wahoo World and The Reef, you’ll find platforms that move when inked or conveyor belts that constantly move in one direction. Use propellers to reach higher grounds or secluded areas that provide strategic advantages. Conveyor belts can quickly transport you across the map or divide the battlefield.
Tip: Take control of these dynamic elements to manipulate the flow of the match and catch enemies off-guard
Underwater Switches and Flooders
Some maps feature underwater switches that change a map’s layout, like in Arowana Mall or Snapper Canal. Activating these switches can open up new pathways or close off enemy routes, giving you the advantage.
Flooders patrol certain maps, spreading enemy ink and splatting anyone they touch. Use these moving hazards to your advantage by luring enemies into their path or avoiding areas as they pass through.
Tip: Be the first to activate switches or take advantage of Flooders’ patrol paths to turn the tide in your favor
Turf to Cover and Obstacles
Every map has splashable territory and obstacles. Pay attention to areas with large surfaces to cover that will boost your team’s count in Turf War. Obstacles also provide cover; use them to take a breather or ambush enemies. Moving strategically between these points can keep you alive longer and help maintain control.
Tip: Keep your focus on important turf and use obstacles not just for defense, but as ambush points
Using map features to your advantage means knowing the lay of the land and how to control it. Familiarize yourself with each map’s quirks and use them to outmaneuver your opponents. Happy splatting!
Key Maps to Master
In Splatoon, knowing the ins and outs of each map can be the difference between victory and a messy ink-filled defeat. Here are some key maps you need to master.
Urchin Underpass
Urchin Underpass is one of the most iconic maps in the game. It’s got a lot of tight corners and narrow pathways, making it prime real estate for ambushes.
- Key Locations:
- Central Area: This open space is usually a chaotic hotspot. Whoever controls the center usually has the upper hand.
- Side Paths: Flanking through these can get you behind enemy lines without much resistance.
- Top Ledges: Use these for a high vantage point to rain ink down on unsuspecting opponents.
Pro Tip: Control the central area by setting up beacons on the ledges for quick reinforcements.
Arowana Mall
Arowana Mall is all about verticality and long sightlines. Snipers and long-range weapon users thrive here.
- Key Locations:
- Midsection: The long, straight path is great for ink trails and ambushes on enemies trying to push forward.
- High Ramps: These provide a strategic advantage to fire down on enemies.
- Back Alleys: Perfect for sneaking up on the opposing team. Always keep an eye out for hidden enemies here.
Pro Tip: Use long-range weapons to your advantage. Securing the high ramps can give you control of the battle.
Blackbelly Skatepark
Blackbelly Skatepark is a map full of ramps and curves - think of it as a playground for quick, agile movements.
- Key Locations:
- Central Tower: Whoever controls the central tower has an elevated position to cover large map sections.
- Skate Ramps: Great for quick escape routes and surprise attacks.
- Side Corridors: These allow for sneaky flanking moves.
Pro Tip: Keep moving! The more you skate around, the harder you’ll be to hit. Control the central tower for a significant advantage.
Moray Towers
This map’s layout features high towers with long pressure points, making it vital to use verticality to your benefit.
- Key Locations:
- Higher Platforms: These give you an excellent view for attacks.
- Ziplines: Use them to quickly move between sections, but beware - they can make you an easy target.
- Lower Basin: Be cautious here, as it can be a deathtrap with opponents raining ink from above.
Pro Tip: Controlling the high ground is crucial. Utilize long-range weapons for maximum effectiveness and keep an eye on the ziplines for fast-moving threats.
Walleye Warehouse
Walleye Warehouse is a smaller map, leading to a lot of close-quarters skirmishes. It’s a test of both strategy and reflexes.
- Key Locations:
- Central Path: The straight narrow path is where most of the action happens.
- Side Storage Areas: Use these for sneaky routes to flank opponents.
- Platforms: Offer great vantage points to control the map.
Pro Tip: Stick together and control the center. The team that moves as a unit usually wins.
By understanding these maps and how to navigate them, you’ll gain a significant advantage in the wild, colorful world of Splatoon. Get out there, stay fresh, and keep inking those Turf Wars!
Turf War Tactics: Multiplayer Map Dynamics
Splatoon’s frenetic multiplayer mode is a rollercoaster of ink-splattering action, and understanding the dynamics of its maps is key to dominating the competition. Let’s break down the essentials of Turf War map strategies to give you the edge you need.
Knowing the Terrain
Each map in Splatoon offers unique layouts with various obstacles, elevation changes, and strategic points. Here’s a breakdown of some map types and general tips to exploit their features:
Linear Maps: These maps have clear, straight pathways running through the middle.
- Tip: Control the central corridor to dominate the map. Use rollers to quickly cover straightaways and snipers to control long sightlines.
Symmetrical Maps: Both teams have mirrored sides with identical features.
- Tip: Prioritize controlling high-ground areas to gain strategic advantage. Balance defense and offense to prevent the enemy from stealing your side’s turf.
Asymmetrical Maps: These maps have different layouts for each side.
- Tip: Focus on learning your starting side’s strengths and weaknesses. Adapt quickly to the enemy’s territory and use their layout against them.
Key Areas and Hotspots
Middle Ground
The center of most maps is usually a hotspot for fierce battles. Holding the middle not only gives you control over turf but also offers strategic vantage points.
- Mid-Match Strategy: Have teammates cover your flanks while you push through the center.
- End-Match Push: Claiming the middle in the final minute can swing the match in your favor, so coordinate a collective push.
Flanking Routes
Many maps offer sneaky paths around the main battle zones, perfect for flanking maneuvers.
- Stealthy Sabotage: Use these routes to sneak into enemy territory and disrupt their plans.
- Dodge & Weave: Keep moving and avoid direct confrontations to maintain your stealth advantage.
Spawn Points
Your spawn point is both a safe haven and a launch pad for your attacks. But don’t forget, it’s also a target.
- Defensive Guarding: Leave a teammate near the spawn to repel invaders.
- Ink Recovery: Refill your ink safely before jumping back into the fray.
Map-Specific Strategies
1. Moray Towers
- Vertical Play: Use the towers and ramps to your advantage. High ground control is crucial.
- Super Jumps: Leverage super jumps for quick redeployments, but beware of snipers!
2. Port Mackerel
- Narrow Lanes: Take advantage of the map’s narrow lanes by using long-range weapons.
- Blocked Paths: Hide behind the shipping containers to ambush enemies.
3. Kelp Dome
- Circular Layout: The circular design demands constant movement. Control the center to apply pressure on both enemy flanks.
- Ink Pathways: Utilize ink rail pathways for fast travel and rapid attacks.
Tactical Tips
Splat Zones
In ranked matches, focus isn’t just on inking turf but controlling specific zones.
- Quick Capture: Rush to the splat zone at the start for immediate control.
- Zone Holding: Once captured, play defensively and cover surrounding areas to keep enemies out.
Tower Control
Here, moving the tower to the enemy’s base is the goal.
- Riding & Guarding: Have a teammate ride the tower while others defend.
- Assaults: Clear the path ahead of the tower to ensure safe movement.
Rainmaker
Escort the Rainmaker to the enemy base for victory.
- Assassin Protection: Protect the Rainmaker carrier and clear out enemies ahead of their path.
- Quick Decisions: Make fast choices on pathway selection to outmaneuver the enemy team.
Team Coordination & Communication
Persistent communication and team coordination often spell the difference between victory and defeat. Use quick messages to signal your intentions, and keep an eye on the map to stay aware of changing dynamics.
- Inkling’s Instincts: Use your Inkling abilities and gear strategically to stay ahead.
- Adaptability: Adapt to the changing in-game scenarios quickly and efficiently.
Mastering these multiplayer map dynamics will significantly enhance your gameplay, helping you read the battlefield and outplay your opponents with tactical precision. Keep practicing, stay flexible, and embrace every inky challenge Splatoon throws your way!
Splatoon: Turf War Tactics
Turf Wars in Splatoon are all about covering the most ground with your team’s ink. It might sound simple, but there’s a lot more strategy involved. From choosing the right weapons to inking smart, every move counts. Let’s dive into some key tactics that can help you and your team come out on top!
1. Choose the Right Weapon
Each weapon has its own strengths and weaknesses. Here’s a quick breakdown:
- Rollers: Great for covering large areas quickly. Perfect for players who like to roll over large sections of turf.
- Shooters: Versatile and balanced. Good for both inking turf and taking down enemies.
- Chargers: Long-range weapons. Ideal for players who prefer to stay back and pick off opponents from a distance.
- Splatlings: Acts like a machine gun. It’s great for holding down a specific area.
- Sloshers: These buckets can cover a lot of ground and hit enemies hiding on higher platforms.
Experiment with different weapons to find what suits your playstyle.
2. Keep Moving
Staying still makes you an easy target. Whether you’re inking turf or engaging in a firefight, keep moving to avoid getting splatted. Use your squid form to swim through your ink quickly. This not only makes you harder to hit but also lets you cover more ground faster.
3. Focus on Turf, Not Just Splats
While splatting enemies can be fun and beneficial, remember that the primary goal is to cover the map with your team’s ink. Balance your time between splatting opponents and painting the turf. Splatted enemies are out for a few seconds, giving your team a turf advantage.
4. Coordinate with Your Team
Communication is key. If you’re playing with friends, use voice chat to coordinate your moves. Even without voice chat, pay attention to where your teammates are. Support each other by covering different areas or providing backup in fights. Look at the map occasionally to see which areas need inking and where your team is pushing.
5. Use Your Specials Wisely
Each weapon has a unique special weapon you can use once you’ve inked enough turf. Specials can turn the tide in your favor, so use them strategically. Here’s a tip: activate them when you see a cluster of enemies or when you need to push into enemy territory. Don’t waste your special if you’re all alone or in a safe area.
6. Paint the Edges and Corners
At the beginning of the match, many players rush to the center. This can leave valuable areas around your spawn point uninked. Spend a few seconds at the start covering the edges and corners – every little bit counts! But don’t spend too long; you’ll want to help your team as soon as possible.
7. Control the High Ground
Controlling higher platforms can give you an advantage. You can see more of the battlefield and ink from above, making it harder for enemies to sneak up on you. Use your charger or Splatling from high positions to cover wide areas and keep enemies at bay.
8. Super Jump Smartly
Super Jumping to a teammate can help you get back into the action quickly, but it can also be risky. If the area is too dangerous, you might land right into enemy fire. Look for safe spots to jump to, or use abilities that make your landing less predictable.
9. Learn the Maps
Each map has its own layout and quirks. Spend some time learning the ins and outs of each one. Know where the best places to ink are, the high traffic areas, and the best hiding spots. The more familiar you are with the maps, the better you can strategize.
10. Adapt and Stay Flexible
No two matches are the same. What worked in one match might not work in the next. Be ready to adapt your strategy based on how the game is unfolding. If your team is getting pushed back, maybe it’s time to switch your focus to defense. If you’re dominating, push harder to maintain control.
Winning in Turf Wars is a mix of skill, strategy, and teamwork. Keep practicing, stay flexible, and have fun! With these tips, you’ll be inking in victory in no time.