
Welcome to the ultimate Phasmophobia: Equipment Guide! Whether you’re a seasoned ghost hunter or a newcomer eager to unravel supernatural mysteries, mastering your gear is key to surviving and succeeding in Phasmophobia. This comprehensive guide will take you through an Overview of Basic Equipment, delve into the complexities of Using Advanced Tools, and pinpoint the Essential Equipment for Beginners. Learn how to efficiently manage your resources with our section on Upgrading and Purchasing New Gear, and discover savvy Tips for Efficient Equipment Use. Prepare to elevate your ghost-hunting game to new heights!
Overview of Basic Equipment
In Phasmophobia, knowing how to use your equipment is crucial for identifying which ghost is haunting you. Here’s a rundown of the essential tools you’ll start with, what they do, and how you can use them to maximize your ghost-hunting efficiency.
Flashlight
The flashlight is your bread and butter. It lets you see in the dark, which is super important since most ghosts like to hide in the shadows. To use it, pick it up and right-click to turn it on. You can even carry other items while the flashlight is on by using the ‘T’ key when holding a different piece of equipment.
EMF Reader
This handy device detects fluctuations in electromagnetic fields, indicating ghost activity. It has five lights that will light up when ghostly activity is nearby. If it hits level 5 (all lights lit), make sure to jot that down in your journal under evidence. EMF readers are good for pinpointing exactly where a ghost might be hanging out.
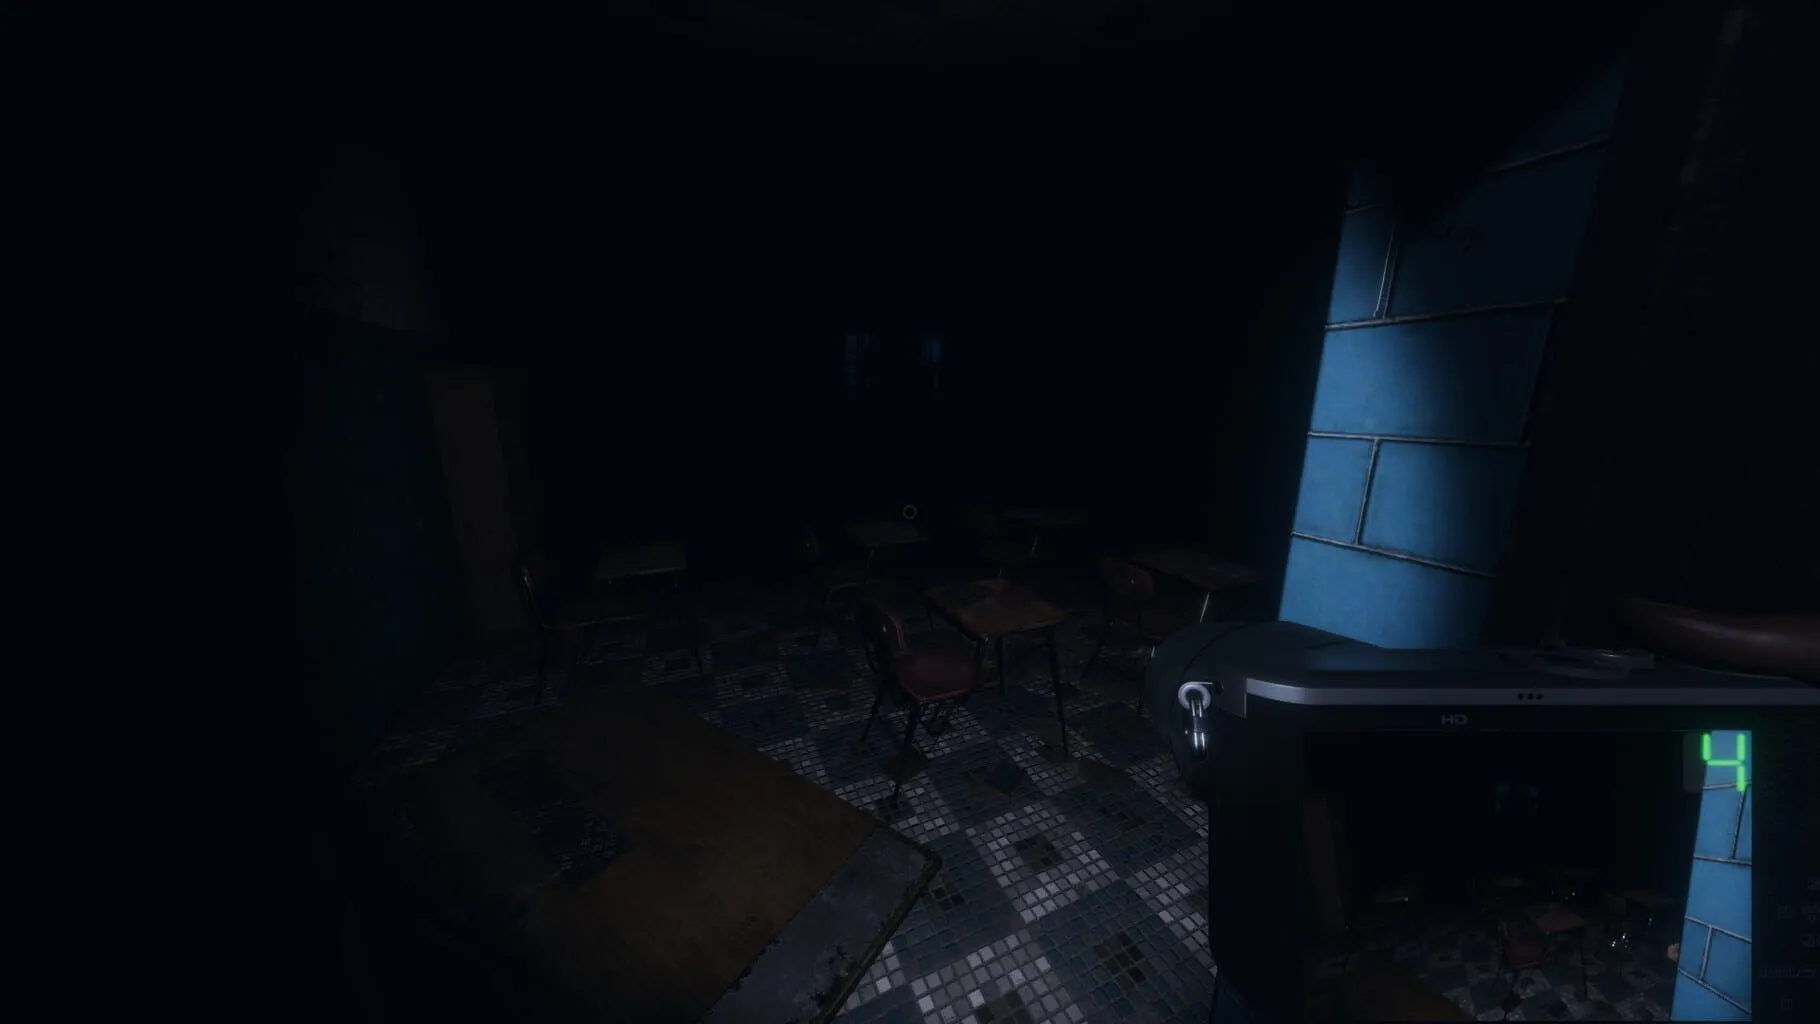
Photo Camera
Snapping pictures isn’t just for fun – it’s for profit! Use the photo camera to capture evidence of ghostly activities like ghost sightings, dirty water in sinks, and Ouija boards. These pictures earn you extra cash at the end of the hunt. You have limited shots, so make each one count!
UV Light
The UV light illuminates things that aren’t normally visible, like ghostly fingerprints or handprints. When a ghost interacts with doors, windows, or lights, these prints can sometimes be found. If you spot one, take a photo for more cash and mark fingerprints in your evidence.
Spirit Box
This device lets you communicate with ghosts. To use it, turn it on, ask a question, and wait for a response. Make sure to be in a dark room with the lights off and less than three people around. If the ghost talks back, note “Spirit Box” in your evidence.
Video Camera
Setting up a video camera in a haunted room can help you find ghost orbs. Place it on a surface or tripod, turn it on, and view the feed from the safety of the van. Ghost orbs will appear as small floating specks – if you spot one, record it as evidence.
Ghost Writing Book
Ghosts sometimes like to scribble when they’re around. Place the ghost writing book in a suspected area and see if the spirit leaves you a creepy message. If they do, mark “Ghost Writing” in your journal.
Close Encounters
When you’re dealing with phantoms and haunted spaces, your equipment is your main lifeline. Understanding when and how to deploy each piece of gear can make or break your investigation. Plan ahead, observe closely, and note everything – the better you know your tools, the better ghost hunter you’ll become.
So, gather your gear, stay calm, and start hunting those sinister specters!
Using Advanced Tools in Phasmophobia
So, you’ve mastered the basics of ghost-hunting equipment in Phasmophobia and are ready to up your game? Awesome! Let’s dive into some of the more advanced tools you can use to capture that pesky spirit evidence.
Parabolic Microphone
The Parabolic Microphone is your best friend when hunting down elusive ghosts.
- How to Use: Think of it as a high-tech, ghost-spotting ear trumpet. Aim it around the room, and it’ll pick up distant sounds you might normally miss.
- When to Use: It’s particularly handy in larger maps where ghosts have more room to roam. It can help you narrow down their location faster.
- Pro Tip: Use headphones to better distinguish the subtle sounds. It filters out ambient noise, so focus on those eerie whispers or ghostly footsteps.
Infrared Light Sensor
This gadget detects movement and displays it with a visible light, but this is far more sophisticated than your average motion sensor.
- How to Use: Place these bad boys in strategic locations like entry points, hallways, or wherever you suspect ghost activity.
- When to Use: Great for tracking ghosts in compact or cluttered areas where it’s hard to keep an eye on everything.
- Pro Tip: Combine them with cameras to easily monitor ghost movement remotely, especially useful during high activity phases.
Sound Sensor
Think of the Sound Sensor as the ghost hunter’s version of a security system’s audio detection.
- How to Use: Place the Sound Sensors on walls around the map. They’ll cover vast areas and report any processable noise back to your van’s monitor.
- When to Use: Use these in larger, more open maps where sound travels well. They can help you pinpoint where the ghost might be hanging out.
- Pro Tip: Use them early in the investigation to get a better sense of where the ghost is most active.
Head Mounted Camera
Want to feel like you’re in a found-footage horror movie? The Head Mounted Camera has got your back.
- How to Use: Equip it before heading into the investigation site. It streams what you see directly to the monitor in the truck.
- When to Use: Perfect for when you want the team in the truck to guide you OR for ensuring someone can spot ghost orbs or other evidence from safety.
- Pro Tip: Coordinate with your team. If you’re wearing it, avoid erratic movements to give your team a stable view for spotting clues.
Thermometer / Temperature Reader
We all know ghosts love cold spots, and the thermometer will help you find those chilly areas.
- How to Use: Walk around the location, paying attention to the temperature readings. Anything below 10°C (50°F) is a sign you’re likely close.
- When to Use: Ideal for the initial phase of an investigation to quickly identify the main room or area of ghostly activity.
- Pro Tip: Whenever you hit freezing temps (0°C or 32°F and below), make sure to log it as an evidence for your journal.
Motion Sensor
A simple yet effective piece of kit for catching anything that goes bump.
- How to Use: Stick motion sensors to the walls at about hip height. They’ll alert you whenever something passes by.
- When to Use: Perfect for narrow spaces or choke points like doorways. Ideal for keeping tabs on movement when you’re elsewhere in the map.
- Pro Tip: Set a couple in and around high-activity areas and combine with the Sound Sensors for a complete monitoring setup.
Wrapping Up
Using these advanced tools can make your ghost-hunting missions more efficient — and much scarier. Remember, teamwork is key. Coordinate with your friends and communicate regularly to make sure you’re not only gathering evidence but staying safe.
Happy hunting, and watch out for those shadow-dwelling ghouls!
Essential Equipment for Beginners
Phasmophobia can be pretty spooky, especially when you’re just starting out. It’s all about using the right gear to identify the ghost and complete the objectives without getting yourself spooked to death. Here’s your quick startup guide on essential equipment for beginners, so you can dive in without feeling overwhelmed.
EMF Reader
What it does: The Electromagnetic Field (EMF) Reader detects ghost activity through fluctuations in electromagnetic fields, which ghosts love to mess with.
How to use it: Turn it on and watch for the lights, which go from green (no activity) to red (high activity). A spike to EMF Level 5 is a huge clue, often helping to confirm the ghost type.
Pro tip: Walk around the haunted building, especially in rooms where you hear strange noises or see suspicious things. If you spot EMF Level 5, note it down in your journal.
Spirit Box
What it does: A Spirit Box allows you to communicate with the ghost using radio frequencies. Spooky, right?
How to use it: Turn it on and ask simple questions like “Are you here?” or “What do you want?” Make sure the lights are off for better results.
Pro tip: Ghosts aren’t shy about talking, but they might not always be friendly. If you get a response, write it down as evidence.
UV Light
What it does: A UV Light, or blacklight, reveals ghostly fingerprints or footprints that you can’t see with the naked eye.
How to use it: Shine it on doors, light switches, windows, or any interactive objects after the ghost has been active. Fingerprints or handprints generally appear as neon green.
Pro tip: Certain ghost types are more likely to leave fingerprints. Always check after an object moves or a door slams.
Photo Camera
What it does: Captures photographic evidence. Snapping pics can earn you extra money and, in some cases, help complete objectives.
How to use it: Point and shoot, but only when you have something worth documenting—like bone evidence, ghost writing, or even the ghost itself.
Pro tip: Keep an eye on the number of shots left. You don’t want to waste them on random stuff. Capture specific evidence for maximum rewards.
Video Camera
What it does: Records ghostly activity and can capture ghost orbs when placed in the right location.
How to use it: Place it in a hotspot area where you suspect the ghost is lurking. Make sure it’s positioned well to cover a wide angle, and check the feed in the van using the monitor.
Pro tip: Ghost Orbs appear as tiny floating balls of light. Turn off all the lights in the room for easier detection.
Ghost Writing Book
What it does: Allows the ghost to communicate by writing. Some ghosts prefer to scribble down their thoughts rather than talk.
How to use it: Place the book on the floor or any surface in rooms where you’ve detected ghost activity, then wait to see if it writes something spooky.
Pro tip: Pair it with other tools to narrow down the ghost type. Not all ghosts will write immediately, so be patient.
Flashlight
What it does: Helps you see in the dark. Seems simple, but it’s absolutely necessary.
How to use it: Keep it on hand to light your way as you explore dark, creepy rooms. Switch to stronger flashlights as you progress, but the basic one is better than nothing.
Pro tip: Learn to toggle it off quickly in case of a ghost hunt to avoid giving away your position.
Crucifix (Advanced Tip)
What it does: Helps prevent a ghost from hunting if placed correctly—within 3 meters of the ghost or 5 meters if it’s a Banshee.
How to use it: Place it on the ground in the ghost’s room. Remember, it won’t work if the hunt has already started.
Pro tip: Use it proactively in high-activity areas. It can be a life-saver in higher difficulty levels.
Getting acquainted with this gear will make your ghost-hunting adventures smoother and a lot less terrifying. Start with these essentials, and you’ll be well on your way to mastering the art of paranormal investigation in Phasmophobia. And remember, practice makes perfect, so don’t be afraid to experiment with your equipment to find strategies that work best for you. Happy hunting!
Upgrading and Purchasing New Gear
Navigating through spooky halls and haunted houses in Phasmophobia is no easy task, especially if you’re using basic gear. Having good equipment can mean the difference between identifying the ghost type and becoming another spirit yourself. Here’s everything you need to know about upgrading and buying new gear to step up your ghost-hunting game.
Why Upgrade?
Upgrading your equipment isn’t just for show. High-quality gear helps you gather evidence more efficiently and safely. For instance, stronger flashlights ensure you can see better, and EMF readers with increased sensitivity can detect ghost activity from further away.
What Should You Prioritize?
If you’re starting out, it might be overwhelming to figure out what to buy first. Here’s a quick list of essential upgrades:
- Strong Flashlight: This is a no-brainer. You want to see where you’re going and avoid sudden ghostly appearances causing you to panic.
- Thermometer: Some ghosts can be identified by the room temperature dropping below freezing. A good thermometer will make this easier and quicker.
- Crucifix: For those moments when things get really hairy, a crucifix can stop hunts and save your life.
- Sanity Pills: Keeping your sanity up will prolong your time in the haunted area. The lower your sanity, the more likely the ghost is to hunt you.
Advanced Tools
Once you’ve got the basics down, consider getting some advanced tools:
- Parabolic Microphone: This tool helps you detect ghost sounds from a distance, which is especially useful in larger maps.
- Infrared Light Sensor: Place these around the map to monitor any ghost movement.
- Head-Mounted Camera: Great for team play, it lets your friends monitor your surroundings while you focus on gathering evidence.
How to Purchase Gear
To get new gear, you’ll need to spend the money you earn from successful ghost-hunting missions. Here’s how to do it:
- Access the Lobby: Before you start a mission, go to the Equipment Store by clicking on the whiteboard.
- Browse and Buy: Scroll through the list of available items and click ‘Buy’ to purchase the gear you need.
- Add to Loadout: After buying, make sure to add these items to your loadout. You don’t want to forget and enter a mission without your new equipment.
Saving Money and Staying Alive
Remember, if you die during a mission, you lose all the equipment you brought along. Play it safe and only bring the essential gear when you’re in riskier situations to save money.
Quick Tips
- Teamwork Makes the Dream Work: Coordinate with your team so you don’t carry duplicate items unnecessarily.
- Focus on Objectives: Completing secondary objectives will get you more money to spend on gear.
- Insurance Payout: If you have insurance (based on difficulty level), you’ll get some of the gear value back if you die.
Leveling up your skills is as important as upgrading your gear. Make sure to explore the ghost types and how to counter them effectively using your equipment. With the right gear, you’ll be catching ghosts like a pro – or at least surviving long enough to try again!
Tips for Efficient Equipment Use
Mastering Phasmophobia isn’t just about knowing where to hide when a ghost starts hunting. It’s also about making the most of your equipment. Here are some tips to ensure you’re always one step ahead of those pesky spirits.
Keep It Light: Prioritize Equipment
You’re limited to carrying three items at a time, so prioritize wisely. One player should always carry a strong flashlight since wandering around in the dark increases your sanity drain and makes you more vulnerable. Split tasks with your teammates to cover more ground. For example, while one of you handles the EMF Reader, another can focus on setting up a video camera and spirit box.
Pro Tip: Use the dropping feature to place items you don’t need immediately but might want to pick up later. This keeps your hands free for more crucial gear.
Early Setup: Cameras and Tripods
Setting up a good surveillance system early is key. Place video cameras on tripods and position them in areas where ghost activities are likely. This includes rooms where you’ve found cold spots or had encounters. Don’t forget to turn the cameras on before placing them!
Pro Tip: Place motion sensors and sound sensors in hallways or large common areas to cover more ground efficiently. This way, when activity spikes, you can narrow down the ghost’s location.
Use Crucifix Strategically
The crucifix is more than just a spooky prop. It prevents ghosts from entering hunt mode within a 3 to 5 meter radius. Place it in the middle of rooms where you’ve detected high activity. Be mindful that it won’t work if the ghost is already hunting when you place it.
Fun Fact: The crucifix has two uses before it’s fully consumed. After that, it’s just a useless piece of plastic.
Thermometers are Your Best Friend
Thermometers are your most reliable tool during the initial phases of locating the ghost room. Rooms with temperatures dropping below 10°C are major hotbeds (ironically!). Once located, you can swap the thermometer for something more useful for the investigative phase, like a UV flashlight to spot fingerprints.
Pro Tip: Some ghosts like the Phantom can make rooms extremely cold, even leading to freezing temperatures, signaled by your breath turning to mist. This is a crucial clue!
Salt the Earth
Salt is not just for your fries; it’s incredibly useful for tracking ghost movement. Place salt piles in doorways and hallways. Salt can reveal footstep patterns and is especially useful against Wraiths, which are known to float and will not leave footsteps in salt.
Pro Tip: Use salt alongside motion sensors to confirm ghost movements. This combo is incredibly effective to narrow down the spirit’s path.
Sanity Pills: Save Them For Later
Sanity pills are a finite resource and can be a lifeline during prolonged investigations. Use them sparingly and save them for when your sanity is critically low (below 50%). Keeping your sanity up reduces the likelihood of you being targeted for a hunt.
Pro Tip: Don’t hoard all the sanity pills. Share them with your team to keep everyone on relatively similar sanity levels.
Communicate and Coordinate
Lastly, effective communication with your team is vital for using equipment efficiently. Keep your teammates informed of what you’re doing and where crucial items are placed. If someone spots ghostwriting, heard a ghost talking on the spirit box, or saw ghost orbs on a camera, share it immediately.
Pro Tip: Use the in-built team communication system wisely. Whisper during hunts to avoid attracting the ghost with your voice!
By paying attention to these simple but effective tips, you can turn a chaotic ghost hunt into a well-orchestrated operation. Equipment might not guarantee your safety, but using it efficiently certainly gives you a fighting chance. Stay safe out there!