
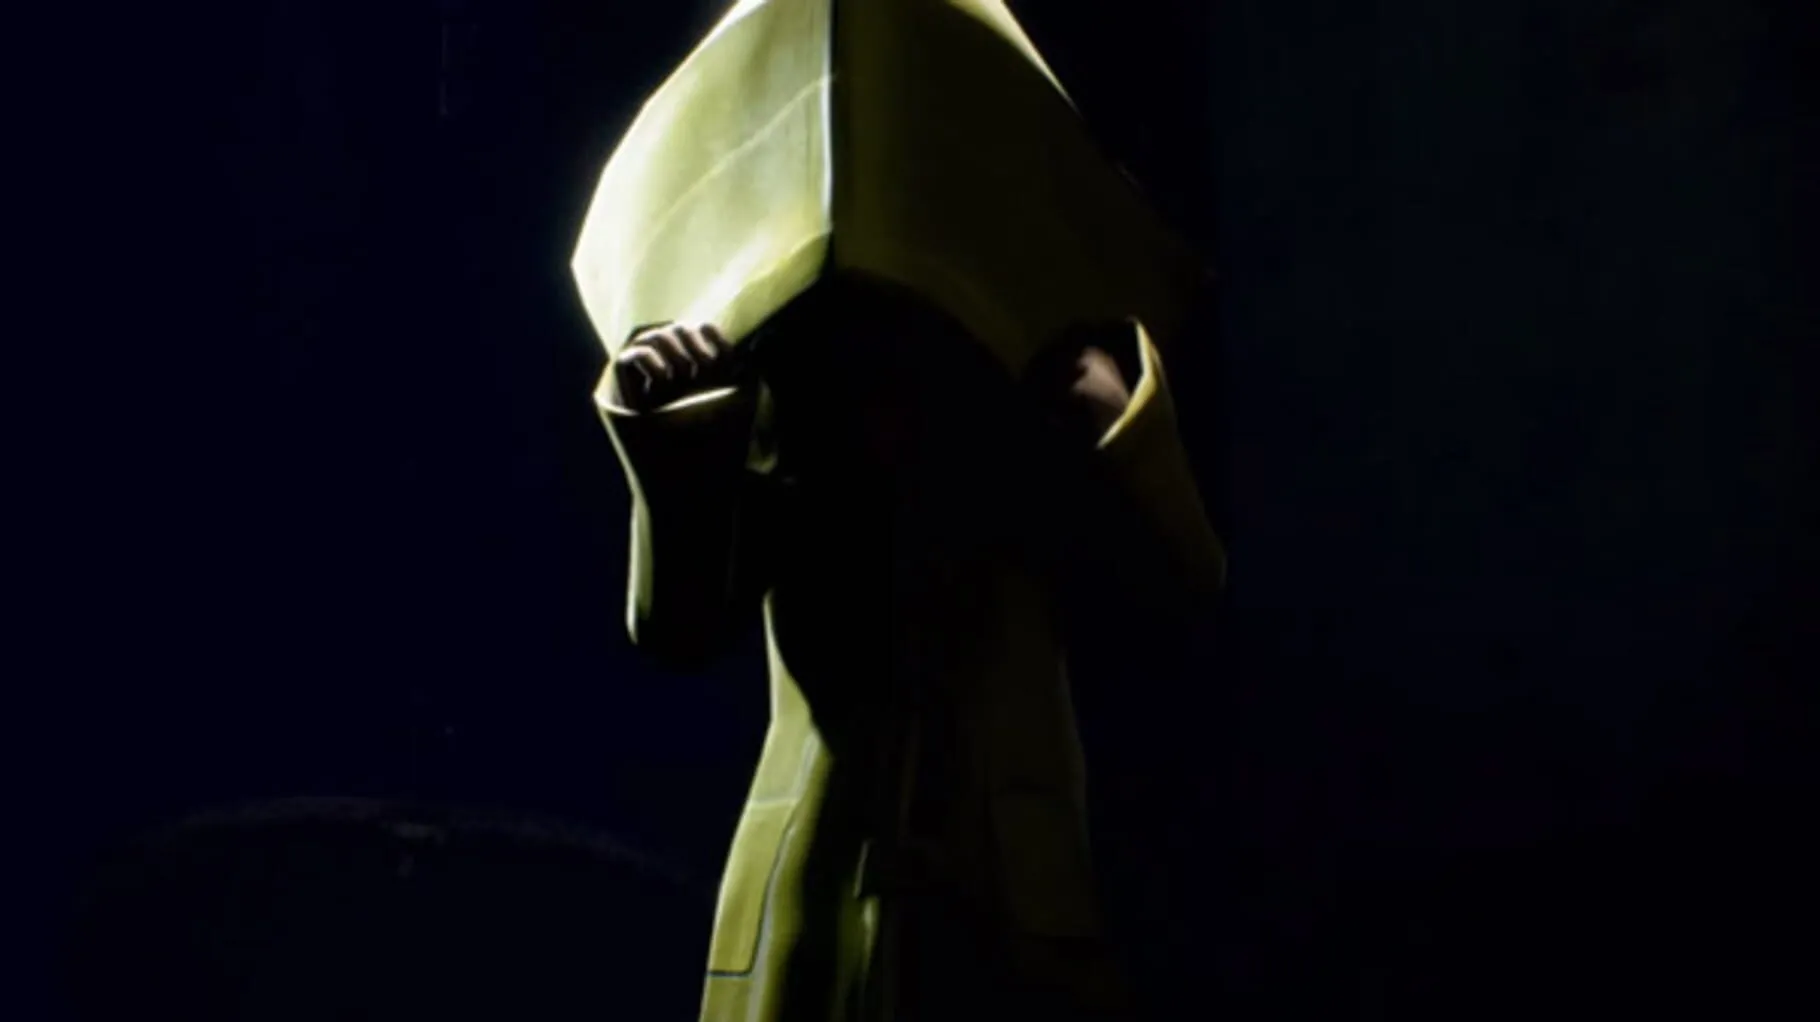
Welcome to our in-depth Little Nightmares II Achievement Guide! If you’re a fan of eerie atmospheres and challenging puzzles, you’re in for a thrill. This comprehensive guide will walk you through every achievement, ensuring you won’t miss a single trophy on your dark journey. Our General Achievement Walkthrough provides a step-by-step approach to all achievements, while focused sections like No More Remains and Reflections will help you tackle the trickiest tasks effortlessly. Dive into Prime Time Content for media-based milestones and brace yourself for the ultimate challenge with Hard to the Core. Get ready to conquer Little Nightmares II like a pro!
General Achievement Walkthrough
Ready to tackle the twisted world of Little Nightmares II and collect all the achievements? We’ve got you covered! This walkthrough will guide you through every nook and cranny to ensure you don’t miss any key achievement. Let’s dive into the eerie adventure!
Prologue
- Wild Kids: In the hunter’s forest, make sure to find the four hats hidden around.
Chapter 1: The Wilderness
- ’F’ is for Friends: Meet Six and help them escape the shed. You’ll get this naturally through the story.
- Hunger: In the kitchen, look for a piece of food and give it to Six.
- School Bully: This one’s a bit tricky. In the school, use a pan or any other weapon to hit a bully before they see you.
- Mono Tones: In the playground area outside the school, there’s a piano – give it a few jumps to make a tune.
Chapter 2: The School
- Fly Free: After dealing with the bullies, head to the teacher’s office. Look for a paper airplane and toss it out the window.
- Merciful Feats: In a classroom filled with bullies, sneak past without taking any of them out. Patience and stealth are key here.
- Bully of Bullies: Overpower bullies by bringing objects around you to knock them out. Keep your timing sharp!
Chapter 3: The Hospital
- X-Ray Room Fun: Find the room with the X-ray machine. Stand on the machine’s platform with Six and capture this quirky moment!
- Plug It In: In the operating room, find a spare socket. Plug in a device to juice it up.
- Johnny Rocket: While escaping the hospital, you’ll jump across a massive gap – hit it running to shoot across like a rocket.
- I’m Out of Here!: Make your way to the hospital exit. There’s a fuse you’ll need to find and plug in the power.
Chapter 4: The Pale City
- Post Industrial: When you enter a building with lots of TVs, smash a few along the way. TVs are everywhere, so go wild!
- Schooled?: In the aforementioned TV area, pick up a remote control, and use it generously. It’s a surprisingly useful tool.
- Unladylike: At another point, climb up past a billboard with a lady’s face on it, give it a few hits – just for kicks!
Chapter 5: Signal Tower
- Signal Interruption: Make sure to face the Signal Tower’s creepy boss. You’ll automatically unlock this during the final battle.
- Reclusion: In the final room, there are eerie TVs everywhere. Turn them all off.
- True Colors: Avoid the mysterious figure by using the remote to swap between TVs.
Completion Achievements
- Too Close!: Catch Six just before they fall after escaping a major enemy encounter.
- Peaceful Resolution: Finish the game without hurting any major enemies.
- Hard Echo: Replay important moments using the TV control to see hidden scenes.
- Flashlight Enthusiast: Use your flashlight in every dark corner and room.
- Hide and Seek: Throughout the chapters, Six might hide – find them in every possible hiding spot.
- Survival Skills: Avoid every possible encounter without dying. This takes practice but is crucial for full completion.
Collectibles
- All Hats: Make sure to collect all hats scattered in each area. Each chapter has several nooks and crannies with hats.
- Crafted Items: Construct items using pieces found through the game. Keep an eye out for spare parts.
Tips for All Achievements
- Explore Everything: Don’t rush through levels. Always look for hidden paths and return to previous areas.
- Listen Carefully: Audio cues can hint at nearby secrets.
- Stay Stealthy: Some achievements require you not to be seen, so tread lightly.
- Practice Puzzles: Many achievements are tied to solving puzzles without error. Practice makes perfect!
That should get you well on your way to a complete achievement list in Little Nightmares II. Happy haunting and happy hunting!
No More Remains
In “Little Nightmares II,” one of the trickier achievements to unlock is No More Remains. This part of the guide helps you nab this elusive achievement step-by-step. Grab your raincoat, and let’s dive right in!
What is “No More Remains”?
No More Remains is an achievement that requires you to find and destroy all the Glitching Remains scattered throughout the world. These glitchy ghosts are remnants of lost souls, tethered to various spooky and out-of-sight places. Finding them all can be pretty challenging, but don’t worry—we’ve got your back.
Prologue: The Forest
Glitching Remain #1
- Location: After your first encounter with the Hunter’s traps, you’ll come across a log you have to push over. Once you cross it, head right for a small cave opening. Enter, and you’ll find the first Glitching Remain.
Glitching Remain #2
- Location: Before you enter the Hunter’s shack, look for an outhouse nearby. Inside it, you’ll find the second Glitching Remain.
Chapter 1: The School
Glitching Remain #3
- Location: After the first encounter with the Bullies (in the classroom with the teacher), you’ll drop down into a lower section. Run to the right, break the boards blocking your way, and you’ll find the Glitching Remain in a small room.
Glitching Remain #4
- Location: In the school’s yard, check the dumpster nearby. As you lift its lid, you’ll find the glitch just hanging out inside.
Chapter 2: The Hospital
Glitching Remain #5
- Location: In the X-ray room, check behind the trolley at the back. You’ll see the next Glitching Remain just waiting for you there.
Glitching Remain #6
- Location: When you exit the room full of prosthetics, a corridor to the left leads to another room filled with mannequins. Smash the porcelain head blocking your way to find the glitch behind it.
Chapter 3: The Pale City
Glitching Remain #7
- Location: As you progress, you’ll come across some thin, tall buildings. Before climbing any ladders, explore the alleyways and you’ll find another Glitching Remain in between buildings.
Glitching Remain #8
- Location: When you reach the rooftop full of TV antennas, move to the far left and jump across to a ledge on another building. The next Glitching Remain will be there.
Final Chapter: The Signal Tower
Glitching Remain #9
- Location: Inside the Signal Tower, after you’ve escaped the blob-like creature, look for a small room on the right before you ascend to the next floor. The final glitch will be in there.
Tips
- Stay Curious: Often, the Glitching Remains are tucked away in spots you might not think to check. If the path looks too straightforward, take a moment to poke around!
- Use Your Flashlight: In darker areas, your flashlight can sometimes highlight a Glitching Remain, making it easier to spot.
- Listen Carefully: Sometimes, you can hear a faint glitching noise if you’re close to one.
Unlocking No More Remains is not only satisfying but also allows you to dive deeper into the eerie world built by Tarsier Studios. With this guide, you should be well on your way to rounding up every last glitch. Happy haunting!
Reflections Achievement Guide
In Little Nightmares II, the “Reflections” achievement might leave some players scratching their heads. Worry not! We’ve got you covered with a step-by-step guide to earn this cool trophy.
What is the Reflections Achievement?
The “Reflections” achievement asks players to take a moment and look in the mirror. Sounds simple, right? Well, there’s a bit more to it than that, and finding the right mirror can be tricky. This isn’t just a quick glance in any random reflective surface; you need to do it at a specific point in the game.
Where to Find the Mirror
To earn the “Reflections” achievement, follow these steps:
Progress to Chapter 4: The Hospital - Make sure you’ve advanced to Chapter 4. This area is creepy, filled with unsettling enemies, and puzzles that’ll make you think twice.
Locate the Mirror Room - While exploring, you’ll come across an area filled with mannequin parts and an unsettling atmosphere (more than usual). You’re specifically looking for a small room with a large mirror on the wall.
Interact with the Mirror - Approach the mirror and ensure that Mono stands in front of it. Wait a few seconds for the interaction to be recognized by the game. Mono’s reflection should become visible.
Achievement Unlocked - After Mono’s reflection appears in the mirror, you should see the “Reflections” achievement icon pop up. Congrats, you’ve earned yourself an achievement!
Tips for Finding the Mirror
- Take Your Time Exploring: The game is meant to be an adventure. Don’t rush through the hospital; explore every nook and cranny.
- Look for Rooms with Clues: If you come across a room that feels out of place or unique, take a closer look. Oftentimes, these areas have secrets or important items.
- Avoid Enemies Carefully: The hospital is filled with enemies that can be quite dangerous. Stealth is your best friend. Move quietly and stay out of sight.
- Keep Your Eyes Peeled for Reflective Surfaces: Not all mirrors are obvious. Some might be covered in grime or at odd angles.
Why the Achievement Matters
Besides adding another trophy to your collection, earning achievements like “Reflections” enhances the gameplay experience. It encourages you to slow down and fully immerse yourself in the world of Little Nightmares II. Plus, it’s a great way to show you’ve got a keen eye for detail!
Wrap-Up
The “Reflections” achievement in Little Nightmares II is a fun little challenge that adds depth to your playthrough. By taking the time to find the right mirror and observing Mono’s reflection, you gain a deeper appreciation for the game’s atmosphere and design. Happy hunting, and watch out for those creepy hospital enemies!
Prime Time Content
In Little Nightmares II, you’ll find yourself navigating through some truly spooky environments. One of the more intriguing chapters is marked by the haunting presence of TVs and weird broadcasts. This section is all about unlocking the “Prime Time Content” trophy or achievement, depending on your gaming platform.
What is the Prime Time Content Achievement?
To earn this achievement, you must destroy five specific televisions scattered throughout the Pale City. This can be a bit tricky as some of these TVs hidden well. But don’t worry, we’ve got you covered with this step-by-step guide!
TV #1: The Alley
As you progress through the city, you’ll come across an alley with a TV sitting across the street. Before you do anything else, grab a throwable item — a bottle or a can will work perfectly. Stand at a good distance, aim carefully, and knock that TV out of action.
TV #2: The Rooftop
The next TV is perched on a precarious rooftop. To get to it, you’ll need to climb up a ladder you’ll find nearby. Once you’re on the roof, you’ll spot the TV easily. Just give it a good kick or throw something at it to cause some static chaos.
TV #3: The Balcony
This one’s a bit tricky, so stay sharp! Make your way into a building and head toward the balcony. You’ll see a TV out there, inviting you to wreck it. Look around for any objects you can use to smash it to bits. Sometimes a leap of faith with a bit of force is all it needs!
TV #4: The Living Room
Inside one of the apartment buildings, you will find a living room with a TV blazing on one side. This is a prime candidate for some destruction. It’s as simple as grabbing something heavy and giving it a good toss!
TV #5: Another Rooftop
The final TV is on another rooftop, but this one’s a bit more to get to. You’ll need to cross a couple of planks and carefully navigate the tight spaces. Once you’re there, you’ll see it in all its flickering glory. A well-aimed throw or push will end its signal for good.
Pro Tips
- Look Everywhere: TVs can be a bit hidden. If you think you’ve missed one, backtrack and explore side areas or rooms.
- Use Whatever You Have: Any object that looks throwable can help you in smashing those TVs.
- Stay On Guard: Sometimes, TV destruction might attract unwanted attention. Be ready to make a quick escape!
Unlocking the “Prime Time Content” achievement will get you one step closer to fully mastering Little Nightmares II. Plus, there’s something super satisfying about breaking TVs when the game’s eerie silence fills the room!
Good luck and happy gaming! Let’s get those achievements!
Hard to the Core: The Ultimate Challenge in Little Nightmares II
If you’ve tackled Little Nightmares II, you know it’s no walk in the park. But “Hard to the Core” isn’t just any achievement—it’s a testament to your skills, patience, and maybe a bit of masochism. This elusive trophy demands completing the entire game in one go without dying. That’s right, no checkpoints, no second chances. Fear not, brave soul. This guide will break down some strategies and tips to help you earn this digital badge of honor.
Preparation
Before you even think about starting your “Hard to the Core” run, preparation is key. Familiarize yourself with the game’s mechanics, levels, and enemies. Replaying the game multiple times helps you memorize patterns and locations, ensuring there are fewer surprises.
General Tips
Practice Makes Perfect
- The more you play, the better you become. On subsequent playthroughs, prioritize survival over speed. Learn the pacing, watch for traps, and be cautious.
Patience is a Virtue
- Rushing will only get you killed. Take your time to understand each segment. This is a marathon, not a sprint.
Break it Down
- Treat each level as its own mini-challenge. Master one level at a time to avoid getting overwhelmed by the game’s entirety.
Use Stealth
- Enemies are less likely to kill you if they can’t see you. Use hiding spots and move slowly when necessary.
Watch Speedruns
- Speedrunners often find the most efficient and safest routes. Watching their runs can provide valuable insights and strategies.
Level-by-Level Breakdown
The Wilderness
Objectives
- Escape the Hunter’s Cabin.
- Survive the wilderness traps.
Tips
- Move cautiously through the wooded areas. Bear traps are sneaky and lethal.
- In the cabin, make sure to hide and observe the Hunter’s patterns before deciding when to make your move.
The School
Objectives
- Navigate through the school without getting caught.
- Deal with the Bullies and the Teacher.
Tips
- The Bullies can gang up on you quickly. Use objects as distractions and take them out one at a time.
- The Teacher has a long neck; always be mindful of where her head is and stay out of sight where possible.
The Hospital
Objectives
- Avoid the Patients.
- Deal with the Doctor.
Tips
- The Patients will only move when you’re not looking at them. Utilize this by positioning yourself strategically.
- The Doctor is relentless. In the chase scenes, don’t stop running, and familiarize yourself with the layout to avoid dead ends.
The Pale City
Objectives
- Navigate the city without dying.
- Handle the Thin Man and prevent him from catching you.
Tips
- The city is full of electrified water. Always look for safe platforms before jumping.
- The Thin Man sections require quick reflexes. Run and slide under obstacles promptly.
Final Boss: The Signal Tower
Objectives
- Confront the Thin Man.
- Survive the final sequences.
Tips
- Patience is crucial here. Timing your movements perfectly will save you from unexpected deaths.
- In the final confrontation, remember the patterns and stay calm. Hesitation can lead to mistakes.
Handling Stress and Frustration
Even with the best strategies, the “Hard to the Core” challenge will test your limits. Take care to:
- Take Breaks: If you start feeling stressed or frustrated, step away for a bit. A clear mind makes a big difference.
- Stay Positive: Remember, every attempt teaches you something new. Learn from mistakes and keep improving.
Achieving “Hard to the Core” in Little Nightmares II isn’t easy, but with practice, patience, and these tips, you’ll be one step closer to mastering the game. Good luck, brave adventurer. The challenge is tough, but the sense of accomplishment is even greater. Happy gaming!