
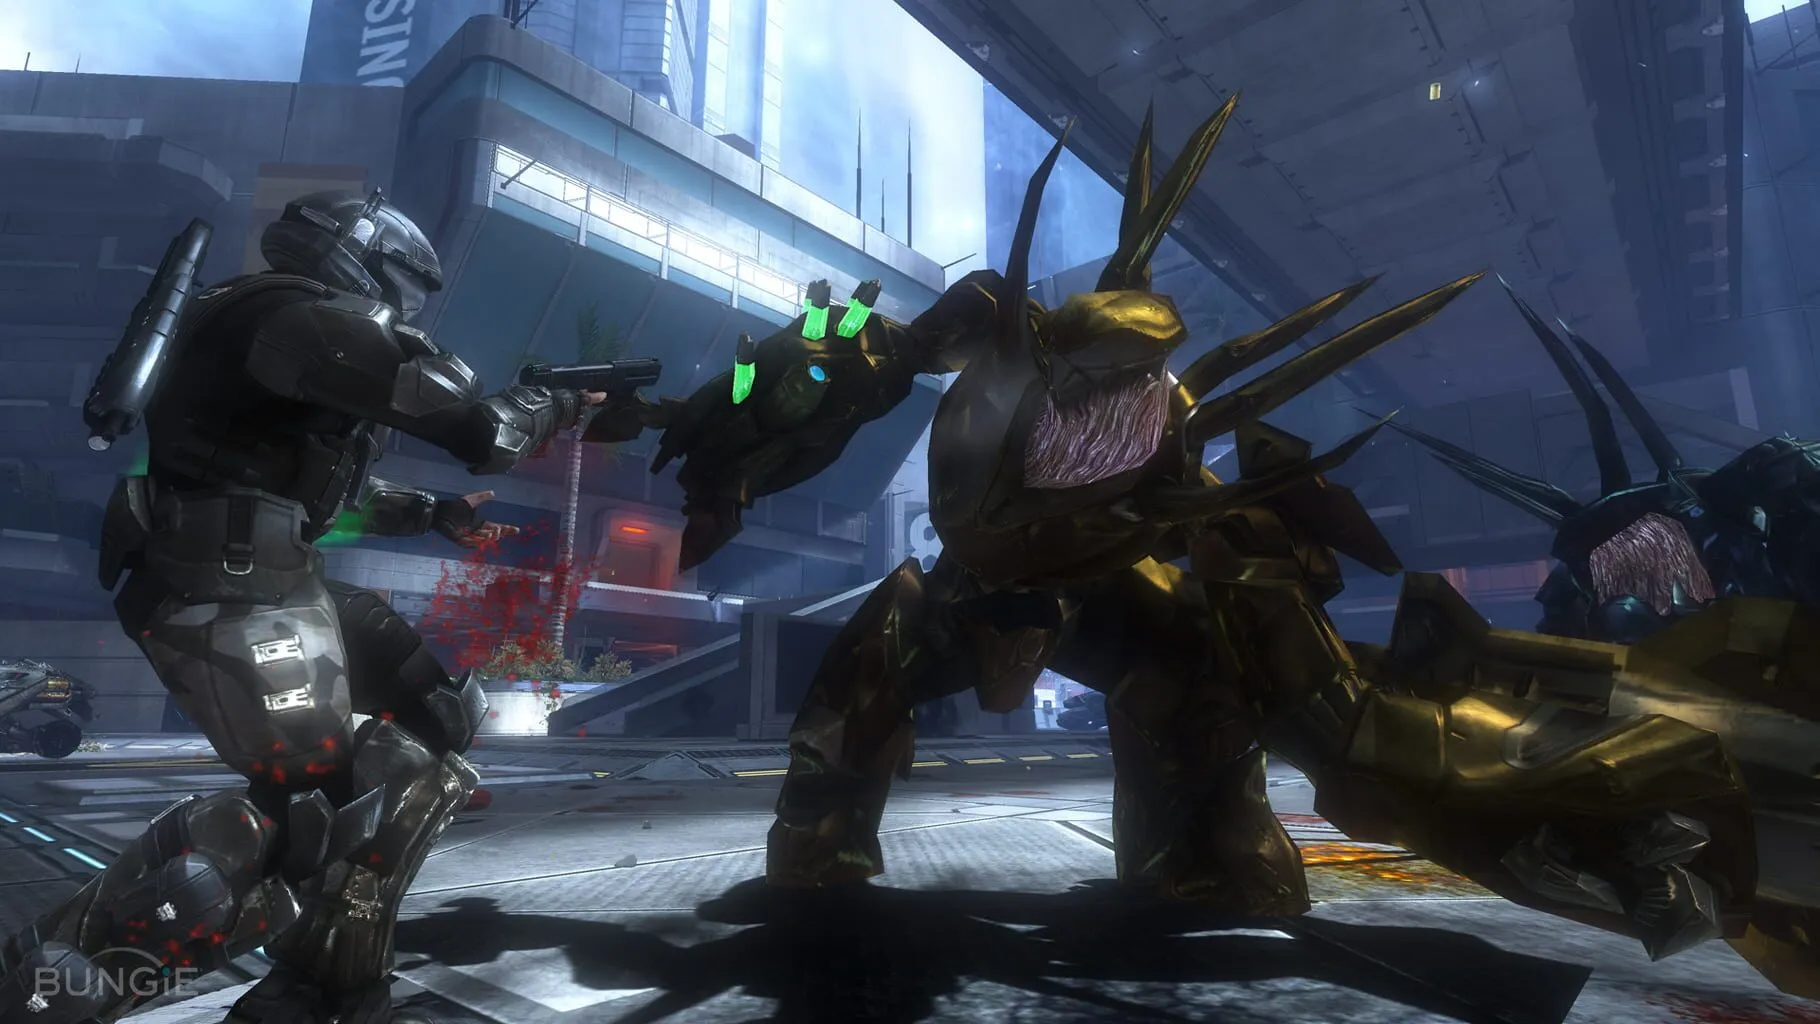
Embark on an epic journey with our comprehensive “Halo 3: Map Guide,” designed for gamers eager to dominate the battlefield. This guide covers every angle of Halo 3’s iconic multiplayer maps, ensuring you’re always one step ahead of the competition. Dive in as we explore ‘Understanding Multiplayer Maps’ to lay down the fundamentals, uncover ‘Key Locations and Power Weapons’ to turn the tides of battle, and reveal ‘Best Strategies for Each Map’ to master your gameplay. Navigate seamlessly with ‘Navigating and Controlling the Map,’ and secure victory with expert ‘Tips for Map Control.’ Whether you’re a seasoned Spartan or a new recruit, this guide is your ultimate playbook for Halo 3 success! Ready to take command? Let’s jump in!
Understanding Multiplayer Maps
When diving into Halo 3’s multiplayer mode, knowing the terrain is your best ally. Here, we break down some tips and essential info about navigating and mastering the maps, making sure you have the upper hand in any encounter.
Key Map Features
1. Power Weapons and Equipment
Every map in Halo 3 has specific spots where heavy-duty weapons or special equipment spawn. Knowing these locations can be a game-changer. For example:
- The Rocket Launcher: This weapon can turn the tide of battle but is often placed in high-traffic areas, so be prepared for a skirmish.
- Active Camouflage and Overshield: These can give you a huge advantage, but timing is key. They respawn at set intervals, so remember when they are about to come back.
2. Choke Points and Control Areas
Some sections of the map are natural choke points, which means they see a lot of action and are crucial for map control. Holding these spots can give you a strategic advantage. Look out for:
- High Ground: Maps like Guardian and Valhalla often feature elevated positions that provide an excellent vantage point for sniping and defense.
- Bases and Structures: On maps designed for Capture The Flag or King of the Hill, securing bases can give your team the upper hand.
Understanding Specific Maps
1. Guardian
Guardian is compact, vertical, and full of twists. Here are some tips:
- Know the Four Towers: These form the main areas of control - Gold, Blue, Green, and Sniper. Rotating between them is key.
- Grab the Hammer: The Gravity Hammer spawns at the bottom, under Gold. Controlling this area can be crucial, especially in close-quarters combat.
2. Valhalla
Valhalla is a large and open map, perfect for vehicle play:
- Vehicle Mastery: Controlling the Warthog and the Banshee can give your team major mobility and firepower.
- Sniper and Spartan Laser: These spawn at opposite ends of the map. Use the laser to take out vehicles and the sniper to control the middle ground from afar.
3. The Pit
Known for its symmetrical layout and balanced play, here’s what to focus on:
- Sword Room: Holding the Sword Room can deter enemies from advancing freely.
- Sniper Towers: Two sniper rifles spawn on the map, in the sniper towers. These are both perfect for controlling long sightlines and keeping enemies at bay.
Strategic Movements
1. Map Rotation
Moving as a team and controlling sections of the map can prevent getting picked off one by one. Constantly rotating between points of interest ensures you remain unpredictable and maintain control.
2. Power Up Refresh
Always be aware of the respawn times for power weapons and equipment. Synchronizing your team to grab them as soon as they spawn creates a consistent advantage.
Callouts and Team Communication
1. Callouts
Having specific names for locations on the map helps immensely in fast-paced scenarios. Familiarize yourself with common callouts like “Sniper Tower,” “Sword Room,” or “Rockets” for clear communication.
2. Stay Vocal
Keeping your team aware of enemy locations, power weapon respawns, and your movements can significantly boost your effectiveness. Use your mic efficiently but avoid cluttering chat with unnecessary chatter.
Practice and Adapt
No guide can account for every scenario you’ll face. The best way to master the maps is through practice. Jump into custom games with friends, explore every nook and cranny, and don’t be afraid to experiment with different routes and strategies.
Understanding Halo 3’s multiplayer maps takes time, but with these pointers, you’ll be well on your way to dominating the battlefield. Keep your reflexes sharp, your strategy flexible, and always be aware of your surroundings. See you in the arena, Spartan!
Key Locations and Power Weapons
Welcome to the ultimate guide for dominating Halo 3! Knowing where to go and what weapons to snag can make or break your game. Let’s dive into the key locations and power weapons on some of the most popular maps.
Valhalla
Valhalla is a big map, so controlling high ground and power weapons is crucial. Here are some spots and toys to look out for:
Middle Hill: This spot offers a great view of most of the map. You’ll find the Spartan Laser here, perfect for taking out vehicles and pesky Spartans from a distance.
Caves: These tunnels provide cover and a sneaky route to the enemy base. They also house a Shotgun, which is essential for close-quarters combat.
Base Roofs: Each team’s base has a roof that’s perfect for sniping. If you find the Sniper Rifle near the middle of the map, head here for some sweet headshots.
Pelican Crash Site: Near each base, there’s a downed Pelican. Find the Bubble Shield here—throw it in a firefight to save your bacon.
The Pit
The Pit is all about tight corridors and open yards, so expect a mix of ranged and close combat.
Sword Room: The Energy Sword is in a small room in the middle of the map. Control this room to dominate close encounters.
Sniper Towers: Two sniper rifles rest on high platforms on opposite sides of the map. Grab one and head up the tower for some long-range fun.
Rocket Launcher: Located in the middle, near the Overshield. With the launcher in hand, you’ll be a walking apocalypse.
Control Room: Right smack in the middle, it has strategic sightlines. Capture this for team advantage and toss grenades into the doorways for easy kills.
Sandtrap
Sandtrap is vast, catering to all sorts of gameplay styles, from vehicular battles to power weapon skirmishes.
Central Structure: This ruin houses the Spartan Laser. A good sniping spot and offers cover.
Elephants: They’re slow and big but come equipped with transport vehicles and mounted turrets. Great for mobile bases.
Energy Sword: Find it in the underground tunnel. This one’s tricky as the tunnels can be choke points, but the sword is worth it.
Rocket Launcher: Located on either side of the map, near the Bases. Grab it before your enemy does for some explosive fun.
Guardian
Guardian is tight and vertical, favoring players who can manage tight quarters and flank routes.
Sniper Tower: Overlooks most map choke points. Grab the Sniper Rifle here to snipe from safety.
Green Room: The Energy Sword in here is a game-changer. Control this room to ambush enemies.
Top Mid: Central and highly contested, this area provides access to Active Camo. Use it to turn invisible and sneak around.
Lift Room: Contains a Gravity Lift. Use this to reach higher platforms and surprise enemies.
Construct
Construct consists of three levels, making vertical control essential.
Bottom Middle: The Shotgun spawns here. A deadly weapon in these tight corridors.
Top Middle: The Spartan Laser makes an appearance here. Control this room to prevent enemy vehicles from dominating.
Yellow Lift: Like in Guardian, there’s a lift here that moves you between floors. Great for quick escapes or surprise attacks.
Sniper Tower: Grab the Sniper Rifle on the third level and rain death from above.
Understanding these key locations and power weapons on these Halo 3 maps will give you the edge you need to secure victory. Keep practicing and adapt your strategy depending on the map and your enemy’s movements. Using this guide, you’ll become the top Spartan in no time!
Halo 3: Best Strategies for Each Map
Halo 3 boasts a variety of maps, each with unique challenges and advantages. Whether you’re a newbie or a veteran Spartans, mastering these maps will help you dominate. Here are the top strategies for each major map in Halo 3.
Valhalla
Valhalla is a huge, open map, perfect for both long-range and close-quarter battles. Here’s how to rule Valhalla:
- Control the High Ground: The higher platforms near the bases are great for sniping and keeping an eye out for enemies. Secure these spots early on.
- Use Vehicles Wisely: The Warthog and Mongoose can turn the tide in your favor. Use them for quick base-to-base movements or to mow down foes.
- Rocket Launcher: The rocket launcher spawns in the middle. Controlling this area can give you massive firepower. Watch out; it’s a hotspot for battles.
- Man Cannons: Utilize the man cannons near each base for sneaky maneuvers or quick escapes.
The Pit
The Pit is medium-sized and offers a balanced mix of close-range and medium-range combat. Here are some key tips:
- Grab the Power Weapons: The sniper on the tower and rockets in the center are essential. Get to them before your enemies do.
- Upper Walkways: Controlling the walkways provides excellent vantage points and control over major map areas.
- Communication: Team coordination is crucial. Call out enemy locations especially around the central areas and corridors.
- Active Camo: The invisibility power-up can be game-changing. Use it to flank or ambush enemies.
High Ground
High Ground is an asymmetrical map, known for its varying elevations and tight spaces. It’s great for both slayer and objective-based modes.
- Early Rush: Secure the hill at the start. It’s key for controlling the map.
- Turret Domination: The turret at the hill base is powerful. Use it to surprise enemies or defend critical points.
- Back Route: The tunnels under the base are sneaky paths perfect for flag runs or ambushes.
- Grenades: Due to tight spaces, grenades are especially deadly. Don’t forget to bounce them around corners.
Snowbound
This snowy map is rich with hiding spots and enclosed spaces, making it ideal for ambushes and close-range engagements.
- Inside Bases: Use the caves and bunkers for cover and surprise attacks. Stationing yourself here disrupts enemy movement.
- Shotguns: The narrow corridors make shotguns and melee incredibly effective. Always have close-range weapons ready.
- Energy Shields: The shield doors can provide temporary protection. Use them to retreat or set up an ambush.
- Sniper Nest: The sniper rifle spawns outside, but it’s risky. Once you get it, focus on picking off enemies moving between caves.
Rat’s Nest
Rat’s Nest is a circular map with wide-open lanes and plenty of vehicles. Perfect for fast-paced action.
- Vehicle Dominance: Master the Warthog and Mongoose. They’re essential for quick kills and controlling the map.
- Turret Control: The turrets overlooking the map’s lanes can wreak havoc. Secure them and cover your teammates.
- Grenades and Equipment: With so many open spaces, grenades and bubble shields are crucial for defense and offense.
- Perimeter Movement: Stick to the outer edges of the map. It’s easier to ambush opponents and control points stealthily.
Guardian
Guardian is small, multi-leveled, and heavily favors those who master vertical combat and map control.
- Sword Room: The Energy Sword spawns in one of the rooms. Control it for easy close-range kills.
- Lift Usage: Use lifts to quickly navigate between levels, but be cautious—enemies often camp at the top.
- Control Power Positions: The Sniper Tower and Mauler spawn are key positions. Holding these gives you a tactical advantage.
- Motion Tracker: Always check your radar. Enemies often hide around corners or come from different levels.
Construct
Construct is multi-leveled, with lots of ramps and walkways. Ideal for those who understand elevation and ambush tactics.
- Top Level Control: The highest point is where you need to be. It gives you visibility and shooting angles over the entire map.
- Gravity Lift Knowledge: Master using the gravity lifts for quick escapes or surprise attacks.
- Central Hall: Many fights happen here—having grenades ready can mean the difference between life and death.
- Stay Mobile: Don’t stick in one place for too long; rotating between levels keeps enemies guessing.
With these strategies, you should be ready to take on Halo 3’s maps with confidence. Now, go out there and show them who’s boss!
Navigating and Controlling the Map
Welcome to one of the most important parts of playing Halo 3: mastering the map. Whether you’re trying to outsmart your opponents or just looking to have some fun, knowing how to navigate and control the map is key. Here’s a breakdown to help you dominate the battlefield like a pro.
Understanding the Layout
Each map in Halo 3 has its unique features and layout. Spend some time in Custom Games exploring every nook and cranny. Look for:
- High ground: Sniper points or vantage spots.
- Narrow corridors: These are great for ambushing.
- Power weapon locations: Always know where the best weapons spawn.
- Cover points: Places where you can hide or protect yourself from fire.
Movement Tips
Keep Moving: Halo 3 isn’t a game for campers. The more you move, the harder it is for enemies to hit you. Use the sprint wisely and always aim to find a balance between speed and caution.
Jumping and Crouching: These actions can make you a harder target. Jump to avoid headshots, and crouch to hide and regenerate shields. Jumping onto ledges and using terrain to your advantage helps too.
Tip: Practice your jumps and crouches in various spots on the map to find hidden shortcuts or evade paths.
Controlling Power Weapons
Power weapons can turn the tide of battle. Here’s what to remember:
- Track Spawn Times: Know when and where weapons spawn.
- Get there first: Control these areas early to make sure you’re the first to grab them.
- Share with teammates: If you have one already, let a teammate grab another to balance firepower.
Communication is Key
Team play is crucial in Halo 3. Use these communication tips:
- Call out enemy positions: If you see an enemy, let your team know.
- Share weapon locations: Tell your teammates where power weapons and important items are.
- Strategize: Coordinate attacks and defend key areas together. An organized team is a winning team.
Map-Specific Tips
Some maps have unique characteristics. Here are a few examples:
- High Ground: Ideal for snipers. Control the large stationary gun and lookout tower for a significant advantage.
- Valhalla: Open spaces can be deadly. Use the middle structure and trees for cover.
- The Pit: Tight corridors mean lots of close combat. Shotguns or swords can dominate here.
Keep an Eye on the Radar
Your motion tracker is a lifesaver. It shows nearby movement, letting you anticipate enemy actions before they happen. Pay attention to it, but don’t rely on it solely – enemies can crouch to avoid detection.
Map Control and Time Management
In Halo 3, controlling parts of the map is as important as controlling the whole map. Prioritize:
- Power positions: Hold key locations to control the battle flow.
- Weapon spawn points: Ensure your team gets the best weapons.
- Objective spots: If you’re playing objective modes, focus on territories or bomb plants.
Practice Makes Perfect
Lastly, practice is everything. Play often, learn from mistakes, and adapt your strategy for each map and opponent.
Spend time in each map, learn its secrets and always stay one step ahead. Control the map, control the win. Good luck, Spartan!
Pro tip: Watch game replays to find new strategies or spots you might have missed initially. Happy gaming!
Tips for Map Control in Halo 3
Keeping control of the map in Halo 3 can be the difference between a crushing defeat and a triumphant victory. Here are some top-tier tips to help you dominate the battlefield.
1. Know the Map Layout
Before you can control the map, you need to know the map. Spend some time in custom games familiarizing yourself with each map’s layout. Learn where the key choke points, high traffic areas, and power weapon spawns are located. This knowledge will give you a massive advantage.
- High Ground: Maps like The Pit and Guardian have high ground areas that give you great visibility. Controlling these spots can help you keep an eye on enemy movements.
- Power Weapon Locations: Memorize where the rockets, sniper rifles, and other power weapons spawn. These weapons can turn the tide of a match.
2. Control The Power Weapons
Power weapons can make or break a game. As soon as the match starts, make a beeline for them. But don’t just grab a rocket launcher and start blasting away — be strategic.
- Time the Spawns: Power weapons respawn at specific intervals. Keep track of when they’re picked up and make sure you’re there when they reappear.
- Prioritize Targets: Use power weapons on high-value targets, like an enemy with an overshield or a group clustered together.
3. Communicate with Your Team
Good communication is key. Make use of in-game voice chat or any other communication tools you have at your disposal. Let your teammates know where the enemies are, where the power weapons are located, and any other useful information you can share.
- Callouts: Learn and use map-specific callouts to quickly and accurately convey information. “Two enemies at Snipe Tower!” can be a lifesaver.
- Coordinate: Work together to control important parts of the map. A coordinated team is much stronger than a group of lone wolves.
4. Maintain Map Balance
Balancing the map means making sure you and your team are covering all the key areas without overcommitting to one spot. If everyone’s obsessed with the rocket spawn, you might lose control of other critical areas.
- Spread Out: Try to cover multiple important areas like power weapon spawns, high traffic zones, and high ground.
- Rotate: If you’ve secured one area, rotate to support teammates or cover another critical zone.
5. Use Grenades Wisely
Grenades are incredibly powerful in Halo 3. They can flush out hidden enemies, control the flow of battle, and are great for defending key areas.
- Choke Points: Use grenades to control choke points and force enemies to retreat or expose themselves.
- Advance: When pushing into a contested area, throw a grenade to soften up enemies before moving in.
6. Position Yourself Smartly
Don’t just run around aimlessly. Positioning is key to controlling the map effectively. Use cover, stick with teammates, and always think a few steps ahead.
- Cover: Always be near cover so you can quickly dodge enemy fire and regain your shield.
- Line of Sight: Hold angles where you can see enemies without exposing yourself too much.
By integrating these tips into your gameplay, you’ll find yourself dominating the battlefield and leading your team to victory. Remember, map control is about smart play, teamwork, and being where you need to be at the right time. Good hunting!