
Welcome to our comprehensive Fire Emblem: Three Houses Walkthrough! Step into a tale of strategy, magic, and intrigue as you guide your chosen house through the perilous journey ahead. Whether you’re just starting your journey or aiming to unlock all endings, our guide has you covered. Explore key locations and overcome formidable challenges, learn how to use abilities and units effectively, master strategies for boss battles, and uncover every secret the game has to offer. Dive in and become the tactician Fódlan needs!
Starting Your Journey
So, you’re diving into Fire Emblem: Three Houses? Awesome choice! This isn’t just another strategy game; it’s a mix of tactics, storytelling, and, well, a bit of Hogwarts flair. Before you get lost in the world of Fódlan, let’s go over the essentials to get you off to a smooth start.
1. Choosing Your House
The opening hours of the game can be a bit overwhelming. You’ll need to choose one of three houses to lead at the Garreg Mach Monastery. Each house has its unique storyline, characters, and gameplay:
- Black Eagles (led by Edelgard): If you favor mages and want an intriguing story with twists and turns, this is your house.
- Blue Lions (led by Dimitri): Choose this house for a classic fantasy experience with plenty of swordplay.
- Golden Deer (led by Claude): Ideal if you like archers and a lighter, more laid-back atmosphere.
Your choice will shape much of your gameplay experience, from the units you command to the events you encounter. So pick a house that aligns with your playstyle and interests.
2. The Calendar System
Fire Emblem: Three Houses revolves around a calendar system. Think of it as your daily planner for monastery life. Each week, you’ll have a variety of activities to choose from:
- Lectures: Train your students to improve their skills. Pay attention to their strengths and weaknesses for effective teaching.
- Exploration: Roam around the monastery, interact with characters, go fishing, or tend to the greenhouse.
- Battles: Some weeks will let you participate in free battles, which is a great way to earn experience and rewards.
- Seminars and Rest: Attend tutorials to boost skills or take a break to recover motivation.
Balancing these activities helps in building a strong team and deepening your bond with students.
3. Building Relationships
Bonding is crucial. Investing time in activities like sharing meals, giving gifts, and holding conversations will strengthen your units’ bonds, which in turn makes them better in battle. Remember, the stronger your relationships, the more powerful your linked attacks will be on the battlefield.
Consider these bonding activities:
- Tea Parties: Invite a student for tea to boost your relationship.
- Dining: Share meals with students to increase their motivation and support levels.
- Lost Items and Gifts: Return lost items to the right owner or give them gifts that they like.
4. Managing Your Monastery
Think of the monastery as your home base. Here, you’ll:
- Train Units: Use facilities like the training grounds to teach them new skills.
- Develop Your Professor Skills: Your rank as a professor determines the number of actions you can take when exploring the monastery. Improve it by engaging in various activities.
- Quests and Side Missions: Completing these will earn you valuable rewards and unlock new features.
5. Preparation for Battle
Before heading into combat, make sure you’re well-prepared. Here’s what you should do:
- Check Unit Placement: Position your units smartly based on their strengths and the map’s layout.
- Equip Weapons and Items: Ensure each unit has the right gear and plenty of useful items like healing potions.
- Class Assignments: Assign advanced classes to units who’ve mastered their current roles for enhanced abilities.
6. Early Game Tips
A few quick tips to help you get the most out of the early game:
- Save Often: Use multiple save slots. You never know when you might want to revisit a decision.
- Focus Training: Early on, focus on training a few units really well instead of spreading your efforts too thin.
- Mind the Weapon Triangle: Even though it’s not as prominent in this game, paying attention to weapon strengths still helps.
Starting your journey in Fire Emblem: Three Houses is just the beginning. With these basics covered, you’re well on your way to becoming a legendary professor and tactician. Enjoy the intricate blend of teaching, bonding, and battling that awaits!
Key Locations and Challenges
In Fire Emblem: Three Houses, the Monastery and various battlefield locations present unique challenges and opportunities. Understanding the significance of these places will help you navigate the game more effectively. Here’s a breakdown of some essential locations and their associated challenges.
Garreg Mach Monastery
Garreg Mach Monastery serves as your primary base. You’ll return here often between battles. It’s not just a hub, but a place to train, build relationships, and manage resources.
Challenges
- Time Management: Each month, you’ll have a limited number of days for activities, so you’ll need to balance training, teaching, and exploring.
- Quests and Side Missions: Many characters have personal quests. Completing them can earn you rewards and deepen your bonds.
- Facility Upgrades: You can improve different areas like the greenhouse or the training grounds. Upgrading these facilities will give you various boosts.
The Marketplace
The Marketplace is where you can buy weapons, items, and equipment. It’s essential for keeping your units equipped and ready for battle.
Challenges
- Budgeting Gold: Money can be tight, so prioritize essential purchases. Weapons and healing items often take priority.
- Restocking: Don’t forget to restock before heading into battle. Running out of important items, like Vulneraries, can put you in a tough spot.
Training Grounds
Here, you can participate in various combat exercises. These are great for gaining experience points (XP) and improving your units’ skills.
Challenges
- Choosing Participants: Not all units benefit equally from the same training. Choose the exercises that align with your units’ strengths and weaknesses.
- Limited Entries: There are only so many times you can train each month, so use these wisely to strengthen key characters.
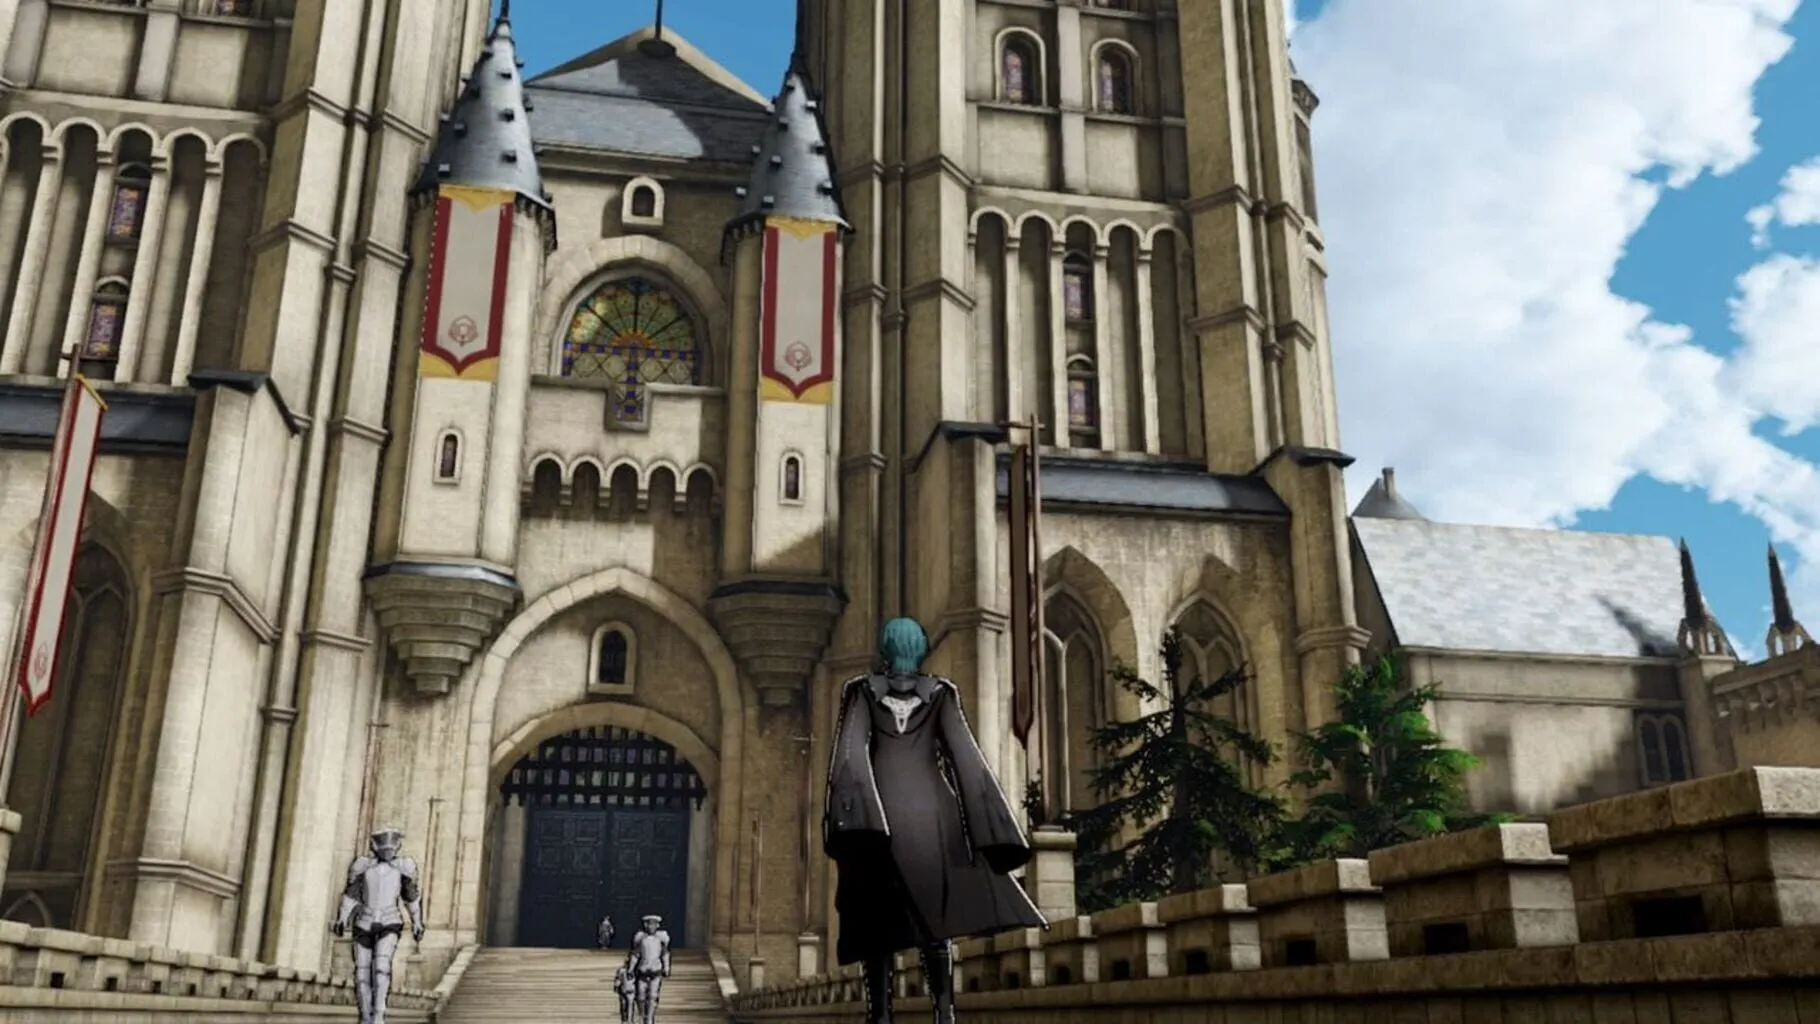
Cathedral
The Cathedral is where you can engage in spiritual activities like Choir Practice or Saint Statue offerings, which can raise support levels and grant blessings.
Challenges
- Using Faith Wisely: Choir Practice can boost morale and support levels, but it’s important to balance this with other activities.
- Saint Statues: Investing in these statues can grant you various bonuses, like increased XP. Focus on upgrading statues that benefit your current strategy.
Battlefield Locations
Each chapter of the game has different battlegrounds where the story progresses. These locations vary greatly and influence your battle strategies.
Challenges
- Terrain and Weather: Some maps feature terrain that can hinder movement or offer tactical advantages. Keep an eye out for forests, hills, and weather effects.
- Enemy Placement: Understanding enemy positions and making use of your units’ strengths is crucial. Always scout the map and plan your moves accordingly.
- Special Objectives: Some battles have specific objectives, such as protecting characters or seizing points. Focusing solely on defeating enemies might not always be the best strategy.
Abyss
Abyss is an underground area in the Monastery where you can interact with the secret fourth house, the Ashen Wolves.
Challenges
- Resource Management: Abyss requires another set of resources for upgrades. Make sure to balance your monastery upgrades with Abyss improvements.
- Unique Quests: The quests here can be particularly challenging and often require more strategic planning. Completing them can offer unique rewards and strengthen your team.
Tips for Overcoming Challenges
- Save Often: Save your game before key events and battles. This allows you to retry if things don’t go as planned.
- Plan Ahead: Always know your goals for each week. Whether it’s increasing support levels or prepping for the next battle, a clear plan will help you make the most of your time.
- Adapt and Overcome: Sometimes, even the best plans go awry. Be ready to adapt your strategy on the fly and think outside the box.
Embrace these key locations and tackle their challenges head-on. With the right preparations and strategies, you’ll be well on your way to leading your house to victory in Fire Emblem: Three Houses.
Navigating the critical locations and challenges in Fire Emblem: Three Houses efficiently can make your journey smoother and more enjoyable. Be strategic about your time and resources, and always be ready to think on your feet to lead your house to victory!
Using Abilities and Units Effectively
Fire Emblem: Three Houses can feel overwhelming with all the abilities and units you need to keep track of. Don’t worry, we’ve got you covered! Here’s everything you need to know to use your units to their full potential and make the most out of their abilities.
1. Understanding Unit Roles
Each unit in your army has a specific role. For example, Dimitri is a powerful front-liner who excels in destroying enemies up close, thanks to his high Strength and Defense. On the other hand, Lysithea is a powerhouse in magic, able to decimate foes from afar with her spells.
Pro tip: Keep track of each unit’s strengths and weaknesses. Archers, like Bernadetta, are great at taking down flying units, while units with high resistance, like Mercedes, can shrug off magical attacks.
2. Mastering Abilities
As your units level up and change classes, they learn new abilities. These can range from passive stat boosts to powerful combat skills. Here’s how to make the most out of them:
- Equip Wisely: Each unit can equip a limited number of abilities. Make sure to choose ones that play to their strengths. For instance, giving Felix bonuses to crit hit rate can turn him into a one-hit KO machine.
- Plan for Synergy: Abilities can complement each other! An ability that boosts movement range goes perfectly with another that increases evasion. Imagine Ingrid zooming across the battlefield while dodging attacks; that’s synergy in action.
3. Exploiting Terrain and Battalions
Don’t underestimate the battlefield terrain and battalions:
- Terrain Boosts: Utilizing forests for extra evasion or slapping a unit on a fort for health regeneration can turn the tide of battle. Always scout the battlefield for these advantageous spots.
- Battalions: Assign battalions to units to give them stat boosts and powerful gambits. For example, assigning a battalion with a strong physical attack to Catherine can make her even deadlier in combat.
4. Leveraging Unit Skills
Each unit can learn skills that provide unique advantages. Pay attention to their skill proficiencies and develop them:
- Special Weapons: Skills like Swordfaire enhance damage when using specific weapon types. Pair these skills with units that naturally excel in those weapons. For instance, equip Swordfaire on Petra, who’s already a beast with swords.
- Combat Arts: These are special attacks that units can use. They consume more weapon durability but can deal massive damage. Use them strategically.
5. Balancing Your Team
No unit can do everything. A balanced team covers various roles to handle any challenge:
- Frontline Fighters: Characters like Dedue and Raphael excel at soaking up damage.
- Healers: Keep at least one dedicated healer, like Linhardt or Marianne, to sustain your units.
- Ranged Attackers: Archers and mages can hit enemies from a distance. Units like Claude and Dorothea are invaluable for taking out hard-to-reach enemies.
- Support Units: Some units excel at providing buffs or debuffs. Hilda is great at rallying and boosting allies’ stats.
6. Adapt on the Fly
Don’t be afraid to change your tactics based on the battle:
- Reclass When Needed: Units can switch classes to better handle the situation. If you need more mobility, consider reclassing a unit to a mounted class.
- Weapon Triangle: Remember the classic weapon triangle (swords beat axes, axes beat lances, lances beat swords) and adapt your strategies accordingly. Equip your units with backup weapons to cover weaknesses.
Final Tips
Train Consistently: Regularly train your units to keep their skills sharp and upgrade their classes as soon as possible.
Use Adjutants: Assign support units as adjutants to give main fighters extra backup and gain support points.
By mastering these tactics, you’ll be able to handle any challenge that Fire Emblem: Three Houses throws your way. Good luck, and happy battling!
Strategies for Boss Battles
Boss battles in Fire Emblem: Three Houses can be tough, but with the right tactics, you can turn even the most daunting foe into a stepping stone for your progress. Here are some key strategies to help you conquer those critical encounters:
Know Your Enemy
First things first: reconnaissance. Before charging in, take a moment to check the boss’s stats, skills, and weaknesses. Look out for their attack range and any special abilities they might have. This info is your best friend because it lets you plan your moves better.
- Check for weapon weaknesses. If the boss wields a lance, bring units with axes for an advantage.
- Scan for special abilities. Some bosses may have skills like “Counterattack” which can surprise you if you’re not aware.
Team Composition
Building the right team is crucial. Make sure you’re bringing units that complement each other. Balance is key—you’ll need a mix of tanks, healers, and damage dealers.
- Tanks: Your strongest units with high defense stats should be up front to absorb hits.
- Healers: Always have at least one healer. A unit like Mercedes or Marianne can keep your team alive during prolonged battles.
- Damage Dealers: Units with high attack power, like Felix or Petra, can whittle down the boss’s HP quickly.
Positioning and Terrain
Positioning matters more than you think. Utilize the terrain to your advantage. High ground and forests can boost your evasion and defense.
- High Ground: Units on higher ground have increased evasion and hit rates.
- Forests: Moving your units into forests gives them better evasion.
Chip Away at Their Health
Don’t rush. It’s tempting to go in guns blazing, but usually, it’s smarter to chip away at the boss’s health. Use ranged attacks to soften them up before sending in your melee fighters.
- Archers and Mages: Units like Ashe or Lysithea can attack from a safe distance without risking counterattacks.
- Combat Arts: Some Combat Arts allow for ranged attacks or increased damage. Utilize these for a powerful hit without immediate retribution.
Use Gambits Wisely
Gambits can be game-changers in boss battles. They can cause immense damage, inflict status ailments, or provide buffs to your units.
- Damage Gambits: Use these to break the boss’s battalions or cause significant damage.
- Ailment Gambits: Some gambits can cause statuses like “Rattled,” making the boss easier to deal with.
- Buff Gambits: These can fortify your units, boosting their readiness for the next attack.
Pay Attention to Health Bars
Bosses often have multiple health bars. Each time you deplete one, the boss may get desperate, unleashing more powerful attacks. Keep an eye on the boss’s patterns as their health decreases.
- Heal often: Don’t wait for a unit to be at critical health. Keep your team topped off to avoid sudden losses.
- Defensive Stances: When you notice the boss’s health is about to transition, brace for more intense attacks.
Utilize Skills and Abilities
Activate your units’ skills and abilities effectively. Some characters have unique skills that can turn the tide of battle.
- Healing abilities: Skills like Physic can heal from a distance, keeping your units safe.
- Offensive skills: Abilities like Astra or Luna have higher damage outputs that can turn the tide.
Rotate Your Units
Don’t let any unit become overwhelmed. Rotate units to keep the pressure on the boss, but also to give your frontline fighters a breather.
- Swap units regularly: This keeps your team fresh and ready to engage.
- Use healing items: If a unit has a free turn, make them use a vulnerary to stay ready for the next attack.
With these strategies, you should be well-equipped to tackle any boss that comes your way in Fire Emblem: Three Houses. Remember, patience and planning are your best tools in these high-stakes battles. Good luck, and may your path lead to victory!
Unlocking All Endings
Fire Emblem: Three Houses has a plethora of endings based on your choices, the house you align with, and the bonds you form. Unlocking all these endings is a rewarding, albeit complex, task. Here is a detailed guide to help you see every story path.
House Choices and Story Paths
Your journey starts with picking a house at the Garreg Mach Monastery. The three main houses are:
- Black Eagles (Edelgard)
- Blue Lions (Dimitri)
- Golden Deer (Claude)
Each house offers a unique story arc, with multiple possible endings.
The Black Eagles Route
Choosing the Black Eagles can lead to two very distinct story paths:
Crimson Flower: This is the Edelgard-led route. To unlock this:
- Ensure your Professor Level is at least C by the end of Chapter 11.
- Support Edelgard and agree to go with her to the Imperial Palace during the mission in Chapter 11.
- Support Edelgard against the Church of Seiros.
Key Points:
- Support Edelgard through her decision in Chapter 11.
- Skip the Holy Tomb chapter.
- Fight and side with Edelgard in the post-skip battles.
Silver Snow: This is the Church route after choosing Black Eagles.
- Do not follow Edelgard to the Imperial Palace.
- Oppose Edelgard’s uprising.
Key Points:
- Follow the Church of Seiros and repel Edelgard’s armies post-skip.
- Support Rhea after the time skip.
The Blue Lions Route
Choosing the Blue Lions leads to the Azure Moon arc:
Follow and support Dimitri throughout all interactions.
Defend the Kingdom of Faerghus and confront Edelgard post-skip.
Key Points:
Support Dimitri, redeem him, and unite the Kingdom of Faerghus.
Defeat opposing forces to restore peace to Fódlan.
The Golden Deer Route
Choosing the Golden Deer leads to the Verdant Wind arc:
Support Claude and his vision for Fódlan.
Fight against the Empire and uncover the mysteries of Crests.
Key Points:
Strengthen bonds with Claude and learn about his background.
Battle to unite Fódlan under Claude’s ideals.
Common Route - Silver Snow
If you do not side with Edelgard during the Black Eagles arc:
Follow Seteth and the Church.
Unveil secrets and protect the land from the Empire.
Key Points:
Support Seteth and Flayn.
Fight to restore peace and uncover ancient truths.
Important Tips
- Support Bonds: Maximize support levels with characters. Some endings hinge on certain characters being alive or their relationship with Byleth.
- Battalions and Equipment: Ensure you manage and upgrade your units to handle tougher mid-game and final battles.
- Save Often: Use multiple save files. Decisions leading to different endings often happen several chapters in.
- Engage in Battles: Regularly participate in side quests and paralogues. These provide valuable experience and gear necessary for tougher battles.
- Strategic Classes: Class changing is crucial. Adapt your team’s classes to overcome specific challenges presented in each path.
Conclusion
Unlocking all endings in Fire Emblem: Three Houses requires careful planning and dedication. Each path offers a fresh perspective and deeper understanding of the game’s world and characters. Happy strategizing, and may your tactics lead you to victory in all storylines!