
Welcome, adventurers, to the ultimate FF11: Dragon’s Aery Dungeon Guide! Gear up to explore one of Final Fantasy XI’s most iconic dungeons, where thrilling battles and legendary treasures await. Venture deep into the heart of Dragon’s Aery and come face-to-face with formidable foes like the mighty Serket, the fearsome Fafnir, the elusive King Arthro, and the colossal Behemoth. This comprehensive guide will provide invaluable tips and strategies for conquering each of these epic encounters and reveal the coveted drops that make this dungeon a must-visit for any brave warrior. Get ready to embark on an unforgettable journey through Dragon’s Aery!
Serket - The Fearsome Scorpion of Abyssal Depths
When diving into Final Fantasy XI, one of the most exciting and daunting challenges players face is the notorious Serket. This gigantic, ancient scorpion lurks in the depths of the Garlaige Citadel, waiting to pounce on the unprepared. If you want to conquer this beast, read on for everything you need to know.
Locating Serket
First things first: where the heck do you find Serket? Serket spawns in Garlaige Citadel, specifically in the basement area known as Banishing Gate #3. This area can be tricky to navigate, so make sure you’ve got a map handy. Serket is known to spawn roughly every 18 to 24 hours after it has been defeated, so patience is a virtue here.
Preparation is Key
Before you even think about confronting Serket, you need to make sure you’re prepped to the max. Here’s your checklist:
- Level Range: Serket is typically taken down by a party of characters that are level 60 and above. A full party or alliance is highly recommended.
- Healing & Support: A balanced party with Healers, Tanks, and DPS (Damage Per Second) roles is essential. Extra buffs and debuffs can make a huge difference, so including support classes like Bards or Red Mages isn’t a bad idea.
- Equipment: Stock up on the best gear you can find, and make sure to bring plenty of potions, ethers, and food buffs to sustain you through the fight.
The Fight
Once you’ve located Serket and readied your party, it’s time for the showdown. Here’s a breakdown of what to expect:
- Initial Aggro: Let your Tanks manage aggro from the start. Serket hits hard, and you don’t want your squishier team members drawing its attention.
- Special Attacks: Serket has a few tricks up its exoskeleton. Watch out for these:
- Venom Sting: A poison attack that can deal significant damage over time. Be ready with antidotes or a White Mage to cast Poisona.
- Death Scissors: A powerful physical attack that can seriously hurt or even one-shot unprepared characters. Mitigating damage with protection spells like Stoneskin or Blink is crucial.
- Positioning: Keep your distance if you’re playing a ranged role. Serket’s reach is long, and being too close can be deadly.
- Debuffs & Enfeebling: Applying debuffs like Slow and Paralyze can tilt the battle in your favor. Make sure your support characters keep these up at all times.
After the Battle
Victory is sweet, but what makes it even sweeter are the rewards. Serket drops some valuable loot, including:
- Serket Ring: A coveted piece of equipment that gives a bump to HP, MP, and converts a portion of HP to MP.
- Venomous Claw: A rare crafting material that can be used for high-end recipes.
Additionally, a successful Serket takedown boosts your reputation and can open the door to more challenging encounters in the future.
Quick Tips
- Timed Spawn: Remember that Serket’s spawn time can vary. Use it to your advantage and set up a camp early.
- Communication: Clear communication with your party is key. Use voice chat or macros to coordinate.
- Exit Strategy: Having an idea of how to escape if things go south can save you from a total wipe. Keep that Warp Scroll handy!
Facing Serket can be daunting, but with the right preparation and strategy, you’ll be able to bring down this legendary foe. So gear up, rally your friends, and good luck in the citadel!
Happy hunting!
Fafnir: The Legendary Wyrm
If you’re ready to take on one of Final Fantasy XI’s toughest challenges, it’s time to head to Dragon’s Aery and face Fafnir. This legendary dragon isn’t just difficult to beat, it’s also a major milestone for any serious player. Get ready to learn everything you need to know about finding, fighting, and defeating Fafnir.
Where to Find Fafnir
Fafnir appears in Dragon’s Aery, located in the northeastern part of The Boyahda Tree. Getting there isn’t a walk in the park. Here’s a quick guide on how to reach Dragon’s Aery:
- Head to The Boyahda Tree: You can get to The Boyahda Tree from the Meriphataud Mountains.
- Navigate Through the Tree: Make your way through the tree to reach the northeastern part. Watch out for tough monsters along the way!
- Find the Spawn Point: Fafnir spawns in Dragon’s Aery. The spawn point is a large open area, so you can’t miss it.
Spawn Time and Conditions
Fafnir isn’t always there waiting for you. He has a spawn window you need to be aware of:
- Spawn Window: Fafnir spawns anywhere between 21 to 24 hours after the previous spawn.
- Pop Conditions: Be prepared to camp out and wait for him! Multiple parties might be waiting for the same opportunity, so patience is key.
Preparation: Gearing Up
Before you face Fafnir, make sure you and your party are well-prepared:
- Level Requirement: It’s recommended to be at least level 75.
- Jobs: Optimal jobs include tanks (PLD or NIN), healers (WHM or RDM), and damage dealers (SAM, DRK, RNG, or BLM).
- Gear: Equip your best gear. For tanks, prioritizing defense and magic resistance is critical. Healers should focus on MP and magic regen, while damage dealers need to stack attack and accuracy.
The Fight: Strategies and Phases
Fighting Fafnir is no joke. Here’s how you can tackle this legendary wyrm:
- Engage Wisely: Pull Fafnir to a safe spot away from wandering monsters. Only the tank should engage at first.
- Positioning: Tanks should keep Fafnir faced away from the party to avoid his devastating front attacks and breath weapons.
- Magic Attacks: Fafnir uses powerful magic attacks like Aeroga III and Ice Break, so your mages should prioritize casting Barfira and Shell.
- Healing: Keep up with healing, especially curing status ailments like Paralyze and Stun.
- Damage Phases:
- 20-100% HP: Focus on consistent damage while the healers keep everyone alive.
- Below 20% HP: Fafnir gets more aggressive and uses frequent TP moves. Burst damage is key here to bring him down quickly.
- TP Moves: Fafnir uses Wing Thrust, which deals massive AOE damage. Tanks should use Invincible or another mitigation technique here.
Rewards
Defeating Fafnir is a huge accomplishment and comes with awesome rewards:
- Nidhogg Spawn: Killing Fafnir has a chance to spawn Nidhogg, an even more powerful dragon.
- Loot: Fafnir drops items such as the Dragon Talon and Behemoth Hide. He also has rare drops like the Ridill, a legendary sword.
- Bragging Rights: Beating Fafnir gives you major street cred in the Final Fantasy XI community!
Final Tips
- Team Communication: Clear communication with your team is essential.
- Backup Plan: Have a plan if things go sideways. Knowing when to retreat is as important as knowing how to fight.
- Patience: This fight can be a marathon, not a sprint. Stay focused and patient.
Facing Fafnir is one of the ultimate challenges in FF11, but with the right strategy and teamwork, you can claim victory and add this legendary dragon to your list of conquests. Good luck, adventurers!
King Arthro
Alright, adventurers! If you’re delving into the world of Final Fantasy XI and aiming to take down King Arthro, you’re in for a thrilling ride. This fierce Notorious Monster (NM) resides in Jugner Forest and poses quite the challenge. Here’s everything you need to know to bring this beast down.
Location, Spawn Conditions, and Timing
King Arthro can be found in Jugner Forest (I-7). This monster doesn’t just appear out of thin air – you have to coax it out. King Arthro is a lottery spawn from Orctraps, which are common enemies in the area. The estimated window for King Arthro to spawn is typically 21 to 24 hours after the last defeat. Be prepared for a bit of a wait, so bring some friends or something to pass the time.
The Fight: Recommended Party and Tactics
For a fight with King Arthro, you’ll want a balanced party. Here’s an ideal lineup:
- Tank: To soak up those heavy hits.
- Healer: To keep everyone alive and cured of any nasty debuffs.
- Damage Dealers (DPS): To bring the pain and whittle down King Arthro’s considerable HP.
Having a Red Mage or White Mage can be particularly useful due to their debuffing and buffing abilities. A Samurai or Ranger as your DPS can deal consistent damage, and a Paladin as your tank can shield the party effectively.
Key Abilities and Strategies
King Arthro has some notable attacks and skills to watch out for:
- Whirl Claws: A powerful AOE attack that can catch your party off guard. Make sure your healer is alert to recover from this.
- Bubble Curtain: Increases its defense. This is a good time to use dispelling abilities or focus on enduring until the buff wears off.
- Aqua Fortis: Deals a significant amount of damage to a single target. Tanks should be ready to mitigate this and healers should be quick on their feet.
Here are some additional tips to help you secure victory:
- Keep your distance: If you’re a ranged DPS or support, stay back to avoid unnecessary hits from Whirl Claws.
- Stun when needed: Use stun abilities when King Arthro is casting big attacks like Aqua Fortis.
- Manage debuffs: Keep an eye out for any debuffs on your party and clear them promptly.
Drops and Rewards
Once you triumph over King Arthro, the loot he drops makes the fight worthwhile. Here’s what you can expect:
- Kraken Club: This rare and powerful weapon can deal multiple hits in one round.
- Arthro Shell: Useful for crafting high-level gear.
- Crystal: King Arthro may drop various crystals, which can be used in trades or crafting.
Final Tips
- Patience is key: King Arthro’s spawn times can be unpredictable, so set aside several hours for farming Orctraps.
- Teamwork makes the dream work: Communication is essential. Ensure everyone in your party knows their role and is ready for the long haul.
- Have fun: Remember, this is a game. Enjoy the hunt, the teamwork, and the thrill of the fight!
With this guide, you’re well-equipped to face King Arthro head-on. Good luck, and may your adventures in Vana’diel be epic and rewarding!
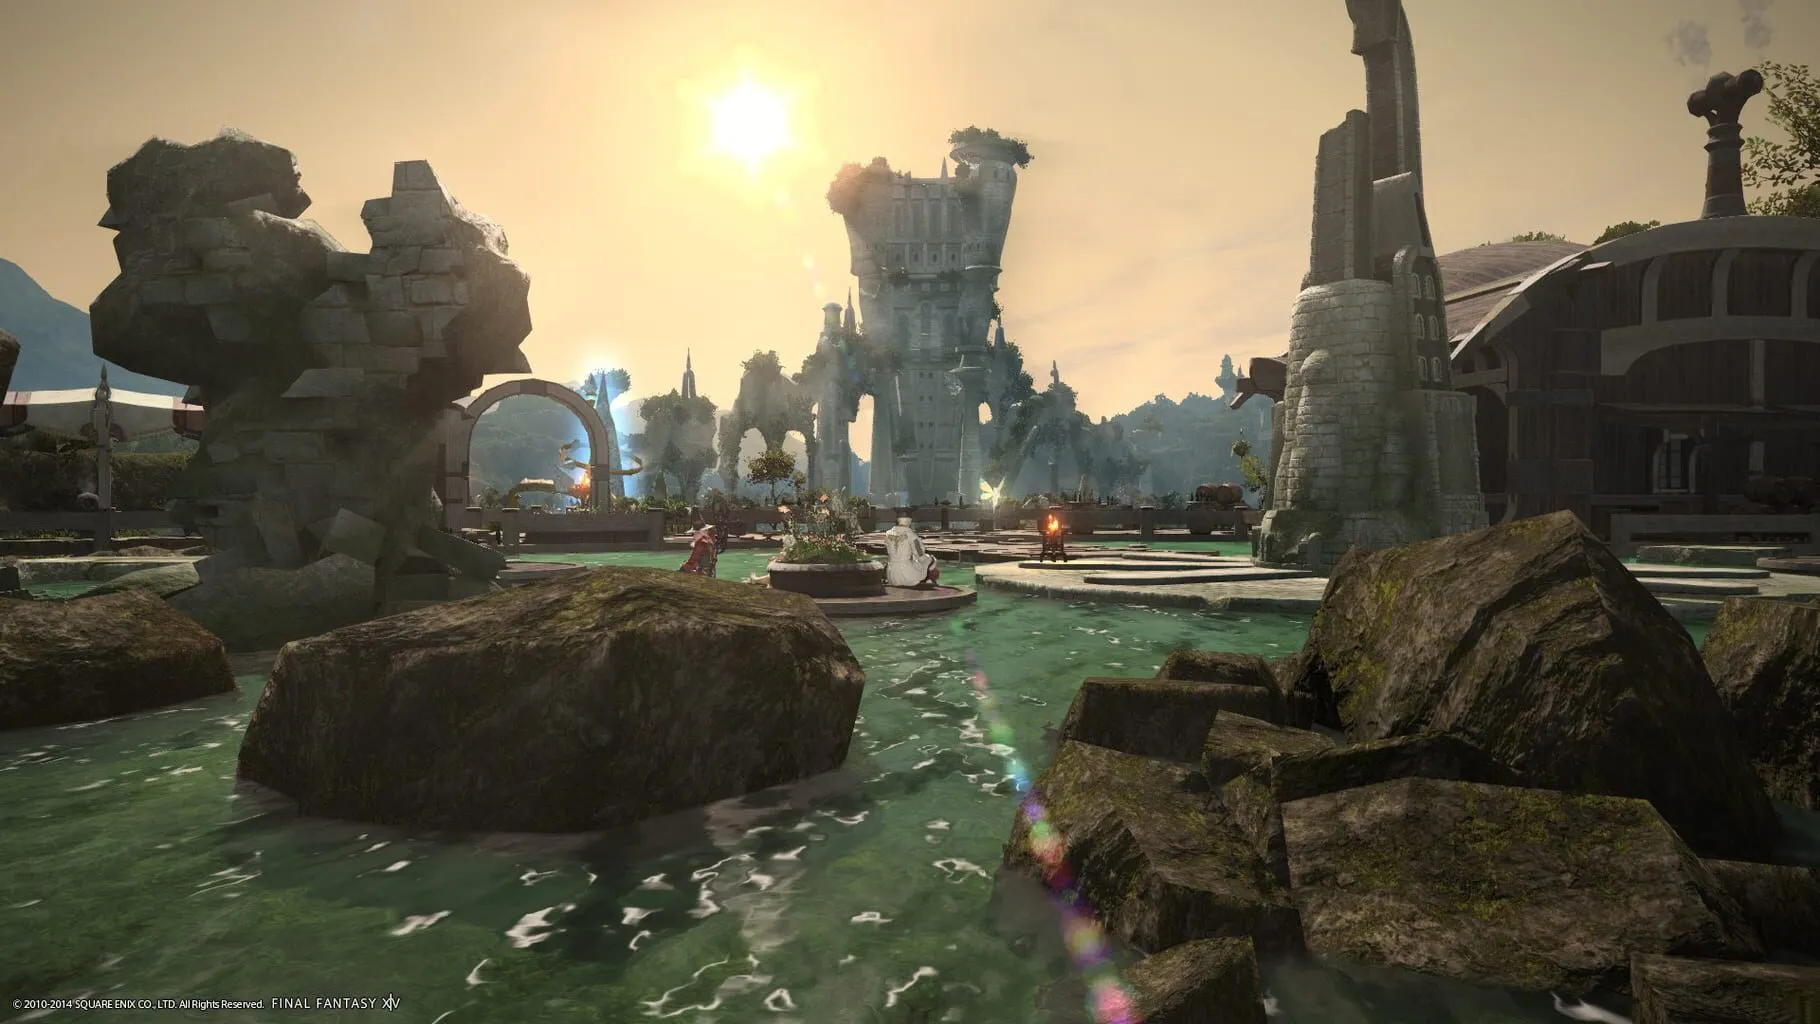
Behemoth
If you’re diving into Final Fantasy XI’s “Dragon’s Aery” dungeon, you’re going to want to keep an eye out for the Behemoth. This massive beast is one of the more challenging enemies you’ll face, but with a good strategy, you can take it down. Let’s break down everything you need to know to conquer this colossal foe.
Spawning and Locations
Behemoth spawns in the “Dragon’s Aery” dungeon, which is a hotspot for high-level players looking for rare drops and tough fights. Be prepared for some competition as it’s often camped by other players.
- Spawn Window: Behemoth has a spawn window of approximately 21-24 real-time hours after its last defeat.
- Location: It typically spawns in the central area of the dungeon. Keep your map open and look for the largest open space, as Behemoth needs a lot of room.
Fight Mechanics
Understanding Behemoth’s mechanics is key to defeating it. Here’s what to watch out for:
- Meteor: One of Behemoth’s deadliest attacks. It targets players in the area with a huge burst of damage. Spread out to avoid multiple hits.
- Thunderbolt: This move causes significant lightning damage and can paralyze players. Equip items to resist lightning and have a healer ready to cure paralysis.
- Warp II: Behemoth likes to randomly warp players away, which can disrupt your party’s positioning. Stay on your toes and regroup quickly if this happens.
Recommended Party Setup
To take down Behemoth, you’ll want a balanced party. Here’s a suggested setup:
- Tank: One Paladin or Warrior to hold Behemoth’s attention and absorb damage.
- Healers: At least two White Mages to keep the tank and party members healthy.
- DPS: A mix of Black Mages and Rangers for long-range attacks, plus a couple of melee DPS like Thieves or Samurai.
- Support: A Bard or Red Mage for buffs and emergency heals.
Strategy Tips
Use these tips to increase your chances of success:
- Positioning: Have your tank position Behemoth facing away from the party. This minimizes the damage from frontal attacks.
- Debuffs: Regularly cast debuffs on Behemoth to lower its defense and damage output.
- Buffs: Keep buffs up on your party members to boost their defense and resistances, particularly against lightning damage.
- Cooldowns: Save your biggest cooldowns for Meteor phases. The extra burst of healing or damage can be the tipping point.
Gear and Preparation
Before engaging Behemoth, ensure your party is well-prepared:
- Protect and Shell: Essential for reducing incoming damage.
- Paralyna: Keep this spell handy for curing paralysis from Thunderbolt.
- Echo Drops: Have these in your inventory to cure Silence, as some of Behemoth’s abilities may inflict it.
Rewards
Defeating Behemoth isn’t just for bragging rights. The loot drops can seriously upgrade your gear:
- Behemoth Hide: Used to craft high-level armor.
- Behemoth Horn: An essential crafting material for powerful weapons and shields.
- Rare Equipment: Occasionally, Behemoth drops rare, high-tier equipment that can make a significant difference.
Final Thoughts
Behemoth is a tough but rewarding challenge in Final Fantasy XI. With the right preparation and strategy, you and your party can take down this legendary beast and enjoy the spoils. Remember to stay patient and persistent – every defeat brings you one step closer to mastering the fight. Happy hunting!
Drops in Dragon’s Aery
In Final Fantasy XI, treasure and loot are a major part of the game’s allure, and Dragon’s Aery is no exception. Located within the high cliffs of Meriphataud Mountains, this dungeon is notorious not just for its intense battles, but for the incredible drops that players covet. Here’s a detailed guide on the drops you can expect to find in Dragon’s Aery and how to maximize your haul.
Regular Enemies
While trekking through Dragon’s Aery, you’ll encounter various enemies, each with its own set of drops. While these aren’t always the rarest items, they’re useful and can enhance your overall gameplay. Here’s what you can typically find:
Wivres and Aerns
- Wivre Mauls: Although not super valuable, they’re good for trading.
- Aern Organs: Useful for crafting certain high-level items.
Dragonoids
- Dragon Talons: These are sought-after crafting materials.
- Dragon Meat: Rare, but great for cooking high-level dishes.
Notorious Monster: Fafnir
Fafnir is the prime target for many adventurers entering Dragon’s Aery. Known for dropping some of the most desirable loot in the game, it’s a fight worth preparing for. Here’s what you might get after slaying Fafnir:
- Ridill: This rare sword is a trophy item with an impressive multi-hit capability.
- A. Abjuration: Bd. (Body): Used in crafting powerful armor.
- Hrotti: A sword with useful stats for tank players.
Notorious Monster: Nidhogg
An even more terrifying variant of Fafnir, Nidhogg appears once every few real-world days. The loot that Nidhogg drops is even more coveted, and for good reason:
- E. Body: This drop is highly sought after for its unparalleled stats.
- A. Abjuration: Hd. (Head): Another crafting item for top-tier helmets.
- Valkyrie’s Fork: A versatile polearm for Dragoon players.
Strategies for Max Drops
To maximize your odds of getting the best loot, teamwork and preparation are key. Here’s how you can up your game:
- Form a Solid Party: Ensure you have a balanced team that can tackle not just regular enemies but also the notorious monsters.
- Know the Timings: Notorious monsters spawn at specific times. Track these to avoid long waits.
- Use Treasure Hunter: Thief class abilities like Treasure Hunter can increase the likelihood of rare drops.
Selling and Trading
Once you’ve obtained these precious items, you might wonder about selling or trading them:
- Auction House: Many high-tier items fetch a decent price here. Check current listings to get an idea of value.
- Player-to-Player Trading: For certain rare items like Ridill and E. Body, direct trading might be more lucrative.
- Crafting: Some drops are best used for crafting high-level gear. If you have a skilled crafter, transforming raw materials into gear can sometimes yield a better return.
Conclusion
Navigating through Dragon’s Aery is challenging, but the drops make the risk worthwhile. By knowing what enemies drop which items and how to optimize your chances with the right strategy, your adventures in this dungeon can be incredibly rewarding. Happy hunting!