
Emerging from Vault 101 into the vast expanse of the Capital Wasteland, the importance of robust armor can’t be overstated. Whether you’re dodging Deathclaw swipes, evading Raider gunfire, or simply traversing the irradiated landscape, your armor isn’t just your shield, it’s your second skin. In the world of Fallout 3, crafting the perfect armor setup is as critical to survival as scavenging for water, ammo, and stimpacks. Welcome to the definitive guide to armor and protection in Fallout 3, where we’ll break down armor types, stats, locations, maintenance, and tactics to ensure you’re well-prepared for whatever the Wasteland throws at you.
Armor Types
In the varied landscapes of Fallout 3, from the haunting ruins of DC to the desolate plains of the Wasteland, the diversity in armor types is rivaled only by the assortment of threats you’ll face.
- Vault Suits: Starting gear, but don’t let its standard appearance fool you. Upgrades and alterations can make it surprisingly effective for the early game.
- Leather Armor: The first step up for those looking to balance mobility with a decent damage threshold.
- Metal Armor: Heavier, clunkier, but offers stellar protection against melee and ranged enemies alike. Think twice before donning this during a lengthy expedition, as it can sap your agility.
- Combat Armor: The quintessential balance between defense and dexterity. Ideal for those who prefer a run-and-gun approach.
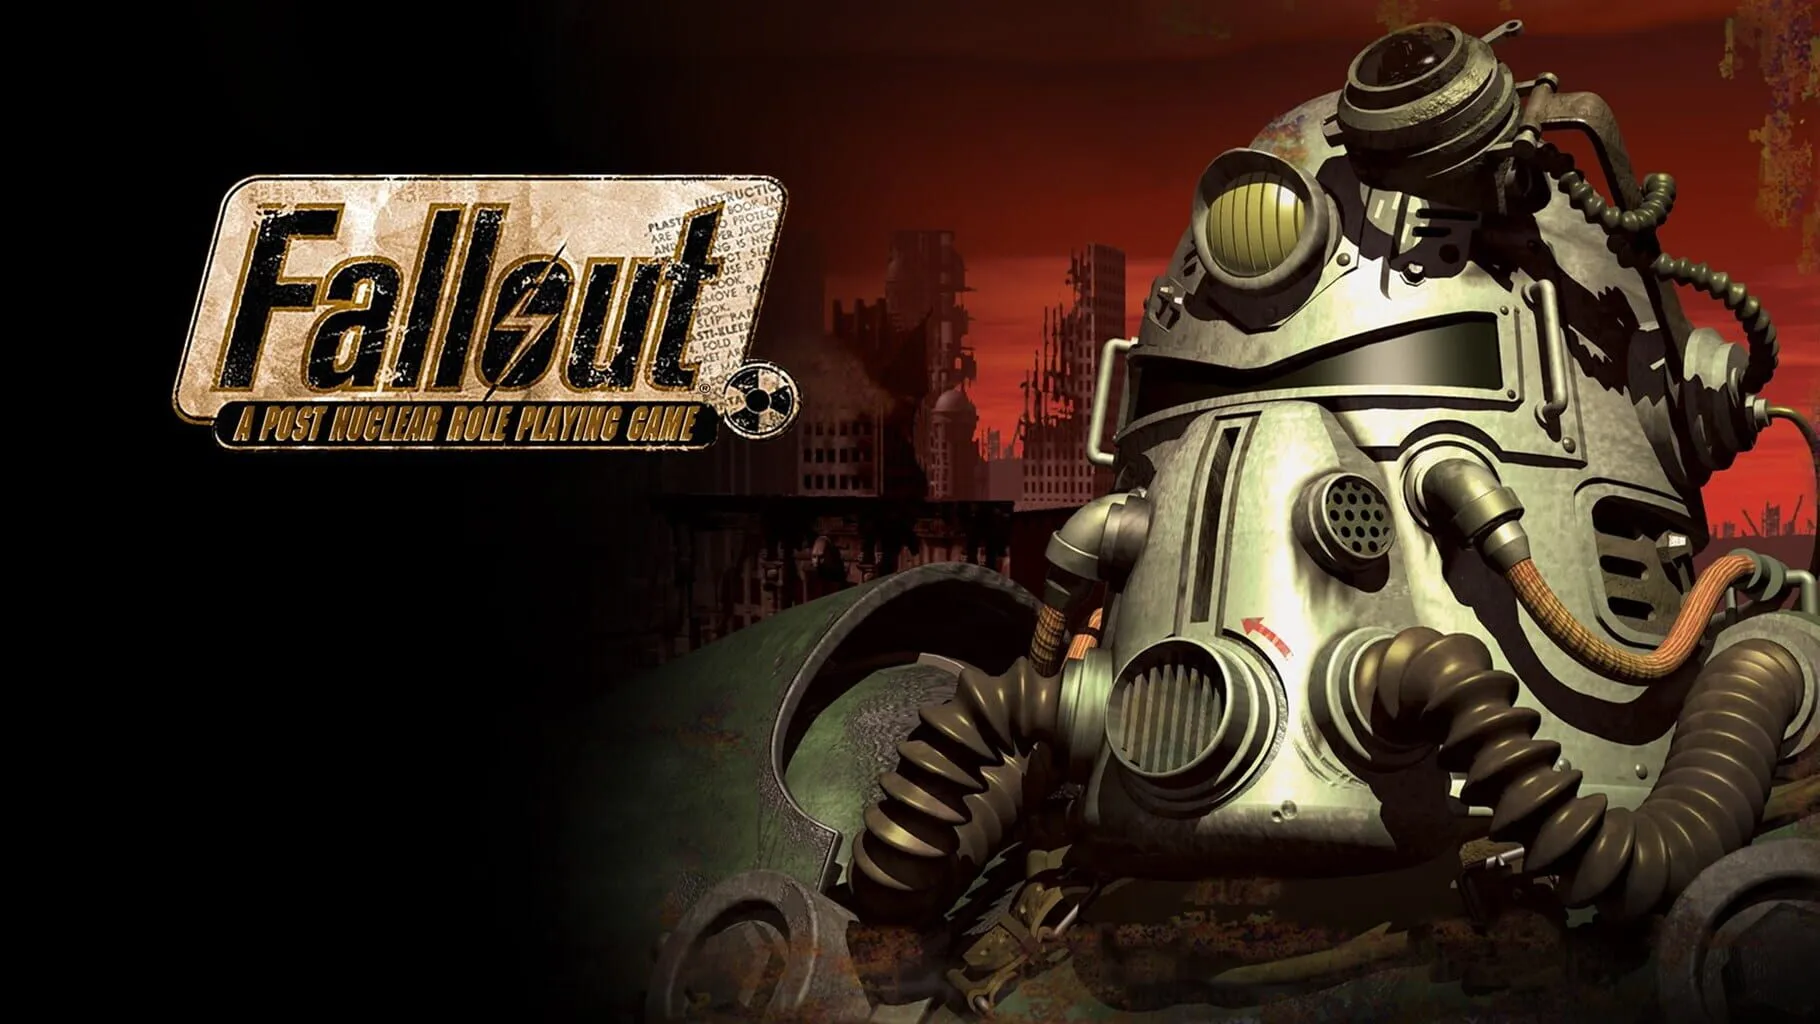
- Power Armor: The juggernaut of all armor types. Requires training to use effectively, but once you’re able, you become a walking tank. Also, it’s quite the fashion statement.
- Specialized Gear: This includes unique variants and faction-specific attire like the Enclave Armor, Raider Gear, or Brotherhood of Steel outfits, each with its own perks and drawbacks.
Armor Stats
Mastering the art of armor means getting to grips with the stats system. Fallout 3 breaks down armor efficacy into a few key areas:
- Damage Resistance (DR): This percentage shows how much damage your armor can deflect. The higher, the better.
- Weight: This affects your carrying capacity and agility. Overloading on weight can hinder your ability to flee or chase down targets.
- Condition: Armor effectiveness is tied to its condition. A freshly repaired suit can be a lifesaver, while a battered outfit barely offers more protection than your skin.
- Special Attributes: Some armor types come with bonuses, like enhanced stealth, additional carrying capacity, or boosts to specific skills like Small Guns or Energy Weapons.
Armor Locations
Scouring the Wasteland for top-tier armor can be as risky as it is rewarding. Here are prime spots to gear up:
- Megaton: Early in the game, Craterside Supply can hook you up with basic upgrades like Leather or Metal Armor.
- Rivet City: The market holds a wider variety, including Combat Armor. Keep an eye on your Caps!
- Power Armor Training: Post-The Waters of Life quest, you gain access to the Citadel, where you can earn your stripes to wear Power Armor.
- Unique Finds: Quests often reward the diligent with unique armor pieces. For example, finishing “The Superhuman Gambit” can net you the AntAgonizer’s or Mechanist’s costume.
- Exploration: Never underestimate the value of exploring. The most unexpected locations can hide extraordinary gear.
Armor Maintenance
Maintaining your armor is not a suggestion; it’s a necessity. Here’s how to keep your defenses at their peak:
- Repair: Use identical armor pieces to repair and boost the condition of your gear. Alternatively, merchants and certain NPCs can fix your equipment for a fee. Remember, higher Repair skill means better condition and more protection.
- Mods and Upgrades: Some armor types can be enhanced with specific upgrades, improving their stats or adding new functionalities.
- Careful Wear: Choosing the right armor for the right situation can preserve its condition longer. Save heavier gear for the fiercest battles.
Armor Tactics
Finally, the art of warfare isn’t just about what you wear; it’s about how you use it. Here are tactical considerations to dominate the Wasteland:
- Know Your Enemy: Adjust your armor based on who or what you’re facing. Power Armor is overkill for roaming Radroaches, but invaluable against a Super Mutant Behemoth.
- Environmental Awareness: Heavy armor in the metro tunnels can be claustrophobic and slow you down, making you easy prey for Ghouls. Conversely, open areas benefit from heavy-duty gear.
- Mix and Match: Sometimes, the best outfit is a combination. Wearing a piece with a high radiation resistance can be a lifesaver in contaminated zones, even if the overall DR is lower.
- Stealth Operations: Opting for lighter, stealth-enhancing gear can make the difference between getting the drop on your enemies or walking into an ambush.
Your journey across the Capital Wasteland will be fraught with peril at every turn. But with the right knowledge and preparation, your armor can make you untouchable. Whether you’re a stealthy scavenger or a brazen brawler, there’s a setup that’s perfect for your playstyle. So suit up, Wanderer. It’s a big, dangerous world out there, and you’re not just surviving it—you’re conquering it.
In Fallout 3, your armor is more than just protection. It’s a statement. It tells the story of your journey, your battles, and your victories. So choose wisely, repair often, and always be on the lookout for that next legendary piece of gear that could turn the tide of battle in your favor. Remember, in the Capital Wasteland, the right armor doesn’t just save your life—it defines it.