
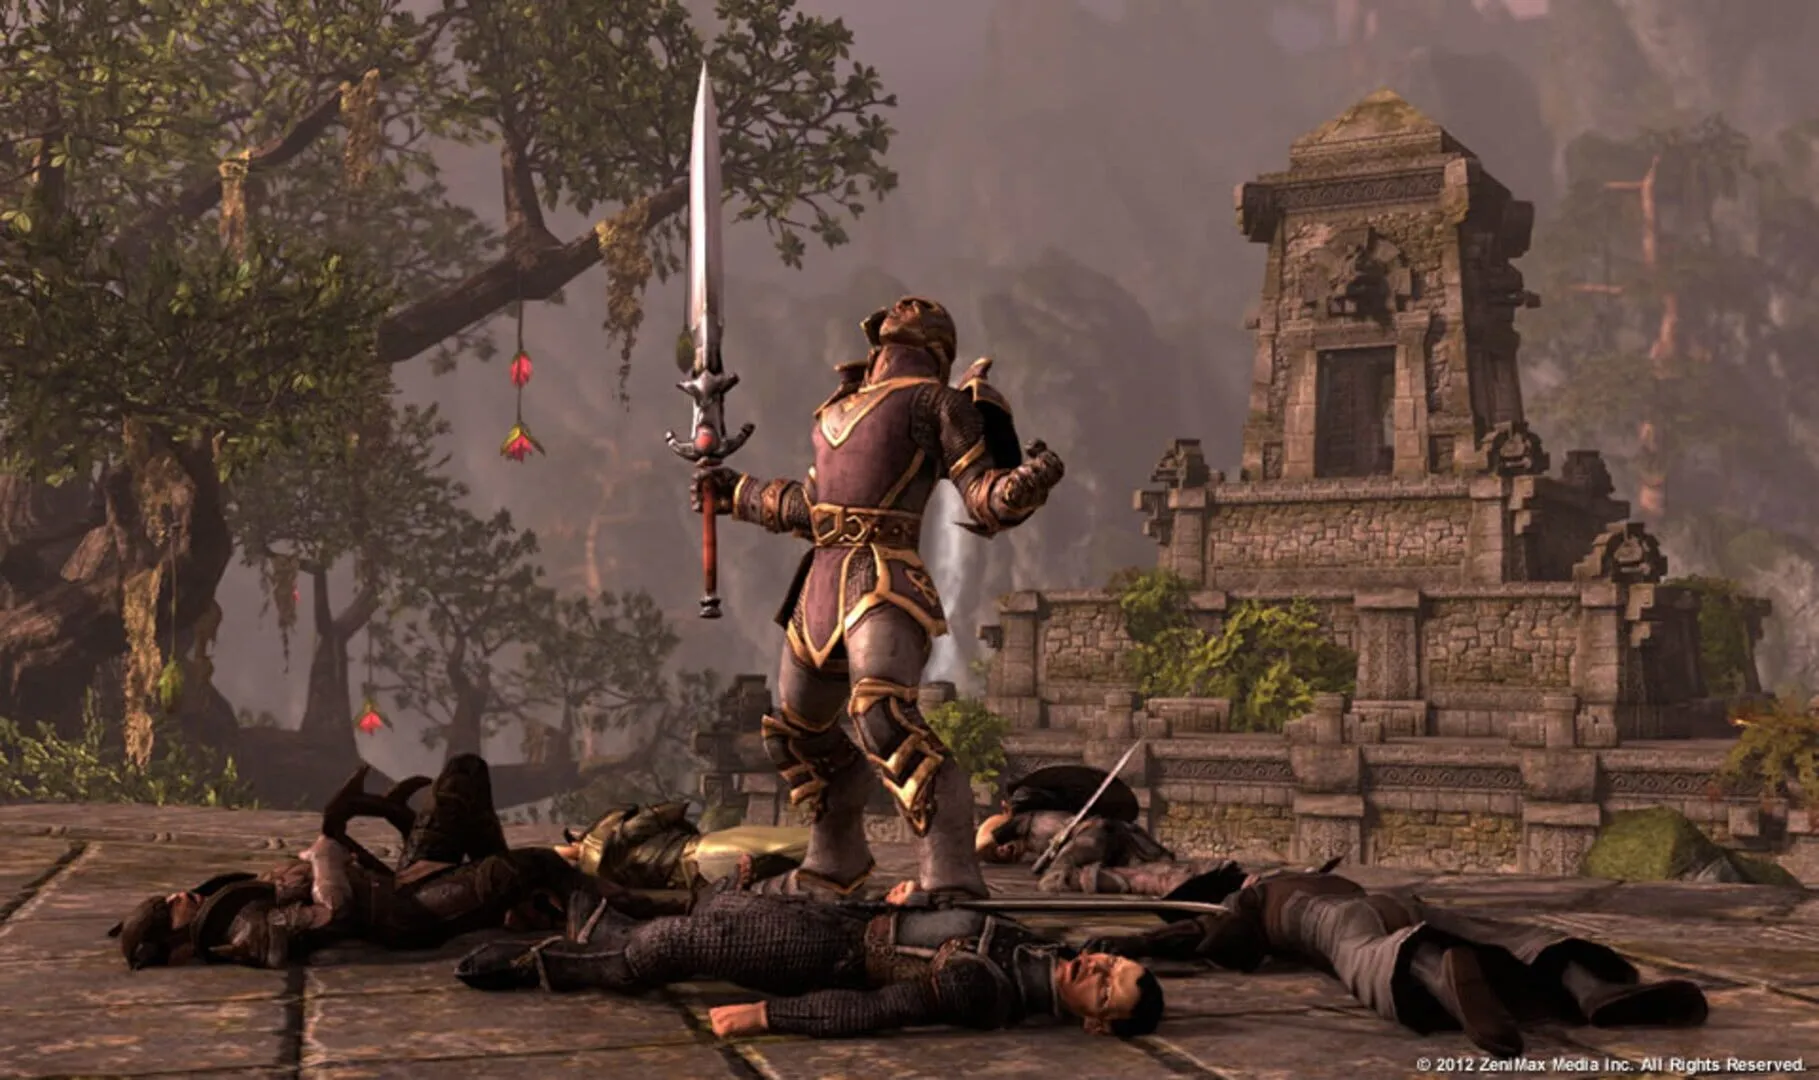
Welcome to our comprehensive ESO: Blessed Crucible Dungeon Guide, your ultimate companion to conquering one of The Elder Scrolls Online’s most thrilling and fiery dungeons! Whether you’re a seasoned adventurer or a newcomer eager to dive into the depths of Tamriel, this guide is packed with essential tips and strategies to help you face and defeat the formidable bosses that lurk within. Get ready to meet Grunt the Clever, navigate the eerie realm of Teranya the Faceless, withstand the fiery wrath of the Lava Queen, outsmart the ferocious Fire Maw, and overcome the deadly Dro’zakar. Strap on your armor and sharpen your blades, because the Blessed Crucible awaits!
Grunt the Clever
If you’re venturing into the Blessed Crucible dungeon in The Elder Scrolls Online, be prepared for a face-off with Grunt the Clever. This boss might not be the final one you’ll face, but he’s got some tricks up his sleeve that can trip up unprepared adventurers. Here’s everything you need to know to conquer Grunt the Clever.
Who is Grunt the Clever?
Grunt the Clever is an Argonian with a penchant for traps and quick strikes. Despite seeming like your average run-of-the-mill dungeon boss, Grunt’s ingenuity and tactical acumen can make him a formidable opponent.
Key Mechanics and Abilities
Grunt the Clever is all about traps and swordplay. Here are the main mechanics you need to watch out for:
- Trap Placement: Throughout the fight, Grunt will place various traps around the arena. These traps can deal significant damage or apply debuffs, so keep an eye out and avoid them as much as possible.
- Quick Strikes: He uses a series of rapid, hard-hitting attacks. These strikes can quickly whittle down the health of even the sturdiest tank.
- Smoke Bomb: Occasionally, Grunt will throw a smoke bomb to obscure the battlefield. This can make it challenging to see the traps and the boss himself, so players need to stay vigilant.
Strategy to Beat Grunt the Clever
Here’s a step-by-step strategy to help you and your team take down Grunt the Clever:
Trap Awareness: The most crucial part of this fight is being aware of the traps Grunt places. Designate one team member to call out the traps’ locations so everyone can avoid them. Keeping an eye on the ground and listening to your designated spotter can save you a lot of grief.
Positioning: Try to fight Grunt near the center of the arena. This minimizes the chance of accidentally running into a trap. Tanks should be ready to move Grunt if he places traps too close.
Avoiding Quick Strikes: Tanks need to block and dodge Grunt’s rapid strike abilities. Healers should be ready to provide bursts of healing if the tank takes too many hits at once. Damage dealers should focus on burst damage when Grunt’s attack patterns create a window.
Smoke Bomb: When Grunt uses his smoke bomb, ranged DPS can be advantageous. They can keep the damage flow while staying out of melee range. If you’re a melee character, try to reposition quickly and keep an eye on where Grunt might move next.
Role Breakdown
Tanks: Your job is to keep Grunt in the center of the room and away from the traps. Block his heavy attacks and use crowd control abilities to keep him in place.
Healers: Stay mobile to dodge traps and keep the team’s health topped up. Be ready to provide burst healing during his quick strike and smoke bomb phases.
DPS: Focus on avoiding traps and dealing as much damage as possible when Grunt is vulnerable. Ranged DPS should take advantage of higher visibility during smoke bomb phases.
Final Tips
- Communication is key. Make sure everyone in your team knows the plan and stays aware of their surroundings.
- Patience: Don’t rush the fight. Taking a moment to arrange and prepare can mean the difference between victory and defeat.
- Cooldowns: Save your ultimate abilities for critical moments, like during or right after the Smoke Bomb phase, to maximize damage output when Grunt is most vulnerable.
Defeating Grunt the Clever requires a combination of awareness, strategic positioning, and cooperative teamwork. Get these right, and you’ll dispatch him with minimal effort and maximum reward. Happy hunting in the Blessed Crucible!
ESO: Blessed Crucible Dungeon Guide
Subheader: Teranya the Faceless
Venturing into the Blessed Crucible in Elder Scrolls Online (ESO) can be a daunting task, especially when you come face to no-face with Teranya the Faceless. This guide aims to make your encounter with Teranya a bit easier, thanks to some handy tips and tricks.
Introduction to Teranya the Faceless
Teranya the Faceless is one of the bosses you’ll face in the Blessed Crucible, a dungeon known for testing both your skills and patience. Teranya is a powerful mage who doesn’t play games. She has a variety of magical attacks that can deal serious damage if you’re not careful. Understanding her mechanics is crucial for defeating her and progressing through the dungeon.
Abilities and Mechanics
Here’s a rundown of Teranya’s main abilities and the mechanics you’ll want to watch out for:
Meteor Storm: Teranya summons meteors that crash down from the sky. These meteors deal heavy area-of-effect (AoE) damage. When you see her start casting this, spread out to minimize the damage taken by the group.
Ice Barrage: This ability sends ice shards flying towards targeted players. It deals significant damage and can slow you down, so be ready to dodge.
Summon Minions: Throughout the fight, Teranya will summon minions to aid her. These minions can overwhelm you quickly if not dealt with. Assign one of your DPS players to focus on taking them out as soon as they appear.
Magic Absorption Shield: Teranya envelops herself in a shield that absorbs magical damage. Physical damage can still get through, so melee DPS should jump in at this point.
Strategy and Tips
Now that you know what Teranya can throw at you, let’s talk strategy.
Stay Mobile: The key to surviving Teranya’s Meteor Storm and Ice Barrage is movement. Keep an eye on her and be ready to dodge or move out of the AoE zones. This will help keep your health bar in the green.
Deal with Adds Quickly: When Teranya summons her minions, take them down fast. If left alone, they can overwhelm your group, especially if you’re struggling to avoid her other attacks.
Focus Fire: Coordinate with your group to keep focused fire on Teranya during moments when she is vulnerable. This means paying attention to when her Magic Absorption Shield is down.
Use Tank and Healer Wisely: Your tank should keep Teranya’s attention and position her away from the rest of the group whenever possible. Healers need to be ready to heal any burst damage from her AoE attacks.
Communication is Key: Clear communication can make or break this fight. Make sure everyone in your group knows their role and when to switch targets from the boss to the minions and back.
Final Moments
As the fight reaches its final stages, Teranya’s attacks will become more frequent and intense. Stay sharp and stick to your strategy. Keeping your DPS high and managing mechanics will ensure your victory. Once defeated, Teranya drops some useful loot that can help you as you continue through Blessed Crucible.
Conclusion
Facing Teranya the Faceless can be a tough challenge, but with this guide, you and your group should be well-prepared. Remember to stay mobile, take out her minions quickly, and focus your attacks appropriately. Good luck, and may your loot be legendary!
Lava Queen
The Lava Queen is the final boss in the Blessed Crucible dungeon in Elder Scrolls Online. She’s no pushover, so you’ll need to bring your A-game and some solid teamwork to take her down. Here’s how to tackle her fiery wrath and soften her molten heart!
Location
The Lava Queen is found in the last section of the Blessed Crucible dungeon. To get there, you’ll need to work through waves of enemies and other challenging bosses. Make sure you’re well-prepared because by the time you reach her, your resources might already be running low.
Abilities
The Lava Queen has a variety of fire-based abilities that can wipe unprepared groups. Here’s what you need to watch out for:
- Lava Pools: She summons lava pools on the ground. Standing in them will cause you significant damage over time. Keep moving to avoid burning up.
- Fireballs: She hurls massive fireballs that deal heavy damage. Try to dodge these or use a shield ability.
- Flame Circle: She creates a ring of fire around her. Don’t stand too close when she does this or you’ll get fried.
- Summon Minions: Throughout the fight, she’ll call forth fiery minions. Deal with these quickly so they don’t overwhelm the group.
Strategy
To succeed, you need to focus on teamwork and situational awareness. Here’s a solid approach for your group:
Tanks
The tank should focus on keeping the Lava Queen’s attention. Position the boss away from the rest of the group to avoid excessive damage from her attacks. Move her out of the lava pools and keep her facing away from your allies. Use defensive abilities to mitigate the damage from her fireballs.
DPS
Damage dealers should focus on avoiding fireballs and staying out of lava pools. Burst her down during windows when she’s not casting her strongest abilities. When she summons minions, prioritize taking them out swiftly to avoid getting overrun. Always keep an eye on your surroundings for flame circles.
Healers
Healers need to stay on their toes. Healing over time (HoT) spells work great here given the persistent AoE damage. Pay special attention to the tank and DPS who might get careless and stand in lava pools. Save your strongest heals for moments when the Lava Queen uses her more devastating attacks.
Tips
- Communication is Key: Make sure to communicate with your team. Call out when you see her casting lava pools or fireballs.
- Use AoE Abilities: Since she summons minions, AoE attacks can help manage them quickly.
- Stay Mobile: Constantly move to avoid standing in damaging zones and to dodge fireballs.
Aftermath
Once the Lava Queen is defeated, make sure to loot her for some epic rewards! Plus, taking her down will earn you some serious bragging rights. Don’t forget to revive any fallen comrades and congratulate your group on a job well done.
Final Thoughts
The Lava Queen is a fiery challenge, but with teamwork, the right strategy, and quick reflexes, you can put out her flames. Make sure to prepare well, communicate with your group, and keep your cool under pressure. Good luck in the Blessed Crucible!
Remember to check back for more guides and tips to master your adventures in Elder Scrolls Online!
Fire Maw
Alright adventurers, it’s time to face one of the trickier bosses in the Blessed Crucible dungeon: Fire Maw. This fiery beast isn’t your average dragon—it combines intense fire-based attacks with some nasty physical hits. Get ready, because strategy is key to surviving this battle.
Where to Find Fire Maw
You’ll encounter Fire Maw roughly halfway through the Blessed Crucible dungeon. After navigating through groups of Daedric beasts and fiery corridors, you’ll find the path leading to a large arena. It’s here where Fire Maw makes its dramatic entrance. Make sure your team is prepared before stepping into the ring.
Fire Maw’s Abilities
Fire Maw has a variety of abilities that you’ll need to watch out for. Here’s a breakdown of what you should expect:
- Fire Breath: Fire Maw will breathe a cone of fire in front of him. This deals heavy damage and can hit multiple players if they are clumped together. Tanks need to face the boss away from the group to minimize risk.
- Tail Swipe: If you’re standing behind Fire Maw, watch out for its tail swipe. This attack deals large physical damage and can knock players down. Ranged DPS and healers should position themselves to the sides, not directly behind.
- Fiery Geysers: Randomly during the fight, fiery geysers will erupt from the ground. These deal area-of-effect (AoE) damage over time. Players need to stay mobile and avoid standing in these flames.
- Charge: Fire Maw occasionally charges at a random player, dealing damage and knocking down anyone in its path. Keep an eye out and dodge-roll to the side when you see this coming.
Strategy and Tips
1. Positioning is Everything
The tank should face Fire Maw away from the group to avoid the Fire Breath attack hitting multiple players. Everyone else should spread out to the sides to minimize damage from tail swipes and to dodge fiery geysers more easily.
2. Stay on the Move
Fire Maw’s abilities often require quick reaction times. Encourage your team to stay mobile. This increases your chances of dodging the Charge attack and avoiding AoE damage from the fiery geysers.
3. Coordination is Key
Communication is crucial. The tank should call out when Fire Maw is about to charge, and ranged players should consistently keep an eye on their spacing and distance from both the boss and each other.
4. Use Defensive Cooldowns
Healers should be ready with AoE healing spells and defensive buffs. Players should not hesitate to use their personal defensive abilities when taking heavy damage, particularly during the Fire Breath and Charge attacks.
Team Composition
A balanced team composition will help make this encounter smoother:
- Tank: Essential to keep Fire Maw’s attention and properly position it away from the group.
- Healer: Needs strong AoE heals and the ability to keep up with mobility requirements.
- DPS: Both melee and ranged should be vigilant about positioning to maximize damage while avoiding attacks.
Final Thoughts
Fire Maw can be a tough challenge, but with good positioning, quick reactions, and solid teamwork, you’ll bring this fire-breathing menace down. Remember, communication is your best friend in this fight. Stay sharp, stay mobile, and watch each other’s backs to emerge victorious from the Blessed Crucible. Happy hunting, adventurers!
ESO: Blessed Crucible Dungeon Guide
Dro’zakar
Dro’zakhar is a formidable opponent in The Elder Scrolls Online’s Blessed Crucible dungeon. This Khajiit beastmaster is a master of tigers, and he brings his ferocious furry friends into the battle to overwhelm you. Let’s break down how to tackle Dro’zakhar and come out victorious.
Before the Fight
Before engaging Dro’zakhar, make sure your group is well-prepared. Ensure your tank is ready to maintain aggro and your healers are prepared for intense healing periods. Damage dealers (DPS) should be ready to deal with both Dro’zakhar and his summoned tigers.
Key Abilities to Watch Out For
- Ferocious Tigers: Dro’zakhar summons two powerful tigers during the fight. These tigers can deal a ton of damage if not managed properly.
- Fire Traps: He sets up fire traps around the arena that can inflict serious damage if you or your team step in them.
- Pounce Attack: Dro’zakhar will leap at a random player, dealing heavy damage if not dodged.
Strategies
1. Positioning
Dro’zakhar’s arena is circular, with limited space to maneuver. Spread out to avoid multiple members being hit by his fire traps and pounce attacks. Ensure the tank keeps Dro’zakhar facing away from the group to minimize damage to others.
2. Managing the Tigers
Right after Dro’zakhar calls his tigers, focus fire on them immediately. They are easier to take down than he is, and reducing the number of active threats will help your group’s survivability. The tank should try to grab their attention as soon as possible to prevent them from attacking the healers or damage dealers.
3. Avoiding Fire Traps
These traps can be hard to see in the heat of the fight. Keep an eye on the ground and try to stay mobile. If you notice Dro’zakhar placing a trap near you, move away quickly to avoid getting caught in the flames.
4. Dealing with His Pounce Attack
When Dro’zakhar targets you with his pounce attack, roll dodge to minimize or avoid the damage. It’s crucial to stay light on your feet and be ready to react when he telegraphs this move.
Team Roles in Detail
Tank: Your job is to keep Dro’zakhar’s attention and take the brunt of his direct physical attacks. While managing Dro’zakhar, be alert for the tigers when they spawn and try to corral them so DPS can take them down quickly.
Healer: Position yourself away from the thick of the action but stay within range to heal anyone who needs it. Watch for players stepping into traps and use healing over time (HoT) spells to mitigate ongoing damage from fire traps and tiger attacks.
Damage Dealers (DPS): Focus on burst damage for the tigers first. Once they are down, switch to Dro’zakhar and hit him hard. Keep moving to avoid fire traps and be ready to dodge his pounces.
Final Tips
- Communication: Stay in constant communication with your team, calling out traps and tiger spawns.
- Stamina Management: Avoid burning through your stamina too quickly. Reserve enough for crucial dodges, especially during his pounce attack.
- Ultimate Abilities: Save your ultimate abilities for when the tigers spawn or if things get out of control. A well-timed ultimate can turn the tide of the battle.
With these strategies and some teamwork, Dro’zakhar will be just another trophy in your collection. Good luck out there, adventurers!