
Embark on a thrilling adventure with our comprehensive ESO: Blackheart Haven Dungeon Guide! Dive deep into the treacherous pirate lair of Blackheart Haven, where danger and hidden treasures await at every turn. This guide will arm you with essential strategies and tips to conquer each formidable foe within the dungeon, including the elusive Iron-Heel, the cunning First Mate Wavecutter, the monstrous Atarus, the spectral Hollow Heart, and the dreaded Captain Blackheart himself. Prepare to navigate through perilous encounters, uncover valuable loot, and emerge victorious in one of Elder Scrolls Online’s most challenging dungeons!
Iron-Heel - The Swift and Deadly Pirate Captain
When you’re diving into the Blackheart Haven dungeon in Elder Scrolls Online, you’ll inevitably come face-to-face with one of its trickier bosses, Iron-Heel. This pirate captain may be quick, but with the right strategy, you can slice through his devious tactics and emerge victorious. This guide will walk you through what to expect, how to counter his moves, and some tips to make your encounter easier.
Who is Iron-Heel?
Iron-Heel is a notorious pirate captain known for his speed and ruthless strategies. He’ll test your reflexes and your team’s coordination, so be ready for a high-energy fight. Think of him as the “Usain Bolt of pirates” – fast, elusive, and a bit of a show-off.
Getting There
Iron-Heel is stationed on the second ship within the Blackheart Haven dungeon. To reach him, you’ll need to clear through some challenging groups of pirate enemies. Make sure you conserve your resources and keep your party healed up as you approach his area. You don’t want to start the boss fight weakened and depleted.
The Fight
When you engage Iron-Heel, here’s what you’ll need to watch out for:
Mechanics
Quick Strike
- Description: True to his name, Iron-Heel’s primary attack is a fast melee strike aimed at your tank. It’s nothing too fancy but can stack up damage quickly.
- Tip: Healers, keep an eye on the tank’s health and have your burst healing ready.
Whirlwind
- Description: Iron-Heel spins around, dealing AoE (Area of Effect) damage to all players near him. Getting caught in this can knock off a chunk of your health.
- Tip: Avoid close proximity unless you’re a melee DPS who knows how to time dodges. Ranged DPS having a field day from the backlines is ideal here.
Summon Crewmates
- Description: Throughout the fight, Iron-Heel will call for backup. These aren’t just fodder; they can quickly overwhelm your party.
- Tip: Designate one DPS to focus on adds while others keep the pressure on Iron-Heel. Don’t let them gang up on your healer or damage dealers.
Fleet Footed
- Description: Iron-Heel occasionally dashes across the battlefield, dealing damage to anyone in his path. It’s fast and can be hard to dodge if you’re not paying attention.
- Tip: Stay mobile. If you see him start this move, get ready to dodge-roll out of the way.
Strategy
Group Positioning
- Tanks keep Iron-Heel faced away from the rest of the party to minimize unsuspecting AoE hits.
- DPS should spread out to avoid being caught in the Whirlwind and to make it harder for Iron-Heel to dash through multiple members.
- Healers position yourself centrally but at a safe distance. You need to be able to reach everyone but not be an easy target.
Priority on Adds
- Assign one DPS to handle the summoned crewmates quickly. Ignoring them can lead to your team getting swamped.
Cooldown Management
- Save key cooldowns for add waves or when Iron-Heel uses Whirlwind and Quick Strike in rapid succession. This burst damage phase can be dangerous if not managed properly.
After Defeating Iron-Heel
Once you’ve successfully sent Iron-Heel to Davy Jones’ locker, don’t forget to loot. He drops valuable gear and possibly a piece of the Blackheart Haven set, which could be a fantastic addition to your arsenal.
Quick Tips
- Communication: Make sure your team is constantly talking. Call out enemy positions and mechanics.
- Adaptation: Be ready to switch roles on the fly. If your dedicated add-killer is down, someone else needs to step up.
- Positivity: Boss fights like these can be frustrating. Keep morale high and encourage each other.
With this detailed breakdown, you’re now prepped to take on Iron-Heel with confidence. Good luck in Blackheart Haven, and may your sails always catch the wind!
ESO: Blackheart Haven Dungeon Guide
First Mate Wavecutter
Navigating through the treacherous waters of the Blackheart Haven dungeon, you’ll eventually encounter one of its memorable bosses: First Mate Wavecutter. This slippery pirate is more than just another baddie. Here’s a complete guide to taking him down with ease.
Location in Blackheart Haven
First Mate Wavecutter can be found within the interior of the pirate-infested island, often lurking near the shipwreck areas. Be prepared for tight corridors and sudden ambushes by mobs as you approach his lair.
Initial Setup
Before engaging Wavecutter, clear out the surrounding enemies. They can become a nuisance if they interfere during the fight. Your group should include the following:
- Tank: Essential for controlling Wavecutter.
- Healer: Keep everyone’s health up, especially during his AoE attacks.
- DPS: Focus fire to take him down swiftly.
Boss Abilities
First Mate Wavecutter has a set of skills that can pose a challenge if you’re unprepared:
Teleport Slash: Wavecutter will periodically teleport to a random player and slash them, dealing heavy damage. Stay spread out to minimize its impact.
Summon Waves: He’ll summon waves of water that push players back and deal damage over time. Position yourself away from the edges to avoid being swept off.
Hook Throw: He throws a hook that pulls a player towards him, inflicting damage and slowing them. Tanks should try to intercept this attack.
Tidal Strike: His most devastating move, a large cone attack that can wipe out unsuspecting players. Tanks should turn Wavecutter away from the group to reduce casualties.
Strategy
- Positioning: The tank should maintain aggro and face Wavecutter away from the group, minimizing the risk from Tidal Strike.
- Spread Out: Ensure group members are spread out to reduce damage from Teleport Slash.
- Dodge and Avoid: Keep an eye on his casting animations and dodge roll away from Tidal Strike and Summon Waves whenever possible.
- Interrupts: Skills like Hook Throw can be interrupted. Assign someone to interrupt these to make the fight smoother.
Group Role Tips
- Tank: Keep drawing Wavecutter’s aggro, face him away from the group, and be ready to move him if needed to avoid Summon Waves.
- Healer: Watch for players hit by Teleport Slash and those pulled by Hook Throw. Position yourself in a central area for easy access to the whole team.
- DPS: Focus on consistent damage but be ready to dodge Teleport Slash and other area effects. Help with interrupts when possible.
Loot and Rewards
Successfully defeating First Mate Wavecutter will reward you with a mix of gold, gear suited to your level, and occasionally unique items. Keep an eye out for set pieces and rare drops that can boost your character’s effectiveness.
Clearing First Mate Wavecutter is key to progressing deeper into Blackheart Haven. With strategic planning and coordinated team effort, you can send this pirate to the bottom of the sea, claiming victory and loot. Good luck, adventurers!
Atarus - The Final Flamin’ Fiery Boss of Blackheart Haven
Who is Atarus?
Atarus is the big bad you face at the end of the Blackheart Haven dungeon in Elder Scrolls Online. He’s a huge flame atronach. Think a giant, flaming rock monster that’s ready to burn anyone who gets in his way. Atarus is tough and has some tricks up his fiery sleeve, so you gotta bring your A-game to take him down.
Where to Find Him
You’ll find Atarus in the deepest part of the dungeon. You’ll have to fight through pirates, sea creatures, and all sorts of nasty things to get to him. Stay sharp, and make sure your gear and skills are in top shape.
Attacks and Abilities
Atarus has some unique and super dangerous abilities. Here’s a rundown:
Molten Wave: Atarus unleashes a huge wave of fire that hits anyone in its way. Dodge or block to avoid a lot of damage.
Lava Geysers: He’ll summon geysers of lava on the ground. These do damage over time if you stand in the flames, so move out of these spots fast!
Fiery Swipes: Atarus swings his fiery arms at players, dealing heavy melee damage. Tanks should watch out and keep him pointed away from the rest of the group.
Summon Firelings: Yep, he calls for backup. Little flame minions will join the fight. They’re not too tough but can be annoying. Take them out quickly so they don’t overwhelm you.
Strategy to Defeat Atarus
To beat Atarus, follow these tips:
Stay Mobile: Always keep moving to avoid the Molten Wave and Lava Geysers. Standing still is a sure way to get roasted.
Focus on Adds: When Atarus summons Firelings, get rid of them quickly. If left unchecked, they can make the fight much harder.
Tanks, Hold Steady: Tanks need to keep Atarus’s attention and face him away from the group. Use damage mitigation abilities to survive his heavy Fiery Swipes.
Healers, Stay Vigilant: This fight can get pretty rough. Healers need to be ready to heal through the constant damage. Keep everyone topped up, especially during the Molten Wave attack.
DPS, Go All Out: While dodging and weaving through his fiery attacks, lay down the damage. The quicker you burn him down, the less chance he has to summon his fire minions or hit you with Molten Wave.
After the Battle
Defeating Atarus will grant you sweet loot and the satisfaction of conquering one of the tougher bosses in ESO. Make sure you and your group gather up all the rewards and take a moment to pat yourselves on the back.
Now that you’ve got the lowdown on Atarus, you’re ready to jump into Blackheart Haven and show that fiery brute who’s boss. Go forth and conquer, adventurer!
Feel free to tweak your gear, abilities, and team strategy slightly to fit your playstyle. Remember, practice makes perfect, and the more you learn his patterns, the easier it’ll be to take him down. Good luck out there!
ESO: Blackheart Haven Dungeon Guide
Hollow Heart
Welcome to the Hollow Heart section of our Blackheart Haven Dungeon Guide! Blackheart Haven, found in The Elder Scrolls Online, is a pirate-themed dungeon where you’ll face challenging foes and tricky puzzles. In this part of the guide, we’ll cover everything you need to know about conquering Hollow Heart.
Location and Environment
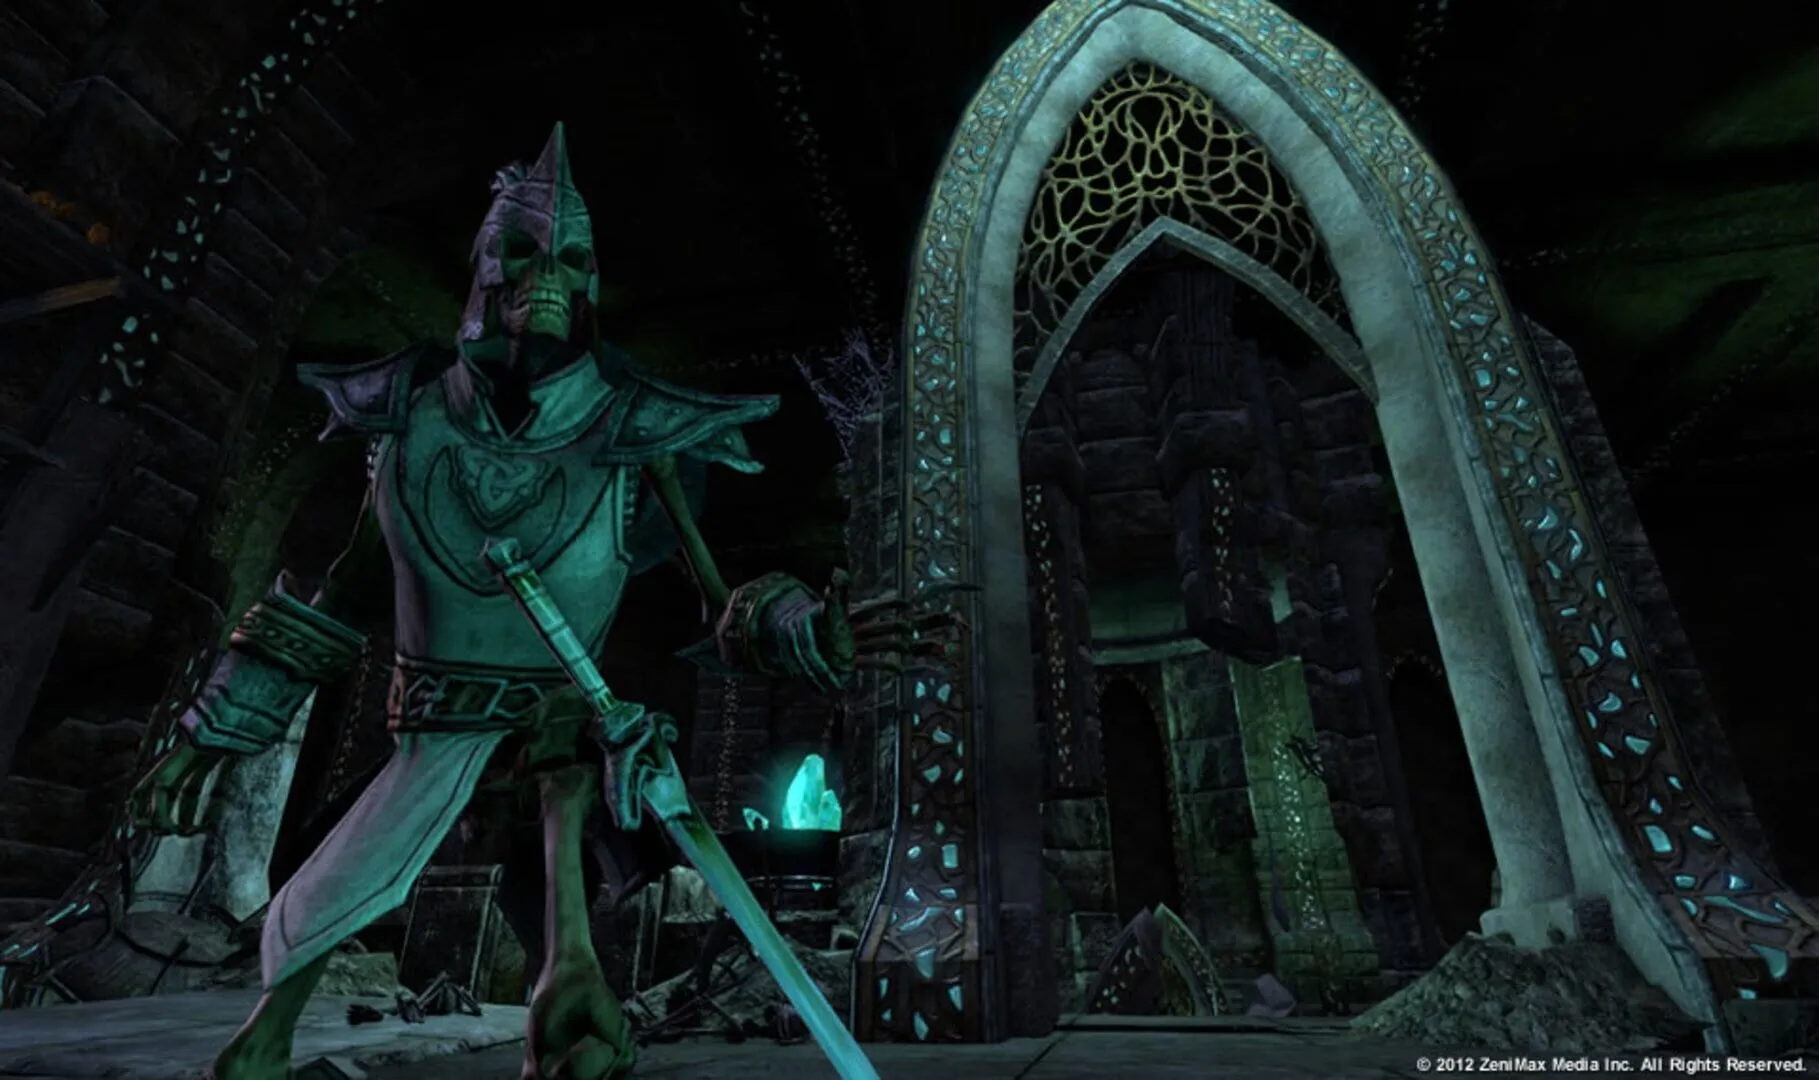
Hollow Heart is a cursed area within Blackheart Haven, swarming with undead pirates and other creepy crawlies. The atmosphere is as dark as it gets, with spooky ambient sounds and ghostly visuals giving you the full spooky pirate experience.
Enemies and How to Handle Them
Skeleton Pirates: These are your standard enemies here. They don’t hit very hard, but they can gang up on you. Use area-of-effect (AoE) attacks to take them down quickly.
Spectral Buccaneers: These ghostly enemies can phase in and out, becoming temporarily invincible. When they vanish, switch your focus to other enemies and come back to them once they reappear.
Anchored Wraiths: These guys are tethered to specific spots in the dungeon and can’t be pulled away. When you see one, be sure to clear the surrounding area first before engaging them. Their tether attacks can deal significant damage.
Key Locations and Tips
The Haunted Dock: Right at the beginning, you’ll come across the Haunted Dock. Watch out for ambushes from skeleton pirates. It’s a good practice to proceed cautiously and pull smaller groups to fight them individually rather than rushing in headfirst.
The Wretched Galleon: As you progress, you’ll get to the Wretched Galleon. This shipwreck is crawling with spectral buccaneers. Keep an eye on your surroundings since they can tend to appear and disappear behind you.
Main Boss: Hollow Heart
The main challenge here is the Hollow Heart itself, a massive ethereal entity that you must defeat to progress.
Abilities to Watch Out For
Soul Siphon: This channeled ability will drain the life out of you and your companions if you’re within its range. Break free or move outside its circle of influence as soon as you see the casting animation.
Spectral Flames: This attack sends out ghostly flames that move slowly but deal heavy damage over time. Dodge or block them to avoid losing health.
Anchor Smash: Hollow Heart slams the ground with a spectral anchor, dealing area damage around it. The large telegraph before the move gives you ample time to move out of its range.
Strategies
Tank’s Role: The tank should keep Hollow Heart’s attention focused on them, facing it away from the rest of the group to minimize the risk of others getting hit by its cone attacks.
Healer’s Duties: Healers should continuously monitor the health of the party and be ready to cleanse debuffs that Hollow Heart might place on them, especially during Soul Siphon.
DPS Focus: Damage dealers (DPS) should focus on burning down the boss swiftly, while also avoiding AoEs and helping eliminate any additional enemies that might spawn.
Final Tip: Coordination and communication are key. Make sure your party is prepared and knows what to expect.
Loot
After defeating Hollow Heart, you can expect some nice loot drops, including unique set pieces like Blackheart Haven gear. Also, don’t forget to scavenge for furnishings and motifs to customize your character and housing.
Now you’re ready to dive into Hollow Heart and emerge victoriously! Stay vigilant and good luck out there.
Captain Blackheart
Captain Blackheart is the final boss you’ll face in the Blackheart Haven dungeon. This encounter can be both thrilling and challenging, so it’s important to know what to expect and how to handle his unique mechanics. Here’s a breakdown to help you and your team come out victorious.
Location and Prep
First things first, make sure your group is well-prepped before facing Captain Blackheart. The fight happens in a spacious area with ample room to move around—a good thing, considering you’ll need to stay mobile. Ensure everyone is at full health and has repaired their gear, as the fight can be tough on your armor.
Boss Abilities
Captain Blackheart has a couple of devastating abilities to watch out for. The key to defeating him lies in avoiding his special attacks and managing the battlefield effectively. Here’s a rundown:
Undead Transformation: This is Captain Blackheart’s signature move. He can transform one or more players into undead skeletons. When this happens, you’ll lose access to your skills and abilities, and your movement speed increases. It can be a real pain, but the good news is it’s temporary. Stay calm, avoid getting hit, and wait it out.
Summon Mobs: Throughout the battle, Captain Blackheart will call upon additional undead minions. These mobs need to be dealt with quickly, as they can overwhelm your group. Allocate a DPS to focus on these adds while the others concentrate on the boss.
Heavy Attacks: Captain Blackheart will occasionally wind up for a heavy attack. These are slow but can inflict massive damage if they connect. Tanks need to be vigilant and use their block or dodge abilities to mitigate this damage.
Battle Strategy
Your strategy should revolve around effective communication and positioning. Here’s a step-by-step approach:
Tank Hold Aggro: The tank should keep Captain Blackheart busy and positioned away from the rest of the group. This will prevent his heavy attacks from hitting multiple players.
Avoid Groups: When Captain Blackheart starts targeting players to transform them into skeletons, spread out to reduce the impact. Players turned into skeletons should run to the outskirts of the fight until they revert to normal.
Focus Adds: Designate one member (usually a DPS) to handle the summoned mobs as soon as they appear. This prevents these adds from accumulating and causing chaos.
Heal Through Transformations: The healer needs to be on their toes, especially when people are turned into skeletons. Healing over time (HoT) abilities can ensure that transformed players remain safe until the effect wears off.
Burst and Sustain: DPS players should aim to deal as much damage as possible during windows where Captain Blackheart isn’t transforming players or summoning adds. However, be ready to switch targets when necessary to handle minions or avoid heavy attacks.
Group Composition
A balanced team will make this fight more manageable. Consider the following group makeup for optimal results:
- 1 Tank: Essential for maintaining aggro and controlling the boss.
- 2 DPS: Preferably ranged to avoid heavy attacks and focus on taking down adds quickly.
- 1 Healer: Critical for keeping the team healthy, especially during transformation phases.
Tips and Tricks
- Potions: Keep a good stock of health and stamina/magicka potions. They can save your life if things get too hectic.
- Stay Calm: The transformation into a skeleton can be panicky, but remember, it’s temporary. Your team’s success relies on not losing your cool.
- Communication: Use voice or quick-chat to stay coordinated, especially when managing adds and positioning against heavy attacks.
By understanding Captain Blackheart’s abilities and executing a well-thought-out strategy, you’ll have him walking the plank in no time. Good luck, and happy adventuring in Tamriel!