
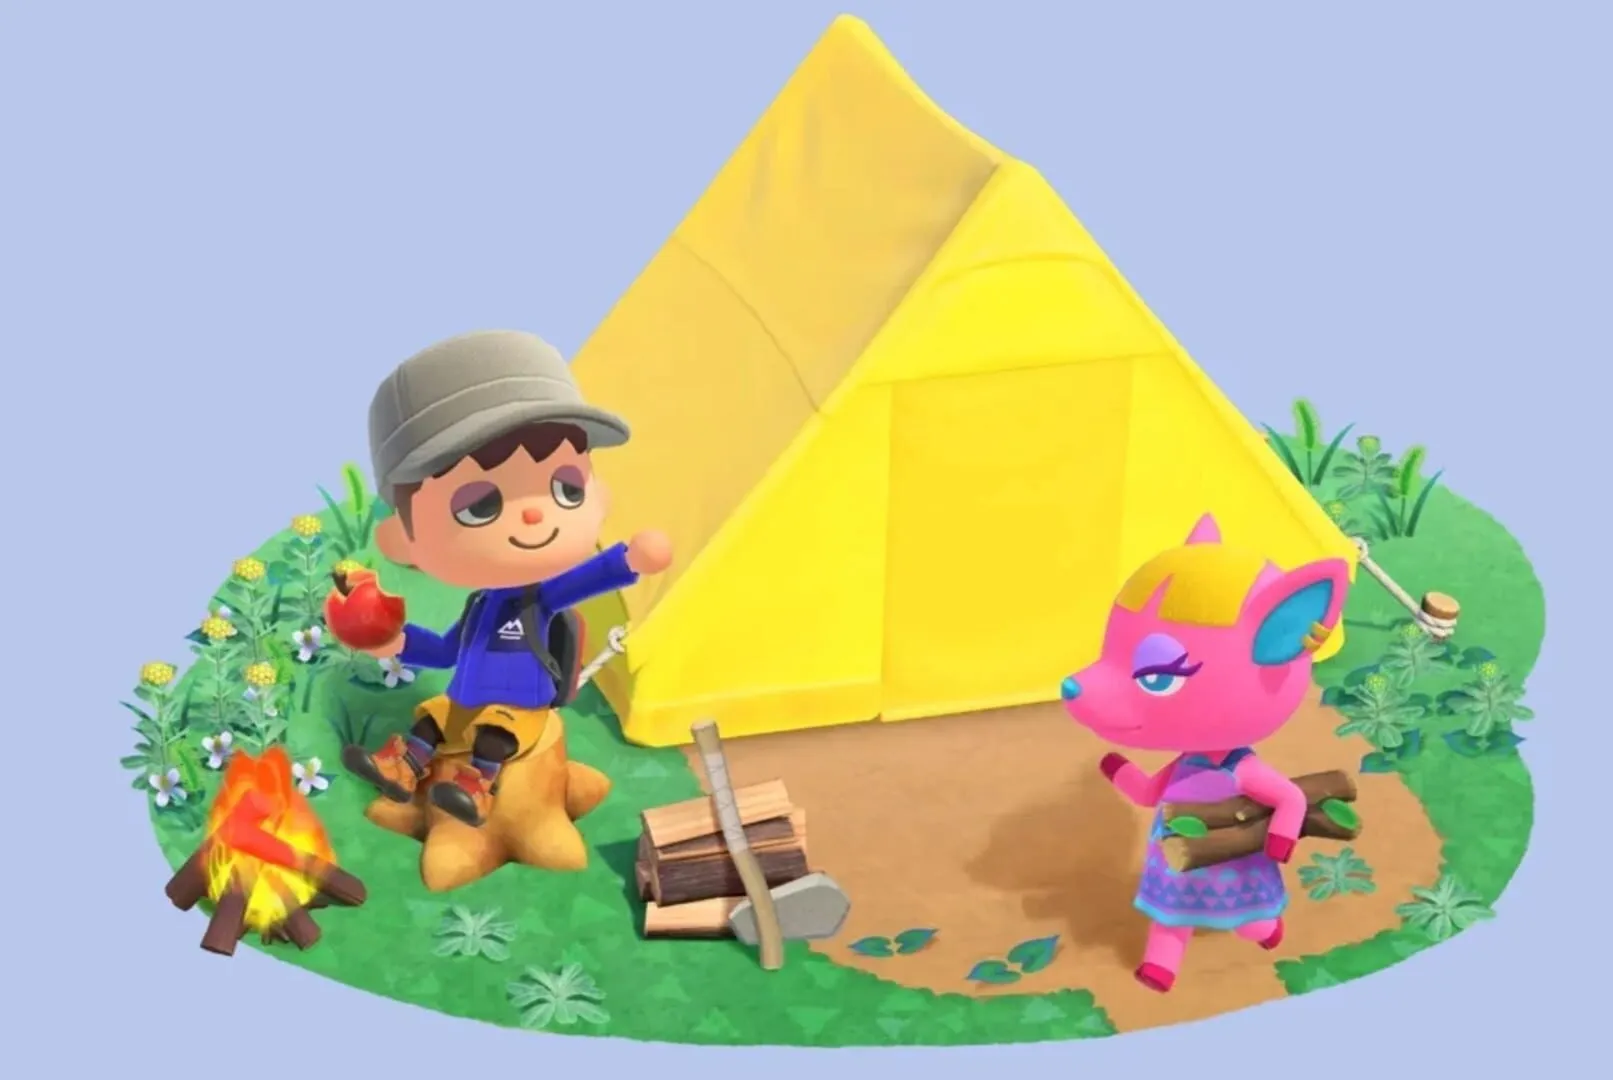
Welcome to our comprehensive Animal Crossing: New Horizons Customization Guide! Dive into the endless possibilities of transforming your island paradise and creating a personalized dream home. Whether you’re a seasoned player or just starting, this guide is packed with tips and tricks to spark your creativity and make the most of your island life. Explore key topics such as Customizing Your Island and Home, where we’ll walk you through landscaping and interior design; Designing Patterns and Layouts, to help you craft unique motifs and arrange your space effectively; Using Tools and Resources Effectively, so you can master essential items and maximize their potential; Managing Inventory and Storage, providing strategies to keep your supplies organized; and Sharing and Downloading Custom Designs, allowing you to connect with the community and discover endless inspiration. Let’s embark on this exciting journey to make your island truly unique!
Customizing Your Island and Home
Customizing your island and home in Animal Crossing: New Horizons is a fun and creative process. You have countless options to make your space stand out and reflect your personality. From arranging furniture and designing landscapes to customizing household items, the possibilities are endless. Here’s everything you need to know.
Sprucing Up Your Home
Building the perfect home involves more than just furniture placement. Here’s how to take your home décor to the next level:
Furniture Customization
After upgrading Resident Services to a building, you can unlock furniture customization. Use kits from Nook’s Cranny to change the color and pattern of your items.
- Select the piece you want to customize.
- Choose customization kits from your inventory.
- Pick a new design or color that suits your style.
Wall and Floor Designs
Head over to Nook’s Cranny or redeem Nook Miles at the Nook Stop kiosk to get new wallpapers and flooring. Sometimes, villagers might gift you rare options, so always say hi!
Wall-Mounted Items
Don’t forget about wall space! You can place shelves, clocks, and art pieces up high. To do this, open your inventory indoors and choose “Hang on Wall.”
Lighting and Ambience
Use lamps, candles, and different types of lights to set the mood. Each item gives off a unique glow, so you can create cozy corners with warm lighting or modern vibes with sleek lamps.
Crafting Custom Furniture
Crafting is another great way to customize your island and home:
DIY Recipes
Collect these by chatting with villagers, fishing them out in bottles, or shooting them down from presents tied to balloons.
Materials Gathering
Gather materials like wood, iron nuggets, and clay from trees, rocks, and the beach. Sometimes, you might even need more rare items like gold nuggets.
Workbenches and Tools
Use workbenches to craft new items. You can set up benches around your island for easy access, so you’re never too far from your next project.
Personalizing Your Island
Now that the inside of your house is looking great, it’s time to make sure your island is just as fabulous:
Terraforming with the Island Designer
After achieving a 3-star rating and attending the K.K. Slider concert, you’ll unlock the Island Designer app. Use it to create paths, build cliffs, and establish rivers. Here are some tips:
- Plan your design on a sketch first.
- Start with paths to create main roads and walkways.
- Alter the landscape gradually to avoid overwhelming changes.
- Add bridges and inclines to make the terrain accessible and connected.
Super Cool Pathways
Want to guide visitors and residents effectively? Create custom pathways using the Island Designer tool. Choose from various styles like cobblestone, brick, or custom designs you create or download using QR codes.
Natural Features
Plant flowers, palm trees, and bushes to add color. Use stone, brick, or wooden fences to create defined garden spaces. Combine different plant varieties to make visually stunning gardens or themed areas.
Making Your Mark with Custom Designs
Adding personal touches can really make your island pop. Use the Custom Designs app on your NookPhone to create or upload unique patterns for clothing, flags, pathways, and furniture.
Custom Outfits
Design your own shirts, dresses, hats, and more. Share your creations with friends or download others by visiting the Able Sisters shop and using the Custom Design Portal.
Outdoor Customization
Use custom designs to create unique pavements, murals, and decorations on the ground. Don’t be afraid to experiment with mixing colors and styles.
Posting Designs
Show off your creativity by posting your designs for others to use. You can display them at the Able Sisters shop, where friends and visitors can download them.
Wrapping Up
Customizing your island and home in Animal Crossing: New Horizons opens up endless creative opportunities. Whether you’re designing cozy interiors, crafting unique furniture, or transforming your island landscape with terraforming, your creation will be uniquely yours. Channel your inner designer, gather those materials, and make your island the paradise you’ve always dreamed of.
Go forth, and may your island be ever stylish!
Designing Patterns and Layouts
In Animal Crossing: New Horizons, one of the coolest things you can do is customize your island and make it truly unique. Designing patterns and layouts is a big part of that! Whether you’re new to the game or an Animal Crossing veteran, here’s a guide to help you get started with creating patterns and arranging layouts that will wow your villagers and friends alike.
Getting Started with Patterns
To begin with patterns in ACNH, you’ll need the Custom Design app on your NookPhone. Tom Nook will set you up with this shortly after you start the game. This app lets you create and use custom designs for clothing, signs, and even paths.
- Open the Custom Design App: Grab your NookPhone and select the pencil icon. This takes you to your design grid.
- Create a New Design: Hit the plus button (+) to start a new design. You’ll see a grid where each square can be colored individually.
- Use the Different Tools: There are multiple tools to use, like the pen, fill, and mirror tools. Experiment with these to get the hang of it.
- Save and Name Your Designs: Once you’re happy with your design, save it and give it a catchy name. This helps you keep track of all your creations.
To get really fancy, you can create pro designs with the “Custom Designs Pro Editor Nook Miles” upgrade. This lets you create layered clothing like dresses and hoodies, with designs on both the front and back!
Finding Inspiration
Not feeling very creative? No problem! There are plenty of ways to find inspiration for your designs.
- Browse online: Social media platforms like Twitter, Instagram, and Reddit are full of Animal Crossing communities sharing their favorite designs.
- Check the Able Sisters’ Shop: Once you unlock the shop, you can interact with the design kiosk to download patterns other players have uploaded. It’s a great place to find trendy and seasonal designs.
- Use QR Codes: If you have designs from previous versions of Animal Crossing, you can import them using the Nintendo Switch Online app on your phone.
Laying Out Your Island
Once you’ve got your patterns, it’s time to think about how you want to lay out your island.
- Plan Your Island: Before making any changes, take a moment to plan where you want things to go. You can use graph paper or digital tools to map out your ideas.
- Use Path Patterns: Using the Island Designer app, you can apply custom paths to create beautiful walkways. Try using different patterns for roads, garden paths, or beach boardwalks!
- Design Public Areas: Create themed areas like parks, markets, or sports fields. Custom patterns can be used for signs, seating, and flooring to give each area a unique look.
- Fences and Flowers: Combine your patterns with fences and flowers to define spaces and add splashes of color. Different fence types and flower hybrids can enhance the aesthetic of your island’s layout.
- Furniture Placement: Try arranging furniture outdoors to create inviting hangout spots. Place benches, tables, and light fixtures in your themed areas to make them functional and decorative.
Practical Tips
- Symmetry vs. Natural: Decide whether you want a symmetrical, structured design or a more natural, flowing layout. Both look great, but it’s all about personal preference.
- Experiment and Adjust: Don’t be afraid to try new things and move stuff around. Your island is a canvas, and it’s okay to change your mind and rearrange.
- Think About Accessibility: Make sure your paths are easy to walk on and that there’s plenty of space to navigate. You don’t want your villagers getting stuck!
Finally, remember that your island is a reflection of you. There’s no right or wrong way to design it, so have fun, and let your creativity shine. Good luck, and happy designing!
Using Tools and Resources Effectively
In Animal Crossing: New Horizons, mastering your tools and using resources efficiently can make island life so much easier. Whether you’re catching bugs, digging up fossils, or crafting furniture, knowing how to use what you’ve got is key to your success. Here’s how to get the most out of your tools and resources.
Basic Tools
First off, let’s talk about tools. You’ll need tools for almost everything you do. Here’s a quick rundown on the most important basic tools:
- Axe: Use it to chop trees for wood (but don’t overdo it or you’ll chop the tree down).
- Shovel: Perfect for digging up fossils, planting trees, or hitting rocks for resources.
- Fishing Rod: A must-have for catching fish.
- Net: Essential for catching bugs.
- Slingshot: Use it to shoot down presents tied to balloons.
- Watering Can: Keep your flowers blooming and happy.
You can craft these tools using materials you find around the island. Pay close attention to your surroundings; you never know where you’ll find branches, stones, or iron nuggets.
Crafting Upgrades
When you first start, your tools will be flimsy and break often, which can be super annoying. To upgrade your tools, you’ll need to unlock the Pretty Good Tools DIY Recipes from the NookStop machine in Resident Services. This will give you access to stronger versions of each tool, which last longer and are more efficient.
Gathering Resources
Your tools are only as useful as the resources they let you gather. Here’s how to make sure you’re getting what you need without wasting your time or energy:
- Wood (Softwood, Hardwood, and Regular Wood): Chop trees using an axe. Each tree can give you several pieces before it runs out for the day.
- Iron Nuggets and Stones: Hit rocks with your shovel or axe. Make sure to dig holes behind you to stop from bouncing back and maximize the number of resources you get.
- Bugs and Fish: Use your net and fishing rod efficiently. The seasonal changes will affect which bugs and fish are available, so keep an eye on what’s in season.
Efficient Farming
Maximizing your efforts will save you time and allow you to focus on decorating your island. Here are some key strategies:
- Rock-Hitting Strategy: To get the most out of rocks, dig two holes behind you before hitting them. This way, your character won’t bounce back when they strike.
- Tree Shaking: Before chopping or hitting a tree, give it a good shake. Sometimes, there might be hidden furniture or bees (be ready with your net!).
- Fruit Trees: Plant foreign fruits that you’ve collected from friends or mystery islands. They sell for more Bells than your native fruit.
Time Management
Time is valuable in Animal Crossing. Use it wisely:
- Island Hopping: Use Nook Miles Tickets to visit mystery islands. These islands are a goldmine for resources and can provide extra chances to find rare bugs, fish, and even new villagers.
- Daily Tasks: Make it a habit to do routine tasks like collecting fossils, hitting rocks, and watering plants each day. This will ensure you’re maximizing your island’s output.
- Special Events: Keep your eyes peeled for seasonal events and special characters visiting your island. They often provide unique rewards and opportunities for gathering rare items.
Master these tips, and you’ll be well on your way to running an efficient and productive island. Happy crafting, and may your tools last forever (or at least a bit longer)!
Managing Inventory and Storage in Animal Crossing: New Horizons
Alright, fellow islanders, let’s talk about something we all struggle with at some point: managing your inventory and storage. New Horizons gives you so many cool items, but figuring out where to put them and how to keep things organized can be a bit of a challenge. Here’s a guide to help you become an inventory and storage pro!
Expanding Your Pockets
At the start, you get a pretty small inventory, which fills up quickly as you gather resources like wood, fruit, and fish. Luckily, you can expand your pocket space. Here’s how:
- Upgrade Your Pocket Space:
- Visit the Nook Stop in Resident Services.
- Purchase “Pocket Organization Guide” for 5,000 Nook Miles. This will add 10 more slots!
- Later, for an even bigger inventory, buy “Ultimate Pocket Stuffing” for 8,000 Nook Miles, giving you 40 slots in total.
This might seem pricey, but trust me, it’s a game-changer.
Efficient Inventory Management
Even with more pocket space, you need to be smart about what you carry.
- Prioritize Essentials: Always keep tools like your fishing rod, shovel, and net on hand. Also, keep some fruit for energy and a few bells for quick purchases.
- Use Drop Spots: If you’re doing a big resource collection, find a safe spot on your island to temporarily drop items. Just remember where you left them!
- Crafting on the Go: Make sure you have a DIY Workbench in your pockets. That way, if you find you need something, you can craft it wherever you are.
Expanding Home Storage
Eventually, all that stuff you’re collecting needs a permanent home. That’s where upgrading your house comes in handy.
- House Upgrades:
- Tent to House: Pay off your initial loan of 5,000 Nook Miles to Tom Nook to upgrade from a tent to a house.
- Room Upgrades: Keep saving and taking out loans to expand your house. Each upgrade adds more storage space.
- More Storage Capacity: Each new room you add to your house increases your overall storage capacity. By the time you max out your house upgrades, you’ll have a ton of space.
Using Storage Wisely
- Categorize Your Items: Keep similar items together. For example, designate spots for fish, bugs, clothes, and furniture. This makes finding things a lot easier.
- Seasonal and Event Items: Store these items if you’re not using them. This keeps your main storage cleaner and saves you time when decorating.
Utilizing Your Island’s Resources
If your house is full, consider using other areas of your island:
- Outdoor Storage: Set up areas around your island with themed items. You can create a garden with all your plant-related items or a beachside shop with surfboards and beach chairs. Just make sure to fence them off to stay organized.
- Villagers’ Homes: Some players creatively display items in their villagers’ yards. Who wouldn’t want a little garden gnome near their neighbor’s house?
DIY Recipes and Crafting
Don’t forget to keep an eye on your DIY recipes. You’ll often find recipes that allow you to craft more storage items, like dressers and wardrobes, which can hold your clothes.
- Daily Balloon and Bottle Check: Balloons and bottles on the beach often have new DIY recipes. Make it a habit to shoot down balloons and check beaches daily.
- Seasonal Recipes: Participate in events and talk to your villagers to collect special event recipes, which can sometimes offer unique storage solutions.
Pro Tips
- Regular Cleanups: Regularly go through your inventory and storage to get rid of things you no longer need. Sell them for bells or, if you have duplicates, consider gifting them to friends.
- Turnips Storage: There’s a nifty trick where you can store turnips on the ground in your house to avoid them taking up inventory space.
With these tips, you’re well on your way to mastering your inventory and storage in Animal Crossing: New Horizons. Now go out there and start organizing like a pro! 🏝️🌟
Sharing and Downloading Custom Designs
Animal Crossing: New Horizons offers an amazing way to personalize your island and character through Custom Designs. You can create your own art, patterns, and clothing, then share them with friends or download creations from the community. Here’s a step-by-step guide on how to share and download these custom designs.
Sharing Your Custom Designs
Want to show off your creations to the world? Here’s how you can share your designs with friends and the wider Animal Crossing community.
Getting a Custom Design Portal
First, you need to unlock the Custom Design Portal. This portal lets you upload and download designs. Here’s how to unlock it:
- Visit the Able Sisters Shop: You need to purchase and place the Able Sisters’ shop on your island.
- Access the Kiosk: Inside the shop, you’ll find a kiosk on the right. This is the Custom Design Portal.
- Online Membership: Make sure you have an active Nintendo Switch Online membership to use the Portal.
Uploading a Design
Once you have access to the Custom Design Portal, you can start uploading your designs.
- Open the Custom Designs app on your NookPhone.
- Create or Select a Design: Choose a design you’ve created or start a new one.
- Visit the Able Sisters’ Shop and head to the kiosk.
- Select “Access the Portal”: Follow the instructions to connect to the internet.
- Choose “Post”: Upload your design to share it. You can also share via a Design Code or even make a Creator Code.
Once uploaded, share the codes with your friends or post them online for other players to find and use.
Downloading Custom Designs
Want to spruce up your island with awesome designs from other players? You can easily download custom designs using the same Custom Design Portal at the Able Sisters’ shop.
Searching and Downloading
- Go to the Able Sisters’ Shop: Approach the kiosk on the right.
- Access the Custom Design Portal.
- Select “Search by Design ID” or “Search by Creator ID”: Use the code shared by other players.
- Browse: You can also browse popular designs or specific categories.
- Download: Once you find a design you like, select it and choose “Save”. The design will be saved in your Custom Designs app.
Using Custom Designs
After downloading, it’s time to put those designs to good use!
- Open the Custom Designs app: Find your downloaded designs in the app.
- Select a Design: Tap on a design to see your options.
- Wear or Display: You can wear the design as clothing, use it as a phone case, or display it around your island for a unique touch.
Pro Tips for Custom Designs
- Experiment: Don’t hesitate to try out new patterns and designs. Experimentation can lead to some surprising and delightful results.
- Collaborate: Share ideas and collaborate with friends to create themed collections or coordinated outfits.
- Stay Updated: Keep an eye on design-sharing forums and social media. Many talented players share their codes regularly, offering you fresh content to bring to your island.
Custom Designs are a huge part of what makes Animal Crossing: New Horizons so special. Whether you’re creating your masterpieces or finding inspiration from the community, these designs help make every island uniquely yours. Happy designing!