
Welcome to our ultimate Alone in the Dark Walkthrough! Embark on a spine-chilling adventure as you navigate through a world filled with dark mysteries and terrifying encounters. This comprehensive guide is designed to help you survive the horrors that lie ahead and ensure you unlock all possible endings. Dive in as we cover essential topics including Starting Your Horror Adventure, Key Locations and Puzzles, Using Items and Weapons Effectively, Strategies for Surviving Encounters, and Unlocking All Endings. Ready to conquer the darkness? Let’s get started!
Starting Your Horror Adventure
Congratulations! You’re about to embark on a thrilling and chilling experience with Alone in the Dark. Before diving into the eerie corridors and creepy rooms, let’s break down what you’ll need to know to kickstart your horror adventure.
Setting the Scene
As the game starts, you’ll choose between two characters: Edward Carnby, a tough private investigator, or Emily Hartwood, the curious niece of the mansion’s late owner. Each character has their own unique opening scene and perspective. Choose whichever character you feel drawn to—both will give you a terrifyingly good time.
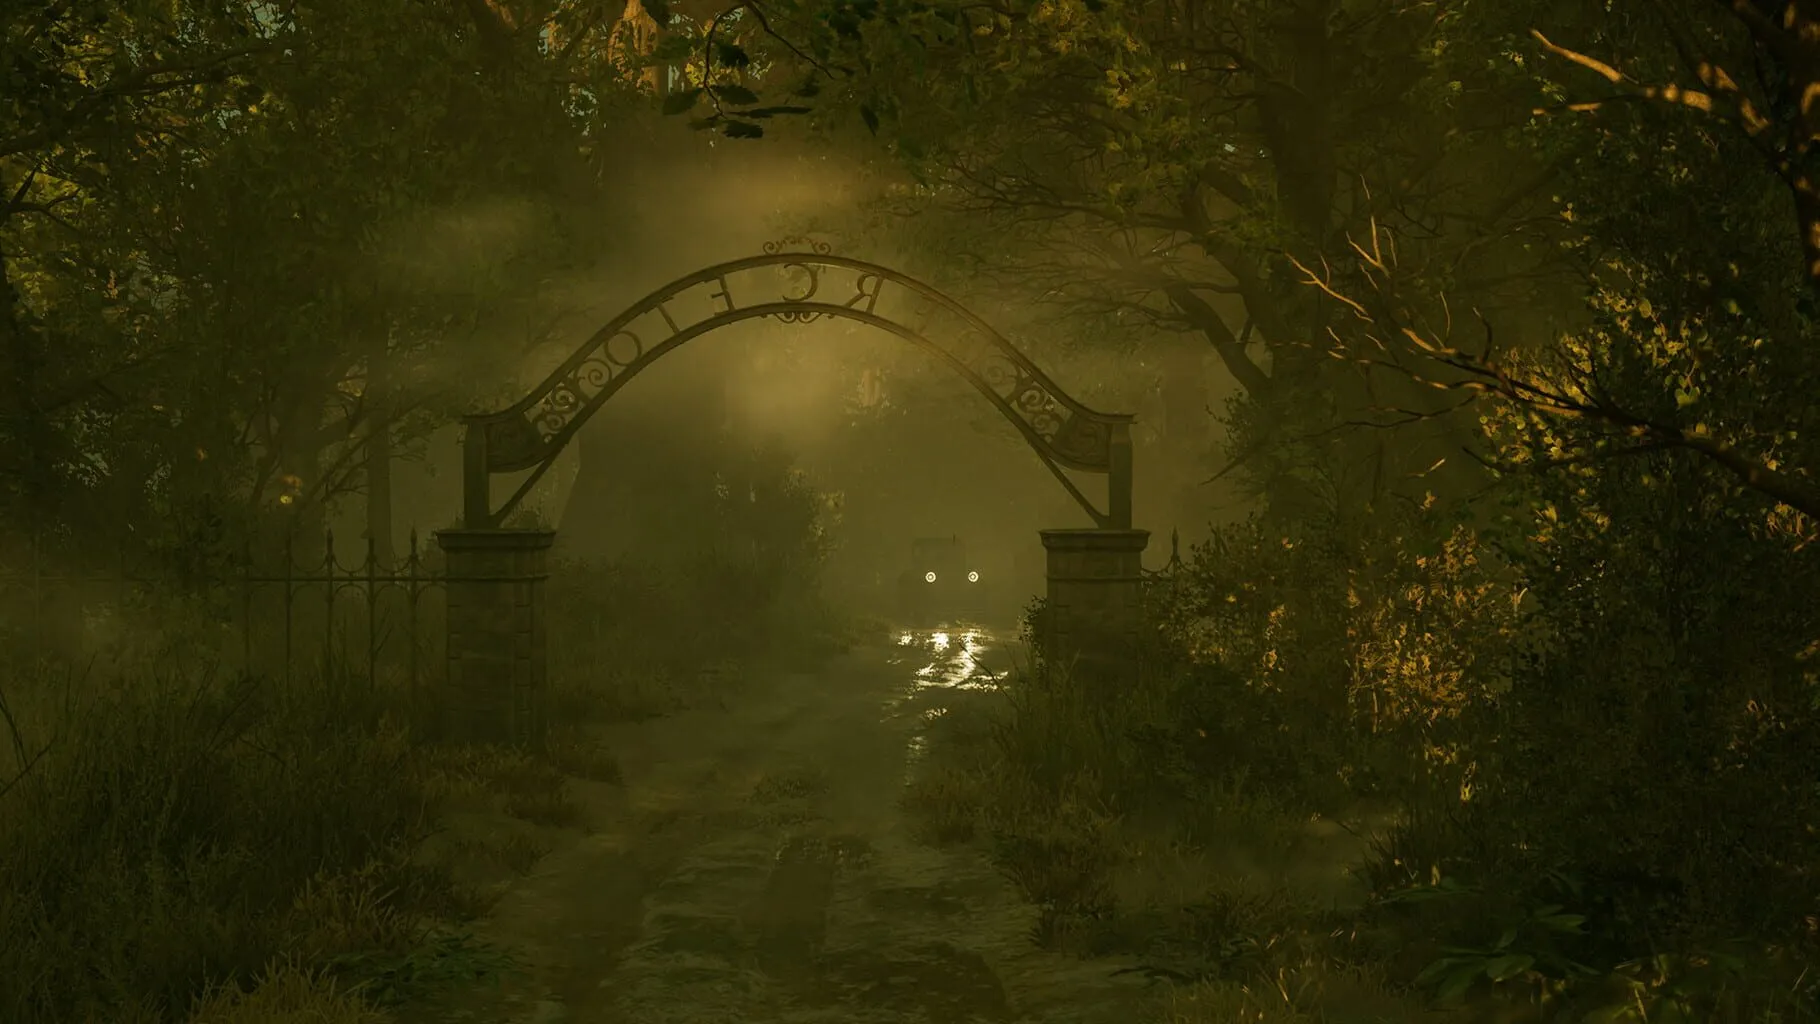
The Derceto Mansion
Your adventure begins at the gate of the Derceto Mansion. This place is massive and filled with secrets. Expect to explore dimly lit rooms, creepy attics, and even hidden passages. The atmosphere is designed to give you goosebumps, so brace yourself!
Pro Tip
Take your time exploring. Inspect items and interact with the environment. The mansion holds many clues and pieces that are crucial to solving puzzles and progressing through the game. The more you investigate, the more you’ll uncover.
Controls: Your Basics
Mastering the controls early on can make or break your survival. Here’s a quick rundown:
- Movement: Use the arrow keys (or joystick, if you’re on a console) to move your character around.
- Interaction: Press the action button (usually the ‘E’ key or your controller’s primary action button) to examine objects, open doors, and pick up items.
- Inventory: Open your inventory by pressing ‘I’ or the designated inventory button. Here you can equip items, use healing supplies, and combine objects to solve puzzles.
Quick Tip
Practice combat placement in safe areas of the mansion. Fighting off creatures can be tricky, and your character’s movements can feel a bit clunky initially. Knowing how to dodge and attack accurately will save you a lot of grief.
First Encounters
From the get-go, you’ll meet some unfriendly inhabitants. The mansion is haunted by all manner of supernatural beings. Here’s what to expect during your first few encounters:
The Zombie in the Attic: One of your first enemies. Listen for its groans and shuffles. Equip a weapon, like a lamp or stick, from your inventory and aim carefully.
- Pro Tip: Early enemies are slow but deadly. Aim for the head and keep your distance.
The Haunted Painting: Before you fixate too much on the chilling décor, remember this: touch things carefully. Some objects have a mind of their own—especially the art.
- Quick Advice: Stay alert and save your game often. If something feels off, it probably is.
Puzzle Solving 101
Puzzles are a big part of Alone in the Dark. Solving them involves piecing together clues found throughout the mansion and sometimes having some trial and error. Here’s your basic approach:
- Inspect Everything: Keep an eye out for unusual objects and hidden notes. They can provide hints and keys to progress.
- Use Your Environment: Sometimes, the room itself is part of the puzzle. Look around carefully and don’t ignore suspiciously-placed furniture or decor.
- Combine Items: Some puzzles can only be solved by combining items in your inventory. Experiment with this if you’re stuck.
For example, early on you might find a locked drawer. The key could be hidden in a book or behind a painting. Check every nook and cranny.
Staying Alive
Health management is crucial in this spooky adventure. Here’s how to keep your character top-notch:
- Health Basics: Your health is represented by a life bar. Keep an eye on it.
- Healing Items: Pick up bandages and medicinal herbs when you find them. Don’t let your health drop too low before using them—the mansion is unforgiving.
- Save Points: Use save points wisely. They’re scattered throughout the mansion, so save often but smartly. Not all save points are safe!
Final Thoughts
Starting your journey in Alone in the Dark is like stepping into a classic horror movie—filled with suspense, scares, and a whole lot of mystery. Take your time, enjoy the spine-chilling atmosphere, and let the story unfold at its own haunting pace.
Remember, the dark can be terrifying, but you’re never truly alone when you’re prepared. Happy ghost-hunting! 🕯️🕸️
Key Locations and Puzzles
In Alone in the Dark, exploring spooky locations and solving creepy puzzles is essential. Below, we break down some key areas and their mind-boggling puzzles to help you survive the nightmare.
The Attic
Location: This is where the game starts, and it’s packed with immediate danger.
Puzzle: There’s a trunk here that you need to open. The key is nowhere obvious, so you might think you’re in big trouble. But no worries—you’ll find the key by moving the stack of books nearby. Open the trunk to get your first important item: an oil lamp.
Pro Tip: Be quick! Monsters attack immediately, so grab the lamp and get ready to defend yourself.
The Library
Location: The library is on the second floor, and it holds a lot of secrets.
Puzzle: Look for suspiciously placed books. Pulling the books in the correct sequence reveals a hidden passage. There’s a clue in a nearby journal that suggests which books to pull, so read carefully.
Pro Tip: The order is often color-coded or tied to strange symbols. Always check every book and note their differences.
The Basement
Location: Deep beneath the house, the basement is as creepy as it gets.
Puzzle: Here, you’ll confront a dark maze with numerous locked doors. To open these doors, you’ll need to find keys scattered throughout the basement. But it’s not just about the keys. Some doors won’t open unless certain levers are also pulled.
Pro Tip: Draw yourself a map as you go. It helps to keep track of which doors are locked and which levers have been pulled.
The Garden
Location: This lush but eerie area is outside the house.
Puzzle: The garden holds an ancient puzzle involving statues. You need to turn these statues to face certain directions. The directions are hinted at by symbols on the statues. Look closely, the clues are often subtle, like small markings on the base of the statues.
Pro Tip: Make sure to take note of the symbols as you encounter them, and don’t be afraid to backtrack for clues you might have missed.
The Cellar
Location: Hidden beneath the garden, the cellar is easy to overlook but very important.
Puzzle: In this area, you’ll find a series of barrels with runes on them. You need to move them into the correct positions according to the runes’ meanings. Nearby scrolls and texts will give you the needed information on what those runes signify.
Pro Tip: Some barrels can be tough to move. Push them slowly, and make sure you try every possible direction.
The Chapel
Location: Really the heart of the haunted house, the chapel is where a lot of the story unfolds.
Puzzle: There’s a cryptic altar puzzle involving candles. You need to light the candles in a specific order to open a secret compartment. Clues are hidden in stained glass windows, so pay attention to the colors and symbols they depict.
Pro Tip: The sequence often reflects a historical or biblical event, which can be learned from old books nearby.
The Rooftop
Location: A less obvious area but crucial for final stages of the game.
Puzzle: On the rooftop, you’ll encounter weather vanes that need to be aligned perfectly. The trick is to match them to the constellations visible in the night sky.
Pro Tip: If you’re unsure, a nearby telescope can give you a closer look at the sky for hints.
By mastering these locations and their puzzles, you’re on your way to conquering Alone in the Dark. Remember, clues are everywhere—so explore meticulously and stay alert
Using Items and Weapons Effectively
Surviving in the world of Alone in the Dark relies not just on your quick reflexes, but also on how well you manage and use items and weapons. This section will guide you through making the most out of everything you find.
Inventory Management: Less is More
Your inventory space is limited, so choosing what to carry is crucial. Always prioritize essentials over everything else:
- Healing Items: Stock up on first aid kits and medicine. Health is your most precious resource, and running out of healing items can spell doom.
- Weapons and Ammo: Stick with a reliable weapon and its corresponding ammo. No need to hoard every gun; pick one or two and commit to them.
- Key Items: These are usually needed to progress in the game, so never leave them behind.
Healing Like a Pro
While it’s tempting to use a healing item as soon as you get hurt, it’s wise to wait until you’re in critical condition. Each item heals a specific amount and using them too early can waste their full potential. Remember:
- First Aid Kits: Use when you’re in the red zone of health.
- Medicines: Great for topping off your health when you’re in the yellow zone.
Choosing the Right Weapon
Enemies in the game vary, and some weapons are more effective against specific foes. Here’s a quick breakdown of weapon types and their best uses:
- Firearms: Great for ranged attacks. Useful against fast-moving or flight-capable enemies like bats. Remember, accuracy matters; don’t waste ammo.
- Melee Weaopns: Ideal for close encounters. They’re reliable and don’t use ammo, but require getting close to the enemy.
- Throwables (like grenades): Powerful but limited in supply. Save them for groups of enemies or tough encounters.
Effective Combat Tips
Combat in Alone in the Dark can be challenging, so here are some strategies to keep you in the game longer:
- Aim for the Head: Always go for headshots with firearms. It deals more damage and conserves ammo.
- Stun and Strike: For melee, use hit-and-run tactics. Stun enemies with a quick strike, then back off before they can hit you.
- Use the Environment: Sometimes, the environment can be your best weapon. Look for ways to trap, burn, or otherwise deal with enemies without wasting ammo.
Conserving Ammo
Ammo can be scarce. Use these tips to stretch your supplies:
- Single Shots: Avoid rapid firing unless absolutely necessary. Carefully aimed single shots are more efficient.
- Melee When You Can: When facing weaker enemies, rely on your melee weapons to save bullets.
Pro Tip: Combine Items
Certain items can be combined to create new tools or stronger weapons. Experiment with combinations in your inventory screen to see if you can create something more powerful. Keep notes of successful combos, as they can save your life later.
Remember, surviving Alone in the Dark is all about balance. Manage your items wisely, choose the right weapon for the right enemy, and never panic. With these tips, you’ll be more than ready to face whatever horrors lurk in the dark.
Strategies for Surviving Encounters
Surviving encounters in Alone in the Dark isn’t just about brute force. It’s a mix of strategy, smart resource management, and staying cool under pressure. Whether you’re facing off against creepy zombies or sinister apparitions, here are some tips to get you through the game in one piece.
1. Know When to Fight and When to Flee
Not every monster encounter needs to end in a brawl. Sometimes, running away is the best option. Conserve your health and ammo for unavoidable fights. Pay attention to enemy positions and available escape routes. Use them to your advantage.
2. Choose Your Weapons Wisely
Different enemies require different strategies:
- Melee Weapons: Great for conserving ammo and handling slower enemies. But, they put you in close range of attacks, so don’t get overconfident.
- Firearms: Essential for stronger, faster adversaries or when you’re outnumbered. But remember, ammo is scarce. Make each shot count!
3. Use the Environment
The game is filled with items and hazards that can be used to your benefit:
- Furnishings: Push furniture to block doorways and slow down pursuers.
- Windows: Break and climb through them to escape quickly.
- Traps: Look out for traps you can lure enemies into, like holes in the floor or objects you can push onto them.
4. Manage Your Inventory
You can’t take everything with you, so choose wisely:
- Health Items: Always have a few on hand, but don’t hoard more than you need.
- Ammo: Prioritize picking up bullets for your primary gun.
- Key Items: Ensure you always have essential items for puzzles and locked doors.
5. Stay Calm and Plan Ahead
Panic can lead to mistakes. Before rushing into a room:
- Listen: Sometimes you can hear enemies before seeing them.
- Scout: Peek around corners and check for telltale shadows or movements.
- Prepare: Have your weapon ready, but keep an escape plan in mind.
6. Learn Enemy Patterns
Enemies often have predictable patterns:
- Movement: Watch how they move and identify any weaknesses.
- Attacks: Learn their attack sequences to dodge and counter effectively.
- Blind Spots: Use the environment to stay hidden or sneak past.
7. Save Often, And Smartly
Use save points wisely:
- Before Entering a Danger Zone: Always save before exploring unknown areas.
- After Key Progress: If you solve a major puzzle or defeat a tough enemy, find a save point.
- Inventory Management: Save before managing your stash so if you mismanage resources, you can reload.
Tips for Specific Monsters
- Zombies: Keep them at a distance with firearms. If you’re low on ammo, use melee attacks but aim for the head.
- Ghosts: These guys are often invulnerable to physical attacks. Avoid them when you can and use special items when you can’t.
- Crawlers: These little guys are quick and low to the ground. A shotgun blast can wipe them out quickly, or try stomping if you’re out of ammo.
Final Thoughts
Surviving in Alone in the Dark takes a good mix of brains and brawn. Stay alert, conserve your resources, and never take unnecessary risks. With these strategies, you’ll have the upper hand against whatever the darkness throws at you. Happy monster hunting!
Unlocking All Endings
Alright folks, if you’re diving deep into the spooky world of Alone in the Dark, chances are you want to see every possible ending the game has to offer. There’s nothing quite like the satisfaction of unlocking all the game’s secrets and piecing together the full story. Here’s your comprehensive guide to help you see every chilling conclusion.
The Importance of Choices
In Alone in the Dark, choices matter. Throughout the game, you’ll be faced with crucial decisions that lead you down different narrative paths. Your actions determine which of the endings you see, so if you miss something, you might need to retrace your steps.
Let’s break it down step by step, shall we?
Ending 1: The Good Ending
To get the Good Ending
Save All Survivors: Throughout your journey, you’ll encounter various characters who need your help. Make sure you save everyone. If you miss even one person, you’ll head towards a different ending.
Make the Right Choices: When faced with big decisions, opt for the selfless, righteous choices. These decisions often appear as dialogue options, so pay close attention to the conversation and choose wisely.
Final Confrontation: During the last showdown, make sure you use the special artifact you picked up earlier in the game. This will ensure a positive resolution to the story.
Ending 2: The Bad Ending
For the Bad Ending
Miss a Survivor or Two: If you happen to miss saving some characters along the way, you’ll be nudging yourself towards this darker conclusion.
Make Selfish Choices: Being a bit more self-centered in your decision-making will not only affect your character’s development but also steer the story towards this grim finale.
Ignore the Artifact: During the final battle, if you haven’t acquired the special artifact, you’ll find yourself unprepared, leading to a not-so-happy ending.
Ending 3: The Secret Ending
Uncovering the Secret Ending
Collect All Hidden Items: Scattered throughout the creepy mansion and the surrounding areas are hidden items that aren’t necessarily part of the main storyline. Find all these items. They often come with cryptic clues or snippets of lore that piece together the hidden story.
Solve Every Puzzle: This game loves its puzzles, and skipping any could mean missing out on crucial elements needed for this ending.
Secret Room: There’s a hidden room in the mansion (hint: check behind the library bookshelf). Solving the puzzle to enter this secret chamber is essential. Inside, you’ll find revelations that drastically change the tale’s conclusion.
Confrontation with Hidden Boss: If you’ve done everything else, a hidden boss battle will be triggered before the final confrontation. Defeat this boss using the hidden weapon (yep, another collectible!) for this unique ending.
Pro Tips
Save Often: Use multiple save slots so you can go back and make different choices without replaying the entire game.
Keep a Notebook: Jot down clues and important decisions. This will help you track what choices led to which outcomes.
Replay Value: Embrace the idea of replaying certain chapters. This way, you can explore different dialogues and choices without starting from scratch.
Unlocking all endings in Alone in the Dark adds layers to your understanding of the story and gives you serious bragging rights. So, grab your flashlight and courage, because uncovering every ending is the ultimate test of your survival instincts and attention to detail. Happy haunting!